

I realise that I don’t usually pay homage to a chef when making a recipe, but the legendary Monsieur Blanc is no ordinary chef! Nearly as important to my culinary journey as the Roux Brothers, Raymond is completely self-taught, and his Manoir aux Quat’Saisons has held two Michelin stars since 1985 – no mean feat. As well as sharing my birthday, Raymond is a most amusing and very brave man – he served both his first and second wife a croquembouche on their wedding day…
This delice was featured on Kitchen Secrets, a most enlightening look at a number of dishes and techniques. Every time I see an episode, I note another little detail. You can see this particular recipe on You Tube, which certainly shows you how simple it can be.
Ingredients
For the base
100g/3½oz toasted hazelnuts
100g/3½oz caramelised sugar pieces
150g /5¼oz bran flakes, slightly crushed
140ml/5fl oz full-fat milk
325ml/11½fl oz double cream
2 free-range eggs
340g/12oz good-quality dark chocolate, minimum 60 per cent cocoa solids, roughly chopped
For the caramel hazelnuts
125g/4½oz caster sugar
8 hazelnuts, shells removed, lightly toasted in a dry frying pan
For the coffee foam
200ml/7¼fl oz strong black espresso coffee
1 sheet gelatine, soaked in cold water for 10 minutes, drained
To serve
2-3 tbsp cocoa powder
1 tbsp freshly ground coffee beans
Preparation method
- For the base, blend the hazelnuts and caramelised sugar pieces in a food processor until you have a smooth paste. Heat the paste in a small pan on a gentle heat until warmed through.
- Place the bran flakes and warmed praline paste into a mixing bowl and scrunch them together, using your hands, until the bran flakes have broken down and been incorporated into the paste.
- Line a baking tray with a sheet of greaseproof paper, then transfer the praline mixture onto it. Cover the praline mixture with a second sheet of greaseproof paper, then roll the mixture out until it measures at least 14cm x 20cm/5½in x 8in and is 0.5cm/¼in thick.
- Remove the top sheet of greaseproof paper, then push a 14cm x 20cm x 3cm/5½in x 8in x 1¼in rectangular pastry frame down onto the praline mixture and trim off any excess. (NB: The excess praline mixture can be pressed into any gaps in the mould, if necessary.)
- Cover the mould with greaseproof paper and chill the praline in the fridge for 30 minutes, or until set.
- Meanwhile, for the delice, heat the milk and cream in a saucepan and heat gently over a medium heat until it just reaches boiling point.
- Meanwhile, whisk the eggs in a bowl.
- As the milk and cream mixture comes to the boil, pour it over the eggs, then whisk the mixture constantly until smooth and thick.
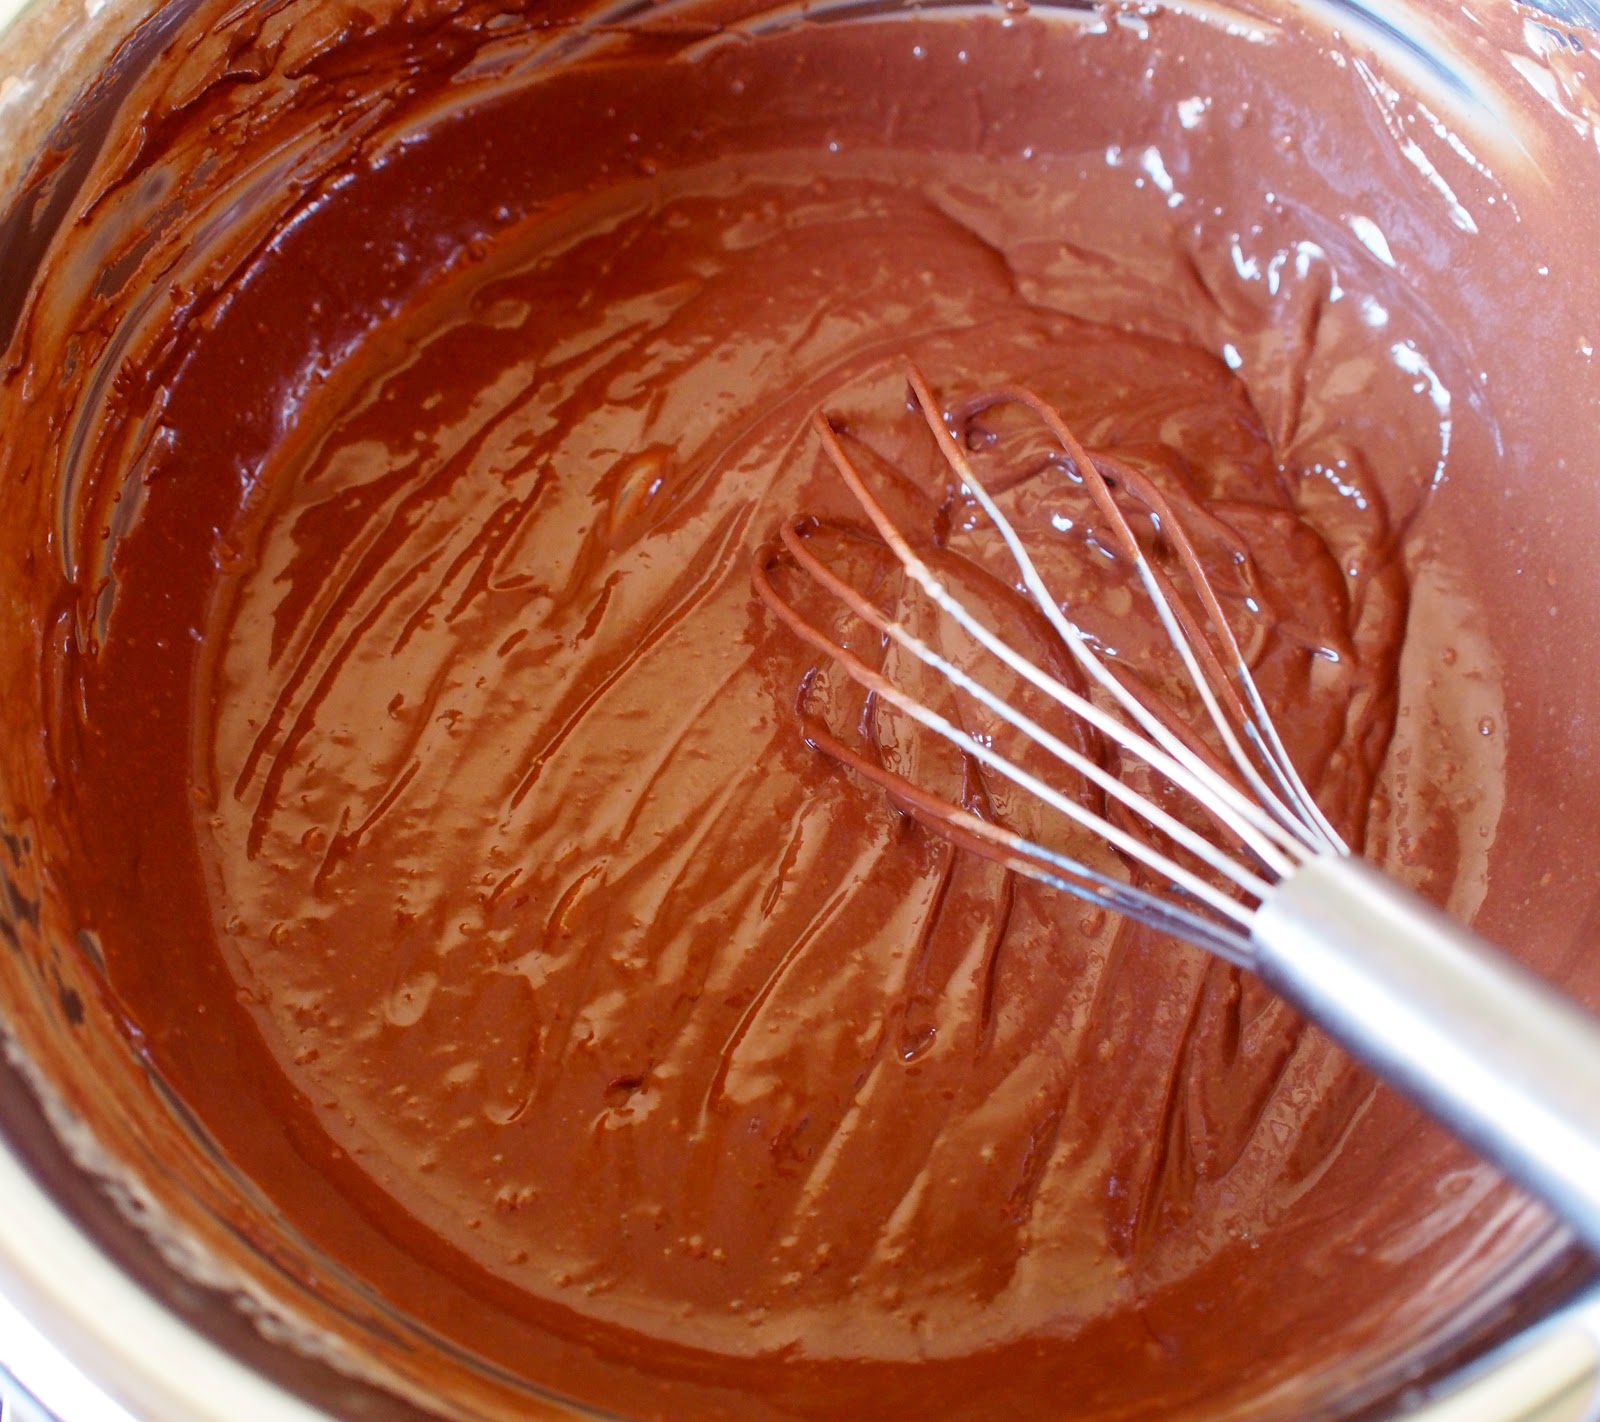
- Stir in the chopped chocolate and whisk again until the chocolate has melted and the custard is smooth.
- Remove the base from the fridge and pour in the chocolate delice to fill the mould. Gently tap the sides of the mould to release any trapped air bubbles, then smooth the surface using a palette knife. Chill in the fridge for 6-12 hours, or until completely set.
- Meanwhile, for the caramel hazelnuts, heat the caster sugar in a pan over a low heat, stirring occasionally until golden-brown and caramelised. Remove from the heat and set aside to cool slightly. (NB: The caramel is cool enough when a cocktail stick dragged across its surface leaves an imprinted trail.)
- Spear each hazelnut onto a cocktail stick, then dip the hazelnuts into the caramel until coated. Stick a little adhesive putty onto the underside of a shelf or cupboard above a worksurface and secure the cocktail stick into the putty, so that the caramel drips off the hazelnut and creates a tail. (NB: Place a baking tray or sheets of greaseproof paper underneath the hazelnuts to catch any caramel that drips.)
- Set the caramel hazelnuts aside to cool and harden for at least 30 minutes.
- For the coffee foam, just before serving, heat half of the coffee in a pan until just hot but not boiling.
- Squeeze the gelatine sheet dry, then add it to the hot coffee and continue to warm until the gelatine has completely dissolved.
- Pour the remaining cold coffee into a bowl, then add the hot coffee mixture to it. Whisk well until the mixture starts to foam.
- To serve, heat the outside of the mould using a chefs’ blow torch to loosen the base of the delice. Carefully remove the pastry frame from the delice.
- Heat the top of the delice very quickly using a chefs’ blow torch to make the surface glossy. Dust the delice with some of the cocoa powder and ground coffee beans.
- Smear a teaspoonful of the coffee foam across the width of six to eight serving plates. Plunge the blade of a knife into boiling water to heat the metal, then slice the delice into six to eight pieces and place one onto each smear of foam, at an angle. Rest a caramel hazelnut against each slice. Dust each serving with the remaining cocoa powder.

Whisk the mixture constantly until smooth and thick

Stir in the chopped chocolate and whisk again until the chocolate has melted and the custard is smooth

- It will look like this, leaving ribbons on itself…

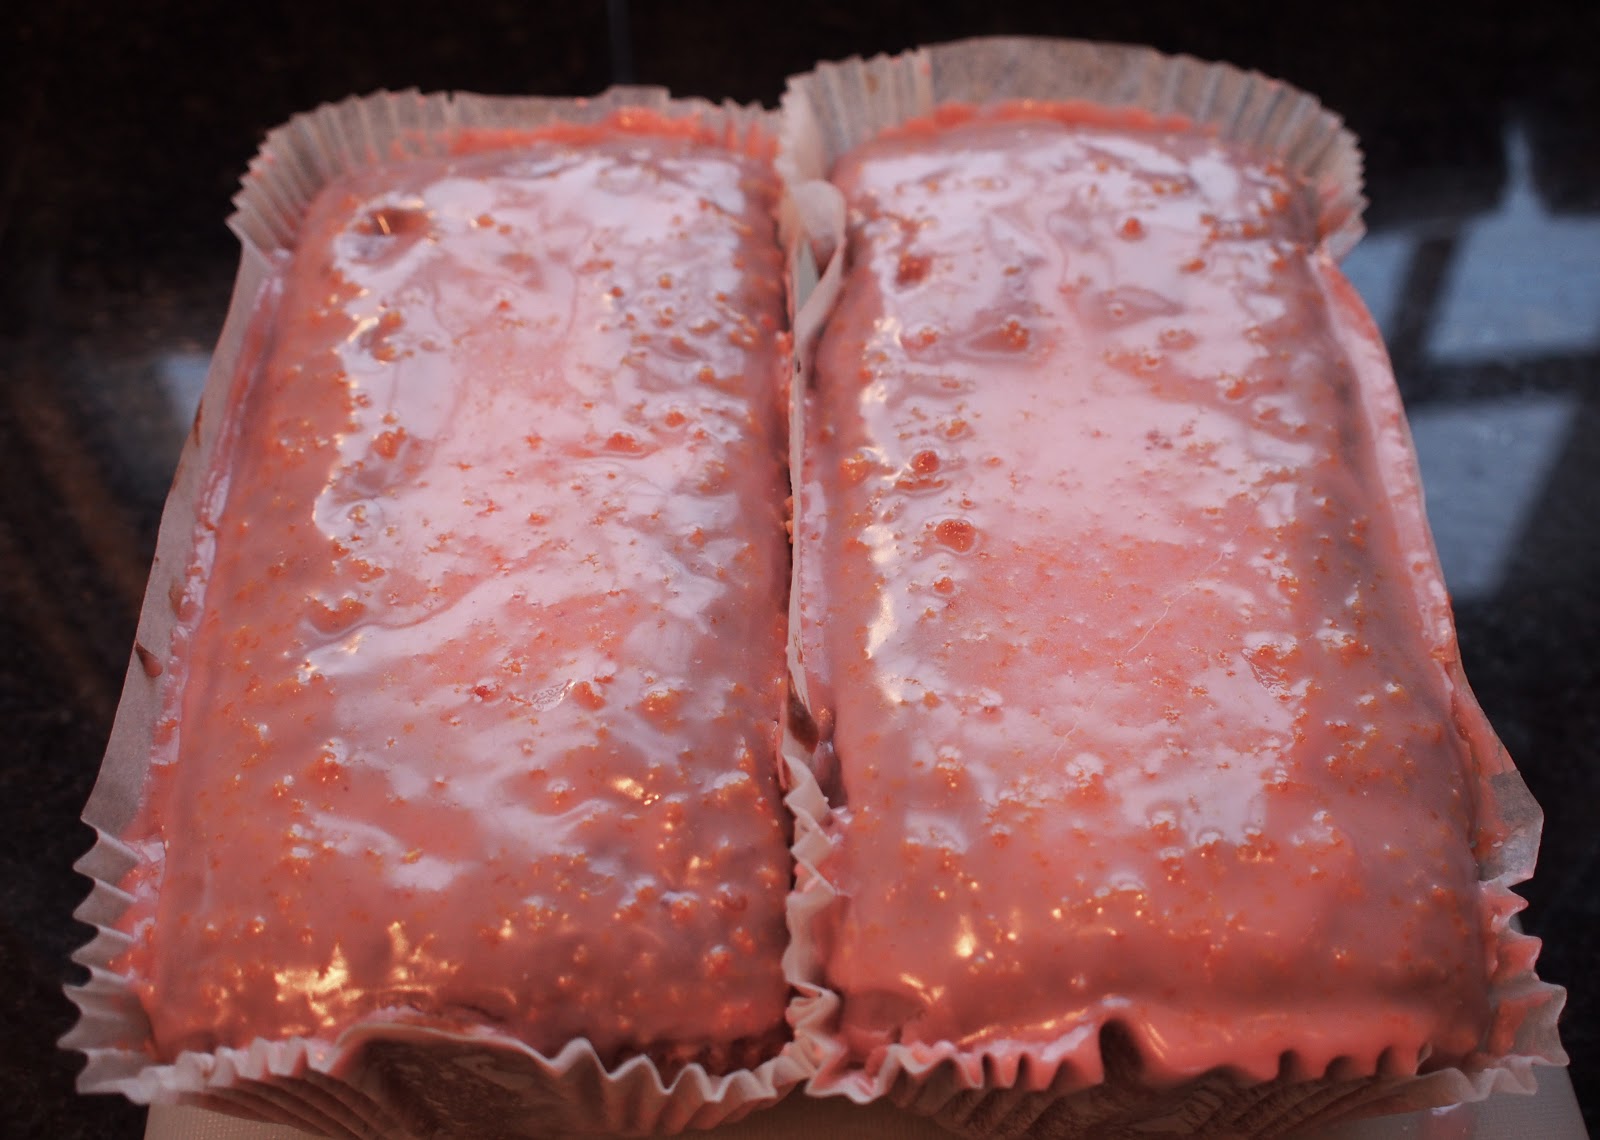
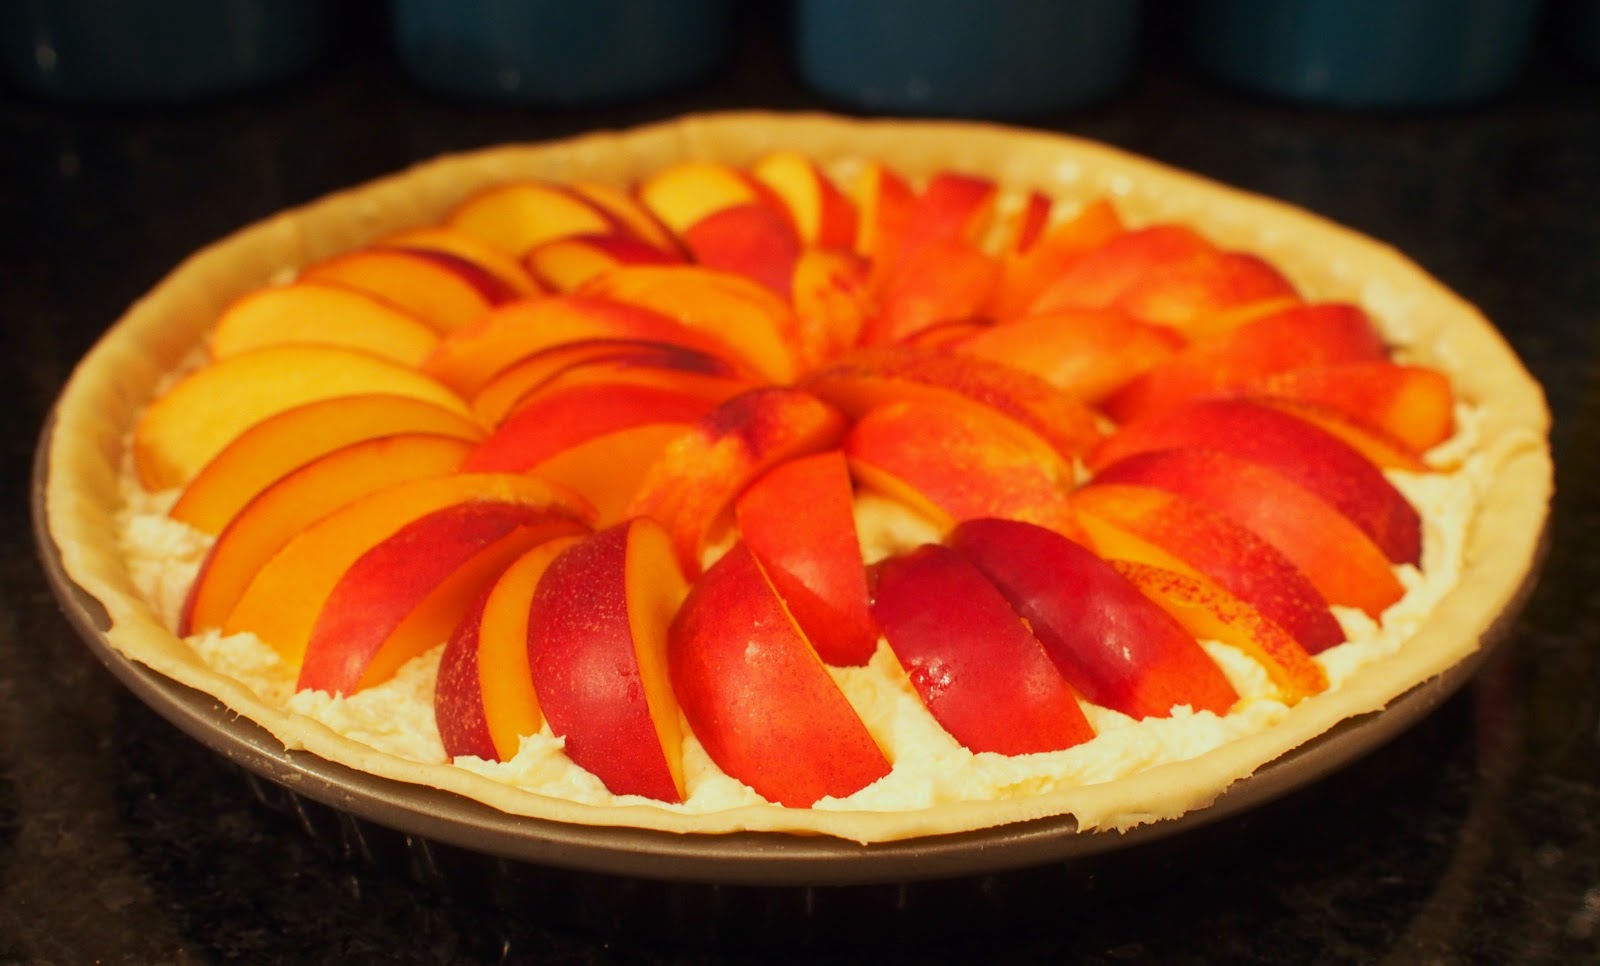
- Pour in the chocolate delice to fill the mould (I didn’t have a rectangular mould to hand)


- Watch your caramel, it’s cool enough when a cocktail stick dragged across its surface leaves an imprinted trail


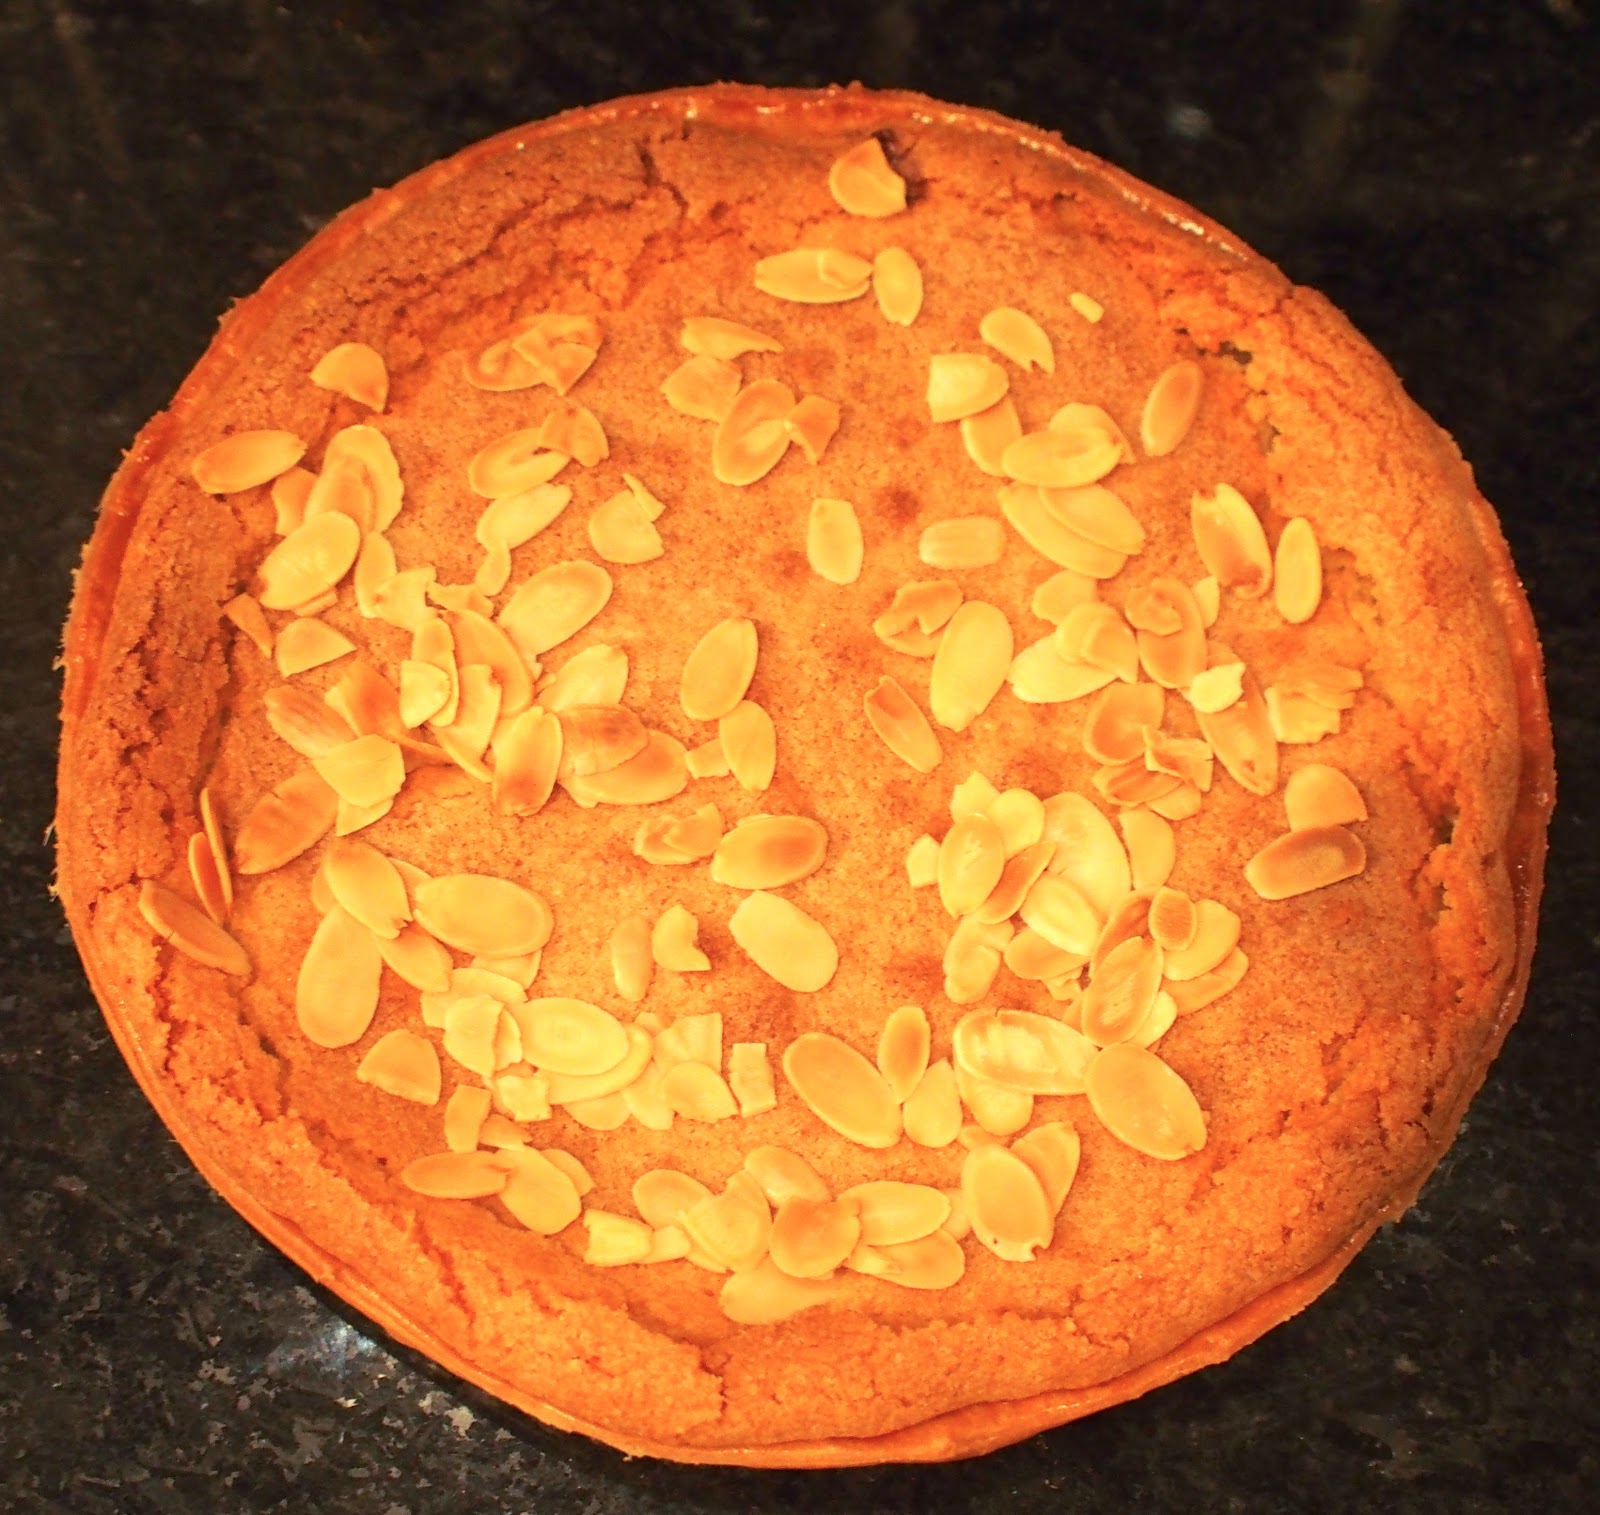
- The finished article – a gigantic slice of chocolate delice – I’d recommend a slice about half the size


 I came across
