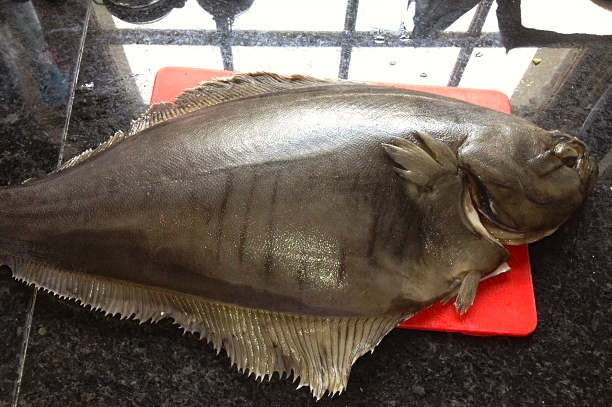
 I have finally found a decent fish supplier – hurrah! Despite the fact that I live less than three miles from a harbour, it’s almost impossible to buy fish locally. I think most of it seems to disappears straight out of the town. I was bemoaning this fact to Matthew at the michelin starred Montagu Arms, and he introduced me to their suppliers – Premier Fish… A quick look on their web site sent me into small ecstasies – there’s brill, turbot, halibut, lobster, prawns, clams, anything you can think of – fabulous. It seemed like the perfect opportunity to do something “big”, so, meet my chum, the 3kg halibut, dubbed Herbert by the 11 year old.
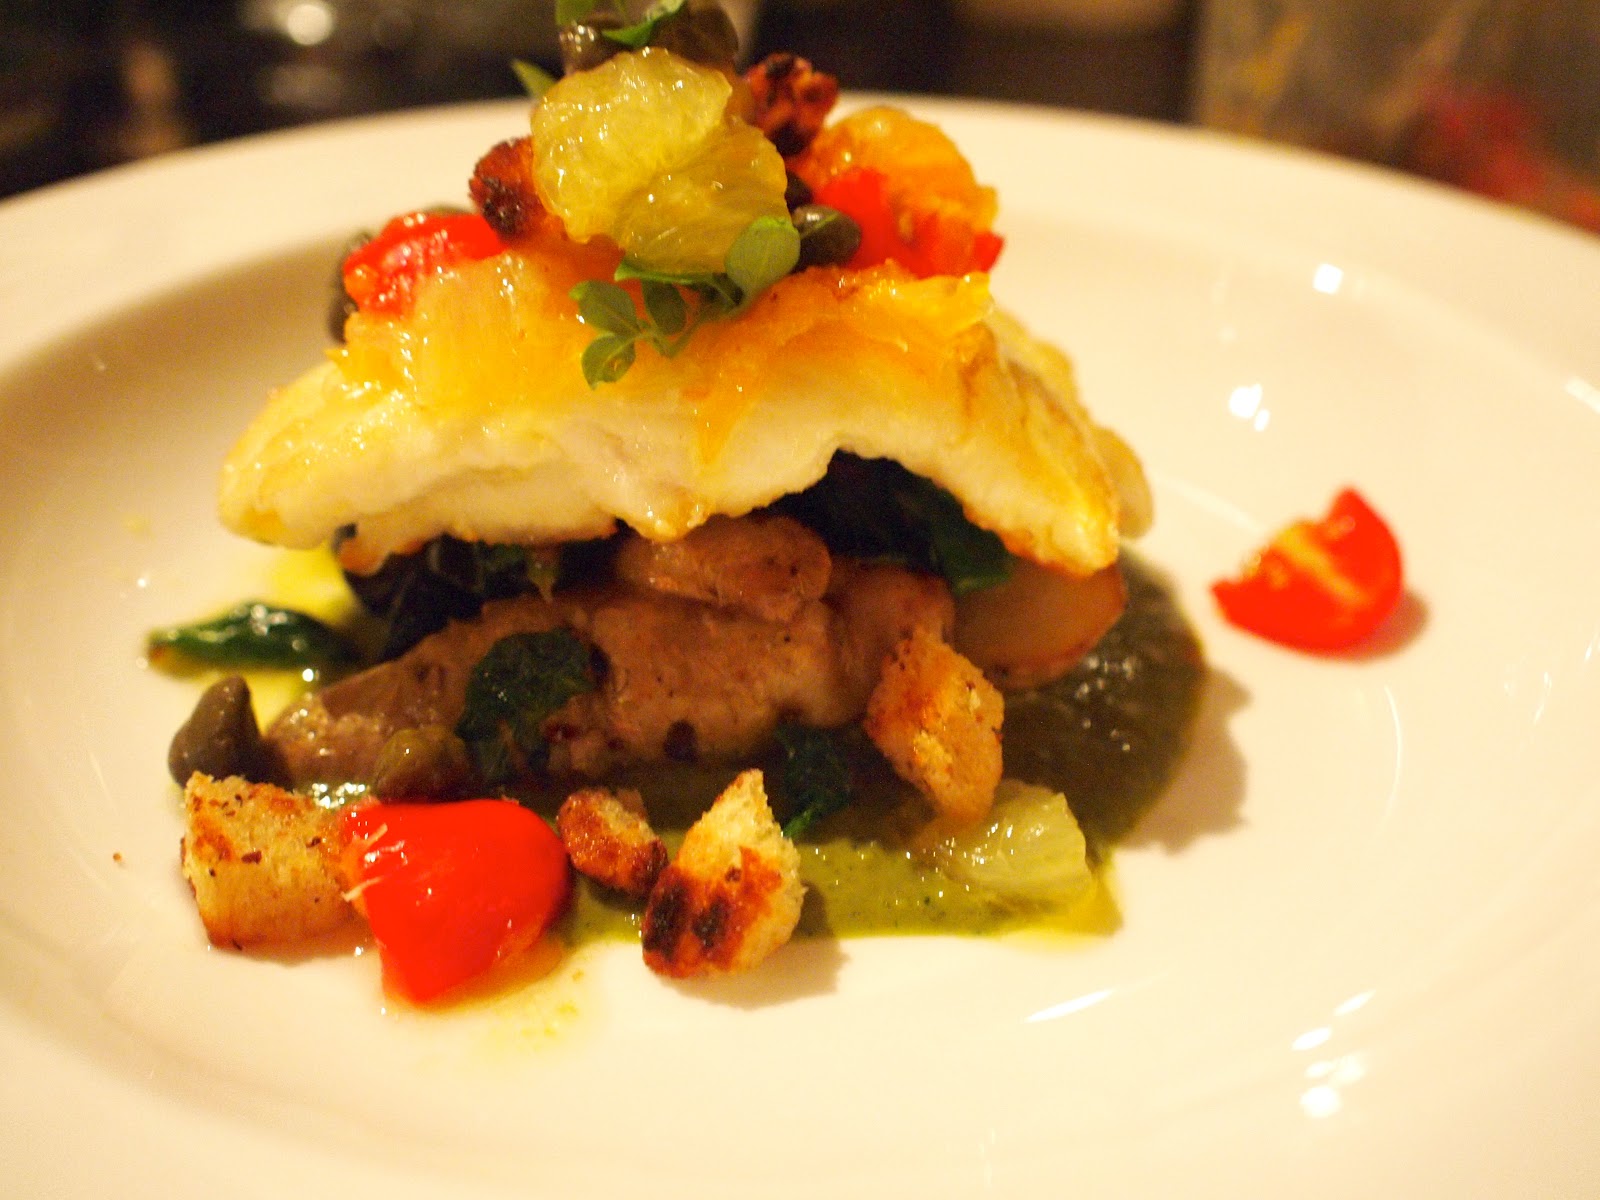
Halibut is a pretty high end fish – it’s delicate yet meaty, a stunning white colour, with an open texture. It can handle pretty robust flavours, and when I spotted a recipe by Tom Kitchin which included salsa verde a citrus dressing, and olives, I knew I had to make it. I’m a huge fan of Tom’s. He’s worked with and for Pierre Koffmann, and a number of other excellent chefs. As a punter, it’s always fabulous when you find a chef who’s palate matches your own personal preferences, and Tom inspires me utterly. Some flavours are understated, others are incredibly bold – but always the produce is allowed to shine through to show respect to the ingredients… That’s my kind of chef!
The joy of a restaurant recipe is that you tend to find the chef has broken the dish down into stages, many of which can be completed in advance. In this case the salsa verde, citrus dressing and vegetables can all be prepped earlier in the day. The fish itself requires no more than 6 minutes cooking in total, so it’s perfectly viable to do that bit of the dish at the last moment.
Now of course it isn’t necessary for you to buy a whole halibut, heaven forbid! I bought one because I really wanted to fillet it :0) Filleting a big fish is hilarious – it’s practically wrestling – but if you’re interested in having a go, there are several excellent videos on YouTube – just make sure you choose the right fish. Oh, and another fishy point, farmed halibut will have a mottled underbelly, where wild will have a white belly…

Ingredients
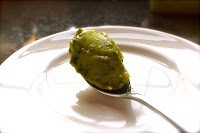
Salsa Verde
2 tablespoons chopped basil
3 tablespoons chopped parsley
1 tablespoon mint
3 tablespoons capers
4 anchovy fillets
1 garlic clove, peeled and chopped
1 tablespoon Dijon mustard
150ml olive oil
4 tablespoons sherry vinegar
1 lemon, zest and juice
(You might need a tiny bit of sugar to balance the acidity)
Citrus Dressing
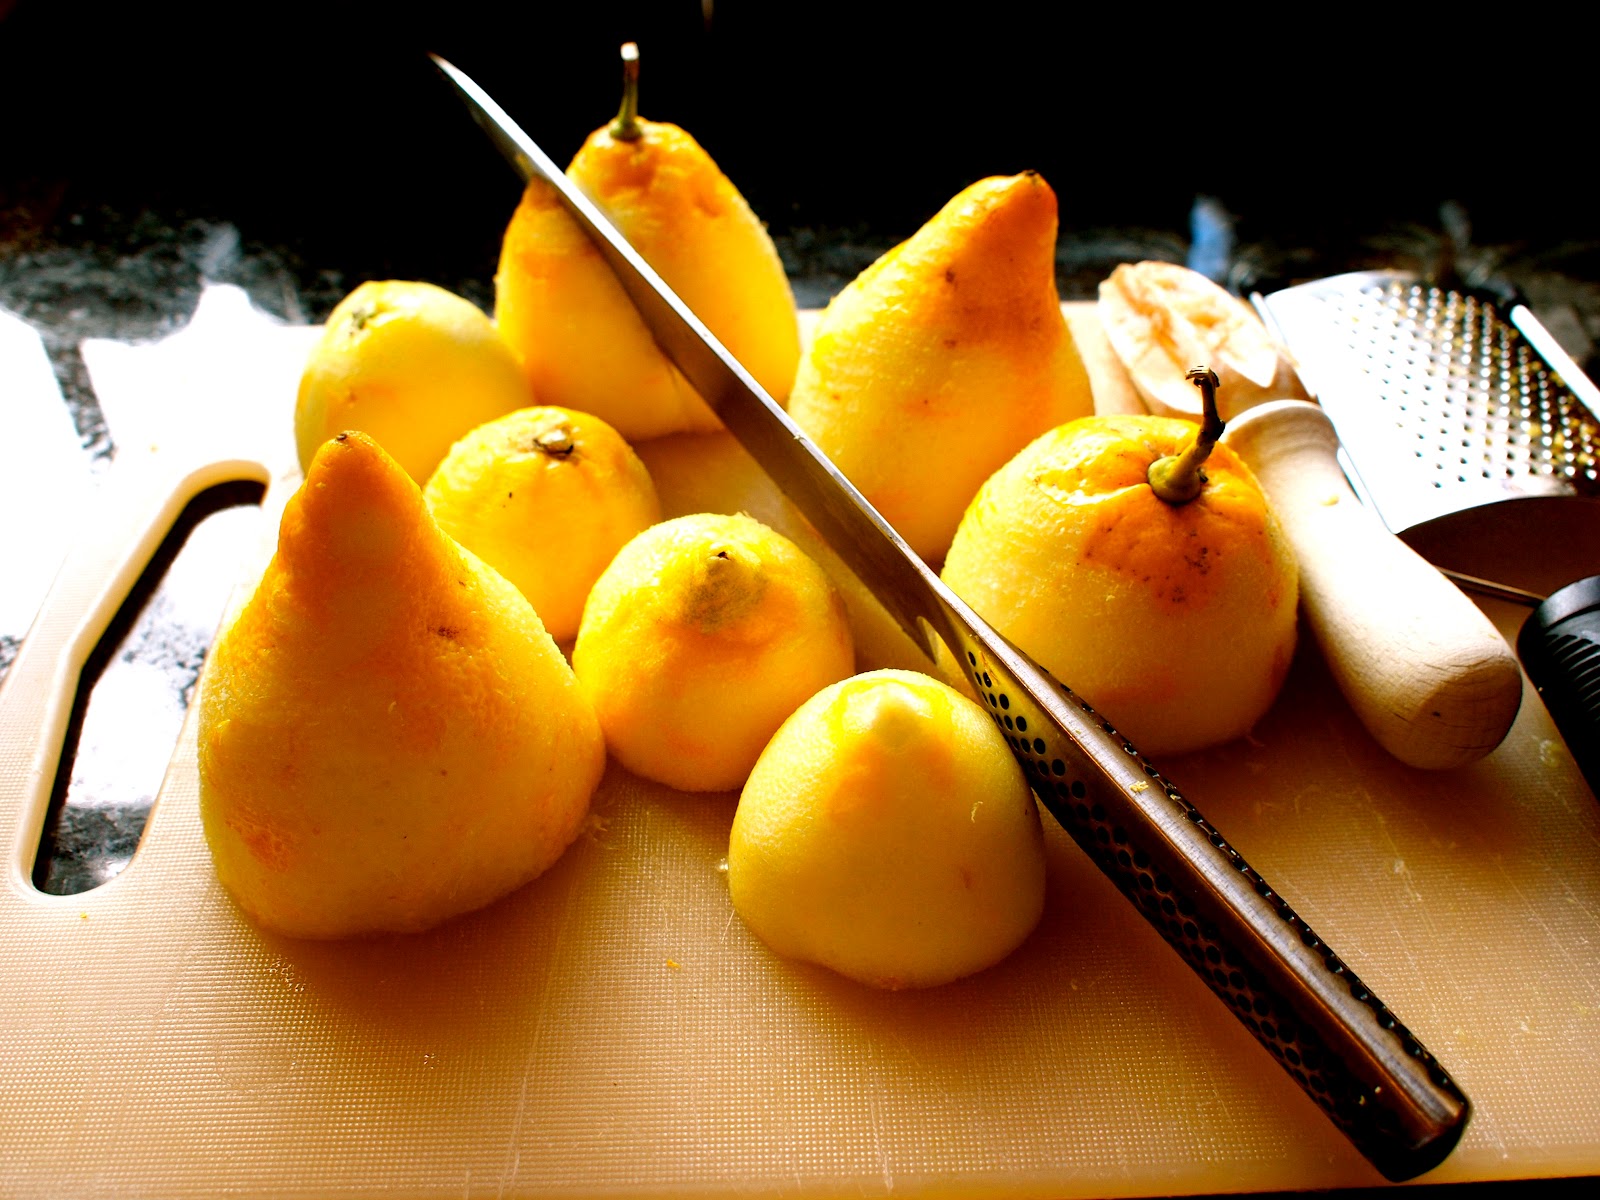
4 lemons, segments and zest
8 cherry tomatoes, halved
1 teaspoon sugar
2 tablespoons olive oil
Vegetables
6-8 new potatoes (I used fir, didn’t have any new to hand)
vegetable oil
100g fresh samphire (didn’t have any)
12 olives, pitted and chopped (we both used black)
300g baby spinach
2 tablespoons chopped chivesFish
2 x 200g halibut fillets
To Serve
chervil and dill
micro leaves if you have them
diced croutons made with 2 slices of white bread
Method (in advance)
- To prepare the salsa verde, blend everything together until smooth, then set aside in the fridge
- For the dressing, toss everything together and set aside
- Cut the bread into small dice, and fry in oilive oil until golden
- Boil the potatoes until cooked, and cut into slicesWhen ready to serveFry the potato slices in vegetable oil until crisp and golden brown
- Add the samphire, and chopped olives, then the baby spinach, shallots and chives
- Pat the halibut fillets dry, and sason well with salt.
- Heat two tablespoons of vegetable oil over a medium head, and add the fish.
- Cook until they are golden on both sides, turning once.
- This will take around three minutes per side. Allow the fish to rest for 3 or 4 minutes
To plate
- Put a pool of salsa verde onto each plate
- Top with the vegetable mix, then the halibut
- Spoon the dressing over the halibut, and add some croutons
- Garnish with the herbs (and micro-leaves, if you have them)
The salsa verde and citrus dressing don’t clash – there are so many other big flavours that they work together well. The last time I had something similar, it was actually a rabbit dish, cooked by an Observer food editor twenty years ago, and had the same earthy and bright notes… I know they sound completely different, but they strike the same note within my palate. Hubby and the 11yo had cleared their plates before I’d even finished photographing mine – and wanted to know when I could make it again! Another victory for the lovely Mr Kitchin.
You can find this recipe in Tom’s first book, and don’t forget his second is due out imminently! >


 |