


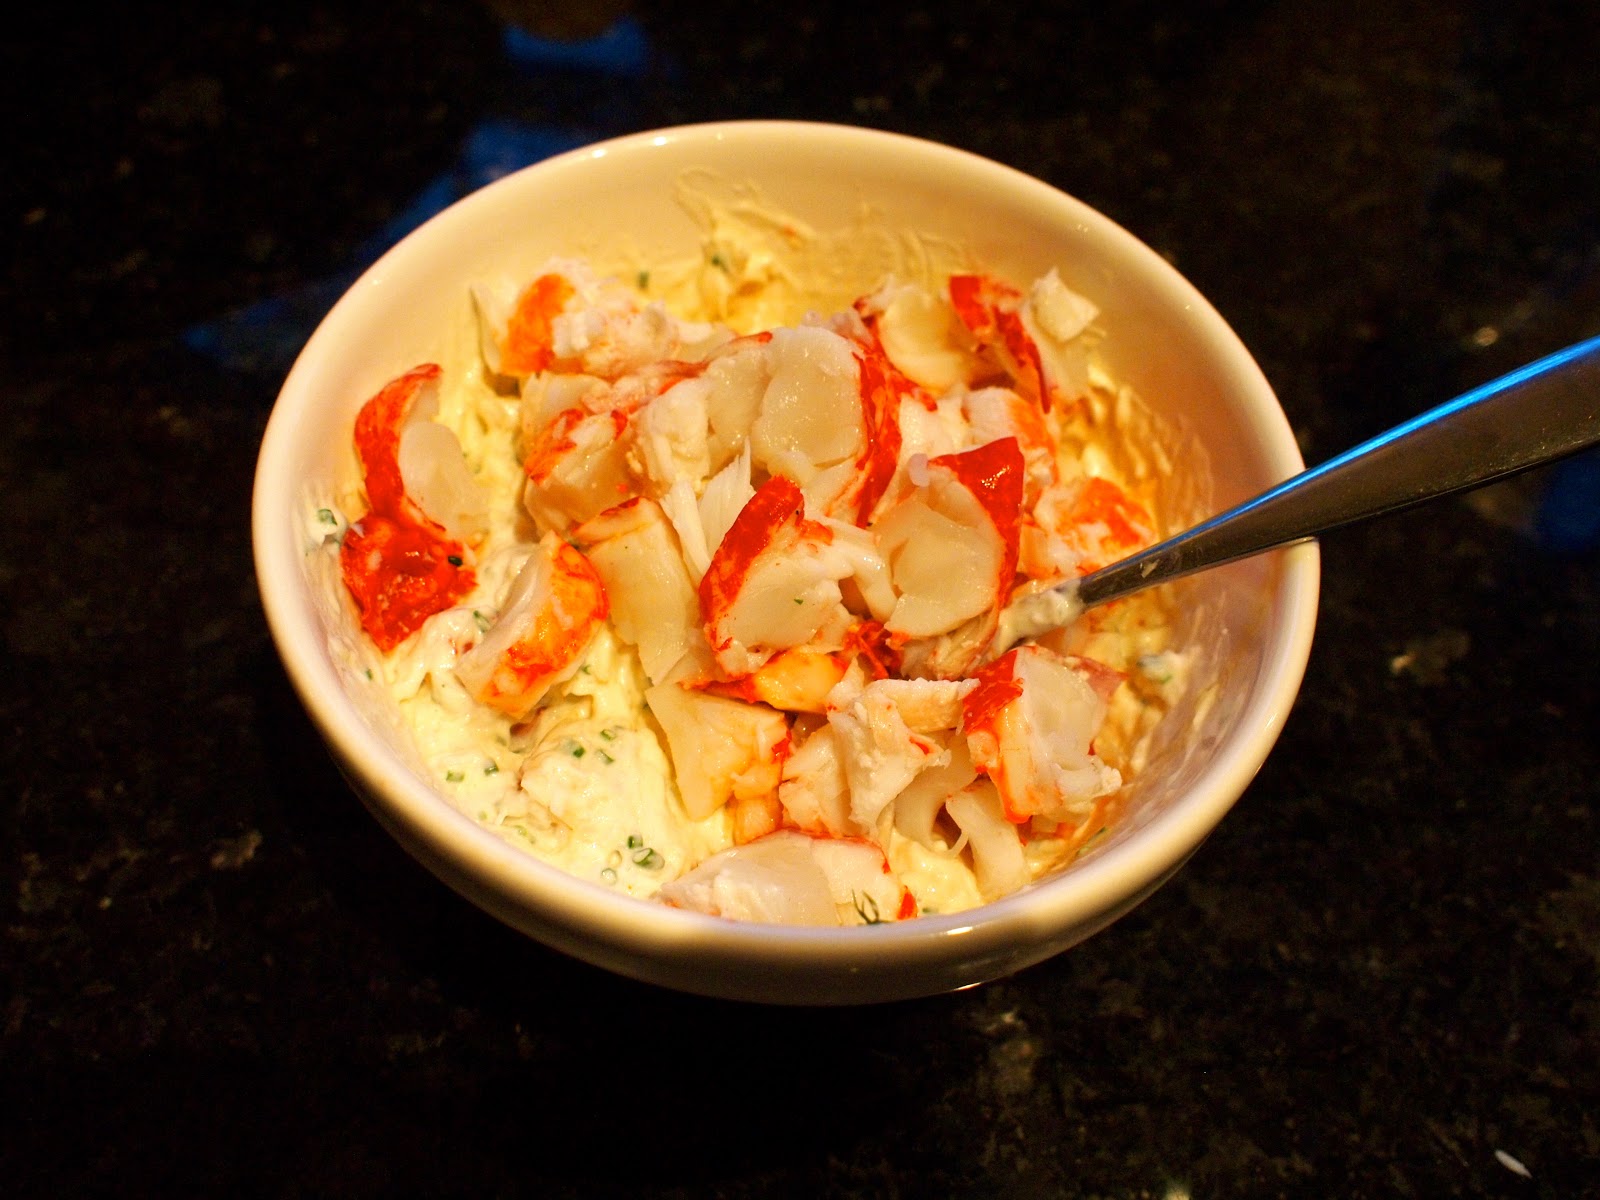
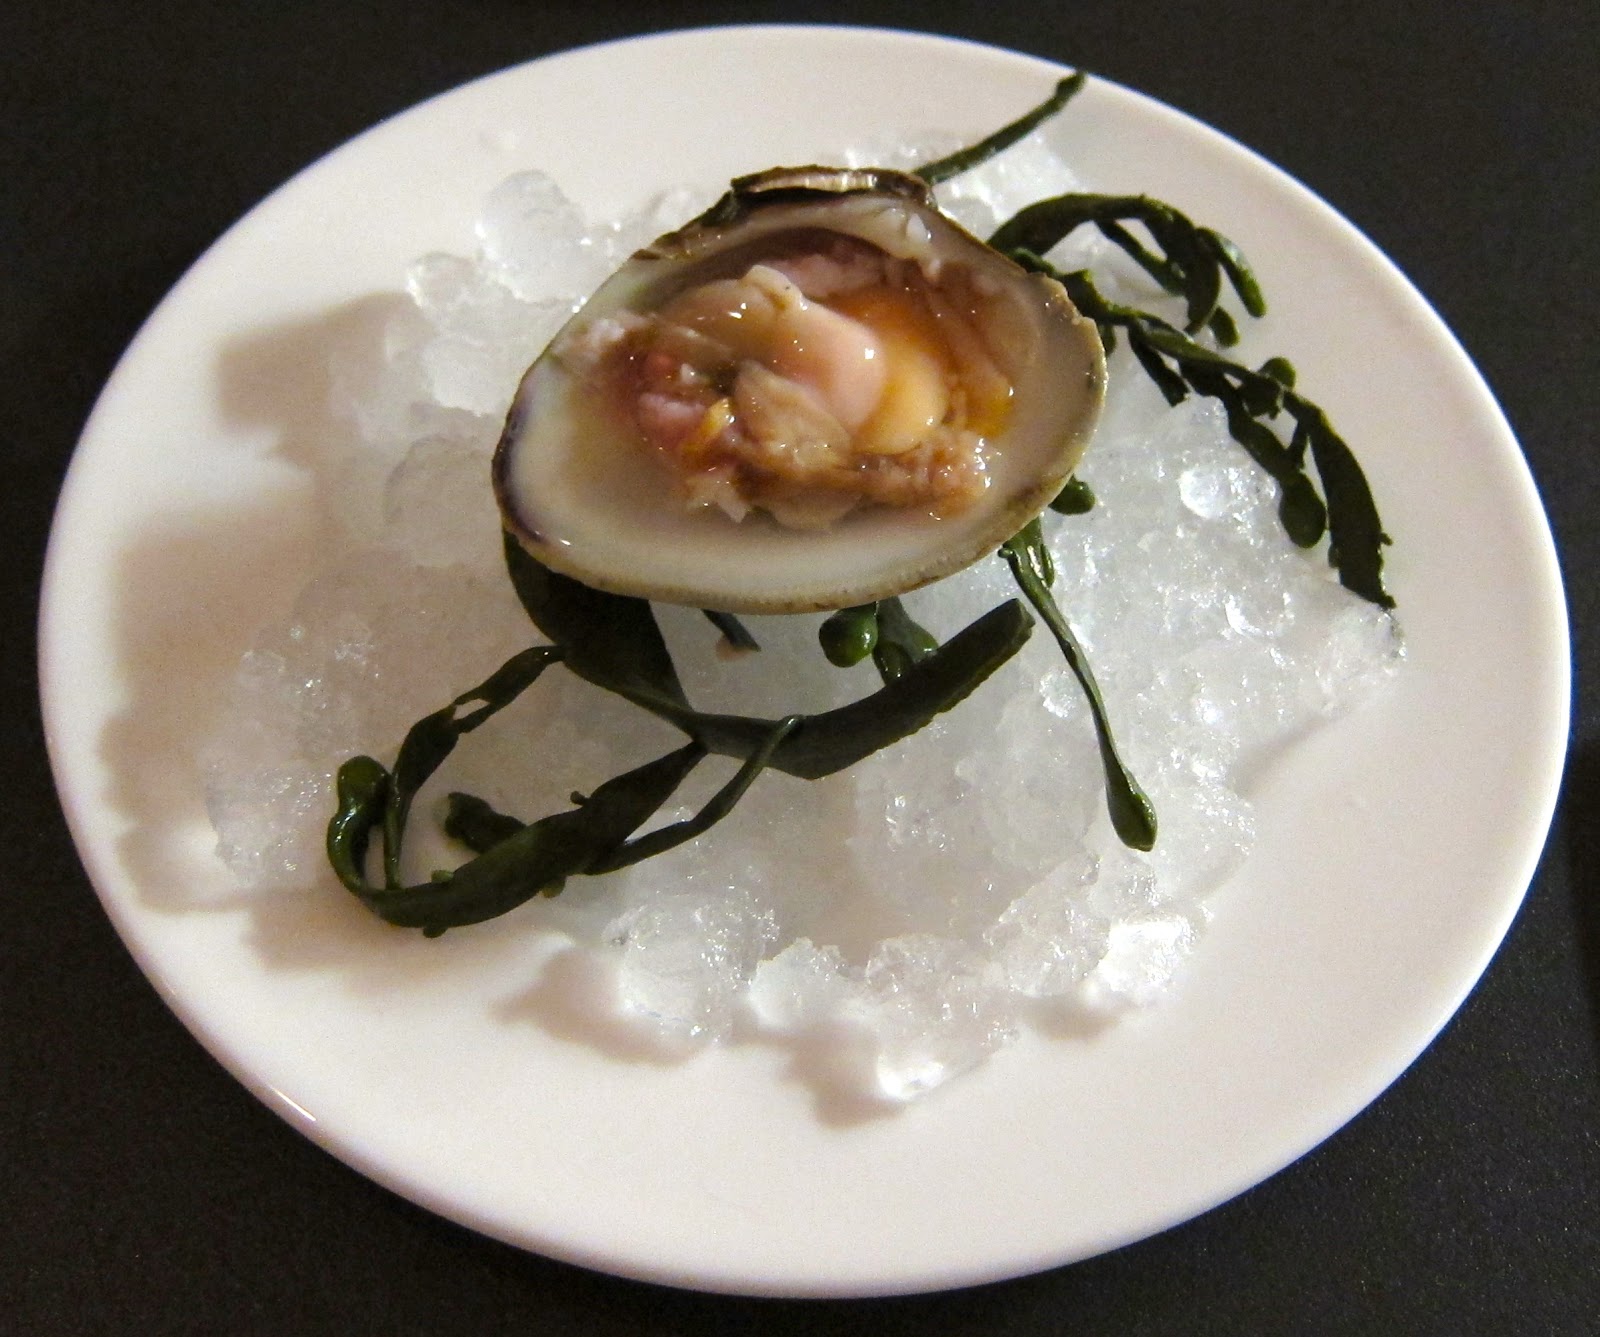
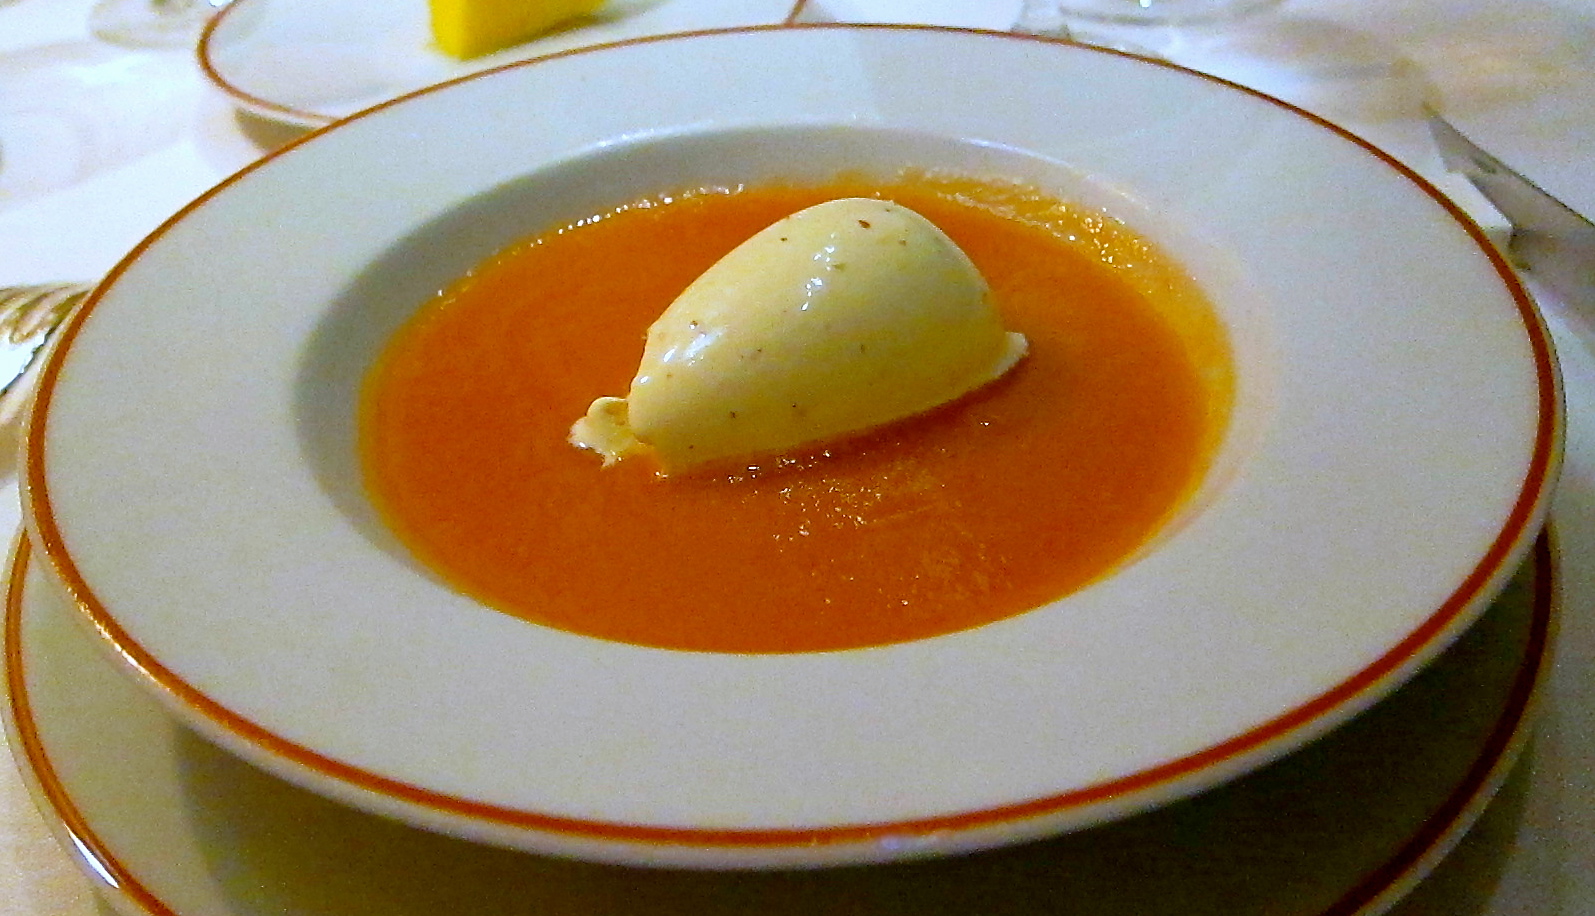
The recipe for this gorgeous mouthful of sea was donated to me by the lovely Tony Fleming – it’s the recipe he uses at the Angler restaurant. I promised not to give away all his secrets, so here I’ve documented a similar recipe to help you along your way, together with my photos… Do try this, it may be laborious, but it’s well worth the effort!
Just as a point of clarification, this isn’t technically a bisque, as bisque traditionally denotes that some of the shell has been ground into the soup, and this obviously gives you the slightly grainy texture you sometimes have. That said, it’s the perfect way to use up the leftover lobster shells from the lobster and scallop ravioli.
Ingredients
lobster shells
prawn shells
splash of brandy
2 tbsp/1fl oz olive oil
½ lemon
1 onion or 2 shallots
3 cloves garlic
2 sticks celery
2 carrots
6 tomatoes
1 tsp paprika
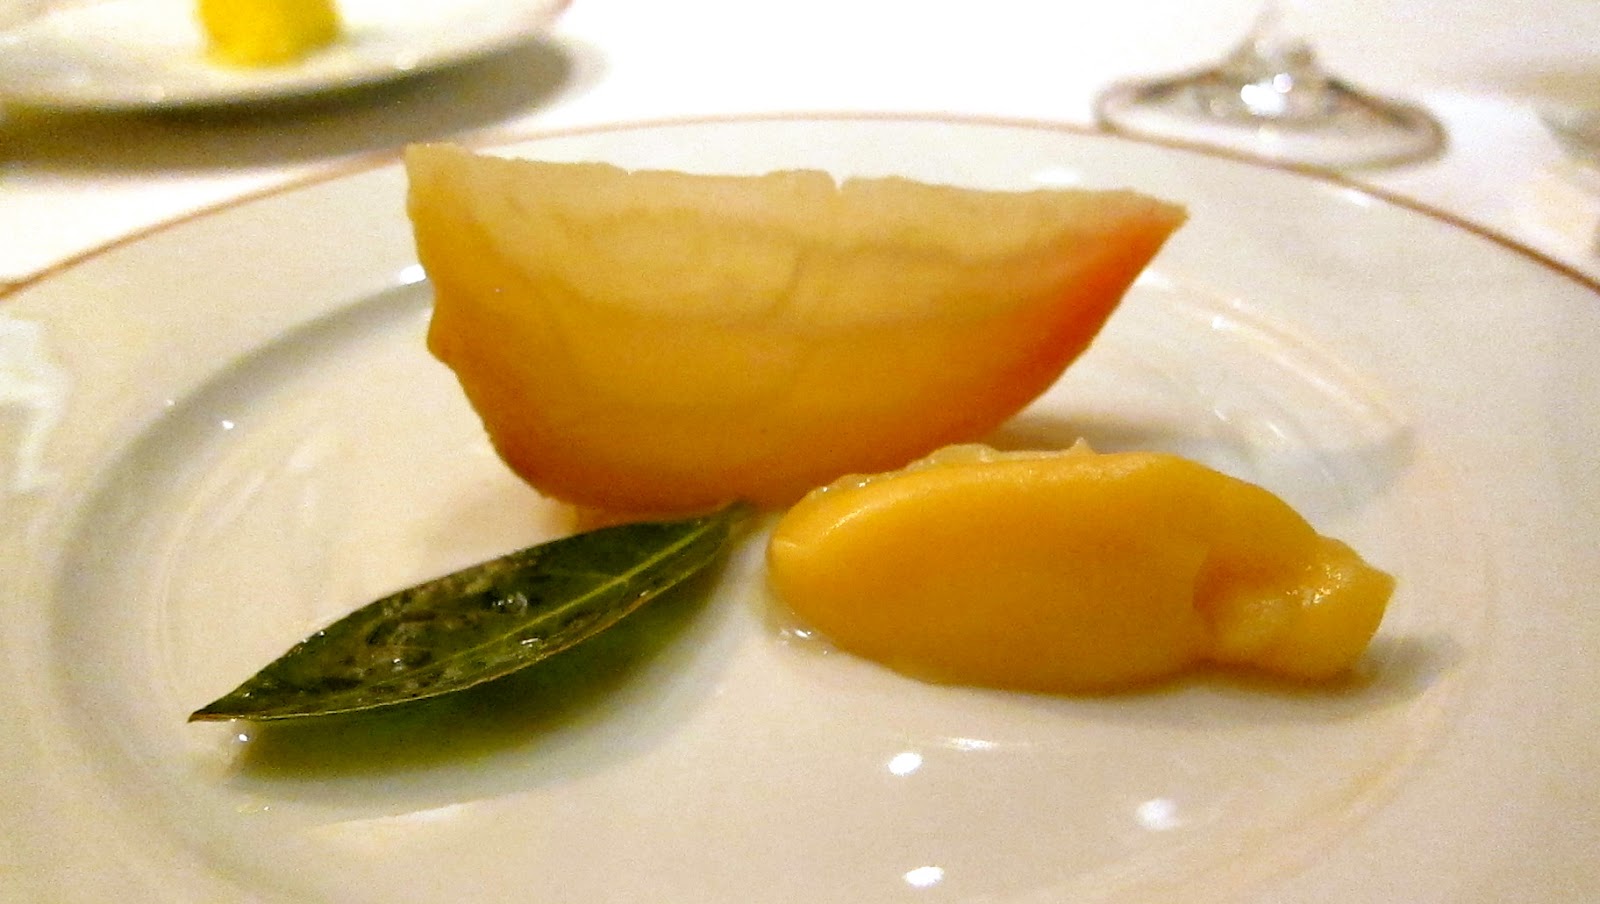
1 bay leaf
salt and pepper
2 glasses white wine
50g/2oz tomato purée
double cream
few knobs of unsalted butter
prawn shells
splash of brandy
2 tbsp/1fl oz olive oil
½ lemon
1 onion or 2 shallots
3 cloves garlic
2 sticks celery
2 carrots
6 tomatoes
1 tsp paprika
1 bay leaf
salt and pepper
2 glasses white wine
50g/2oz tomato purée
double cream
few knobs of unsalted butter
Preparation method
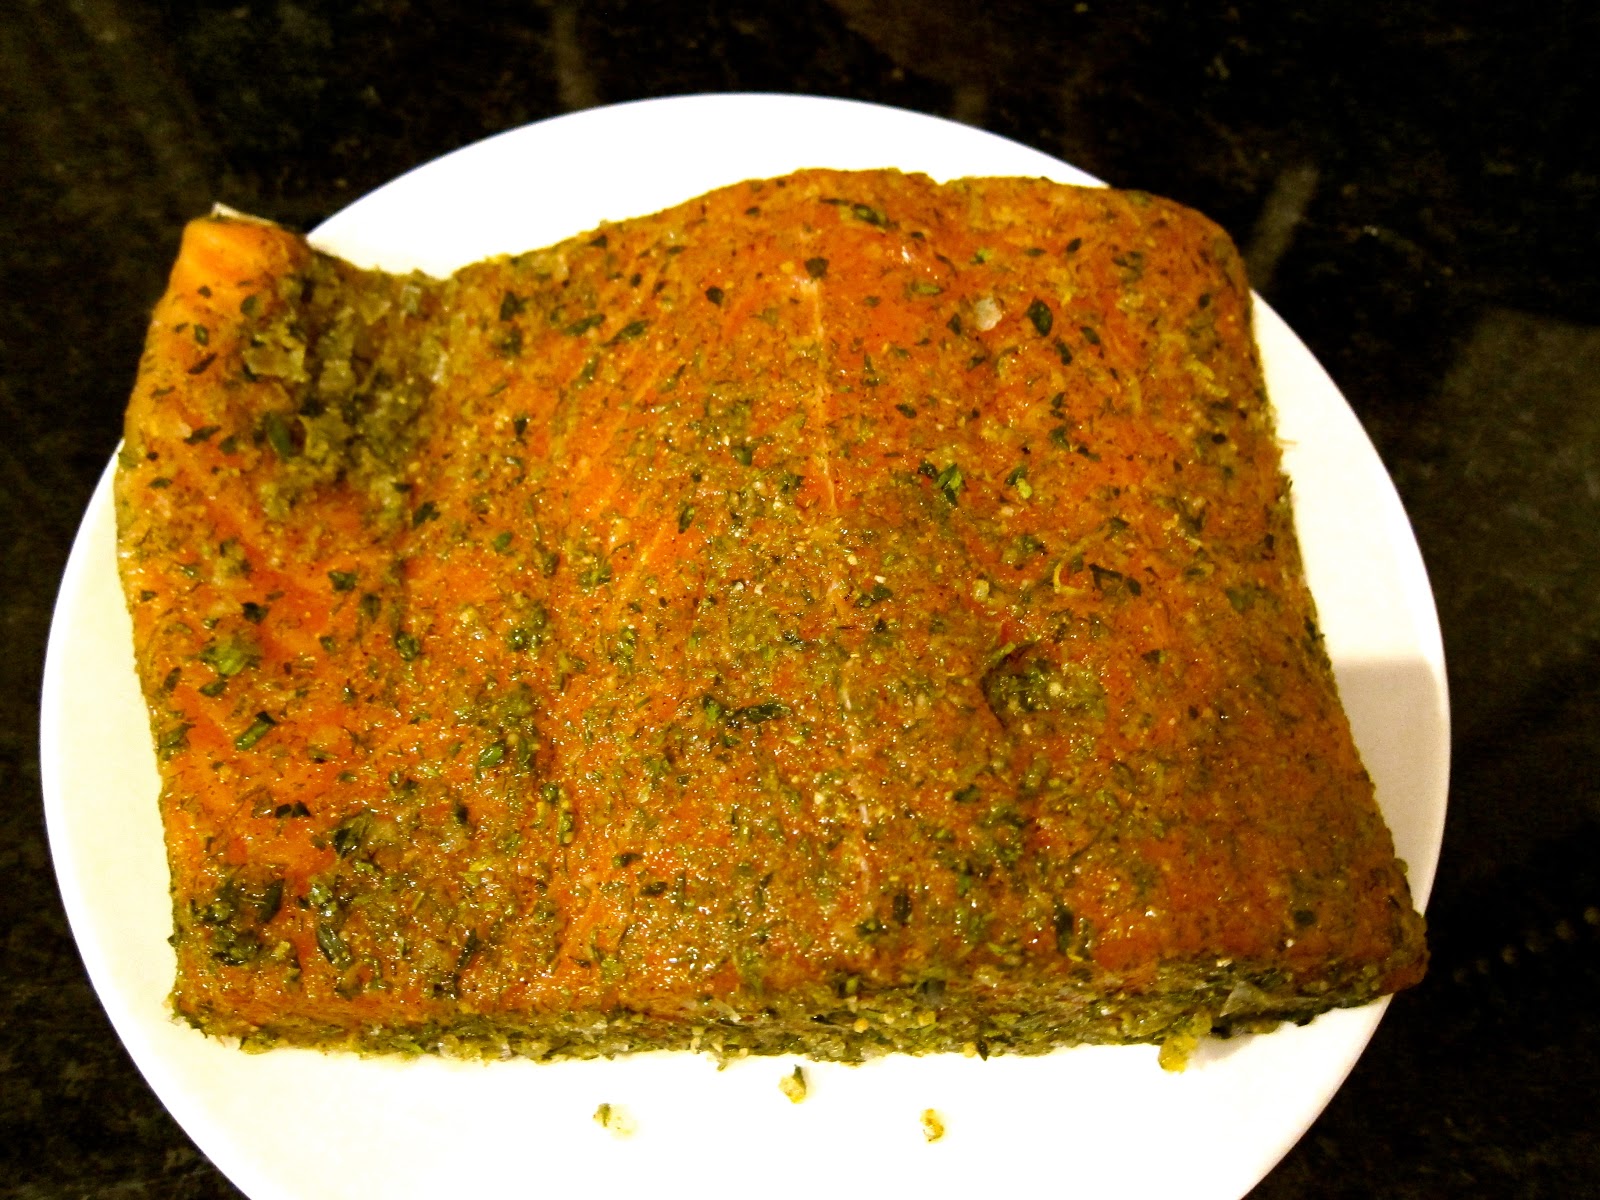
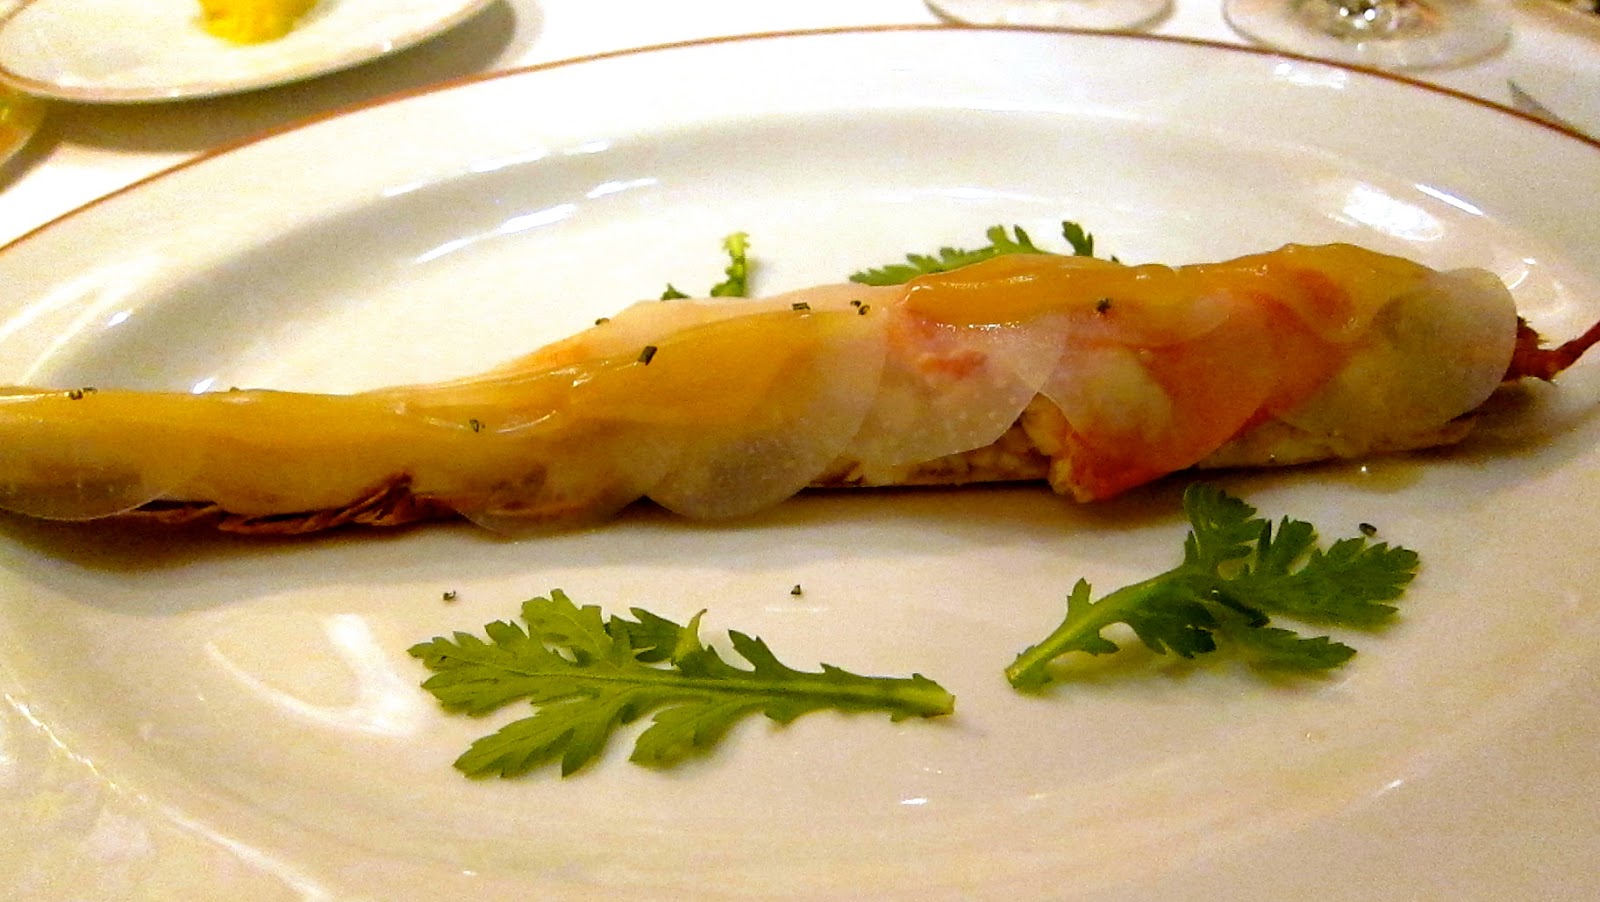
- In a large saucepan, fry lobster shells and prawn shells in a little olive oil for 5 mins.
- Add splash of brandy and flambé.
- Add chopped onion or shallots, garlic, celery and carrot, and fry for a further 5 mins.
- Add chopped tomatoes, paprika, bay leaf and seasoning, and stir well. Add lemon juice, white wine, tomato purée and water to cover.
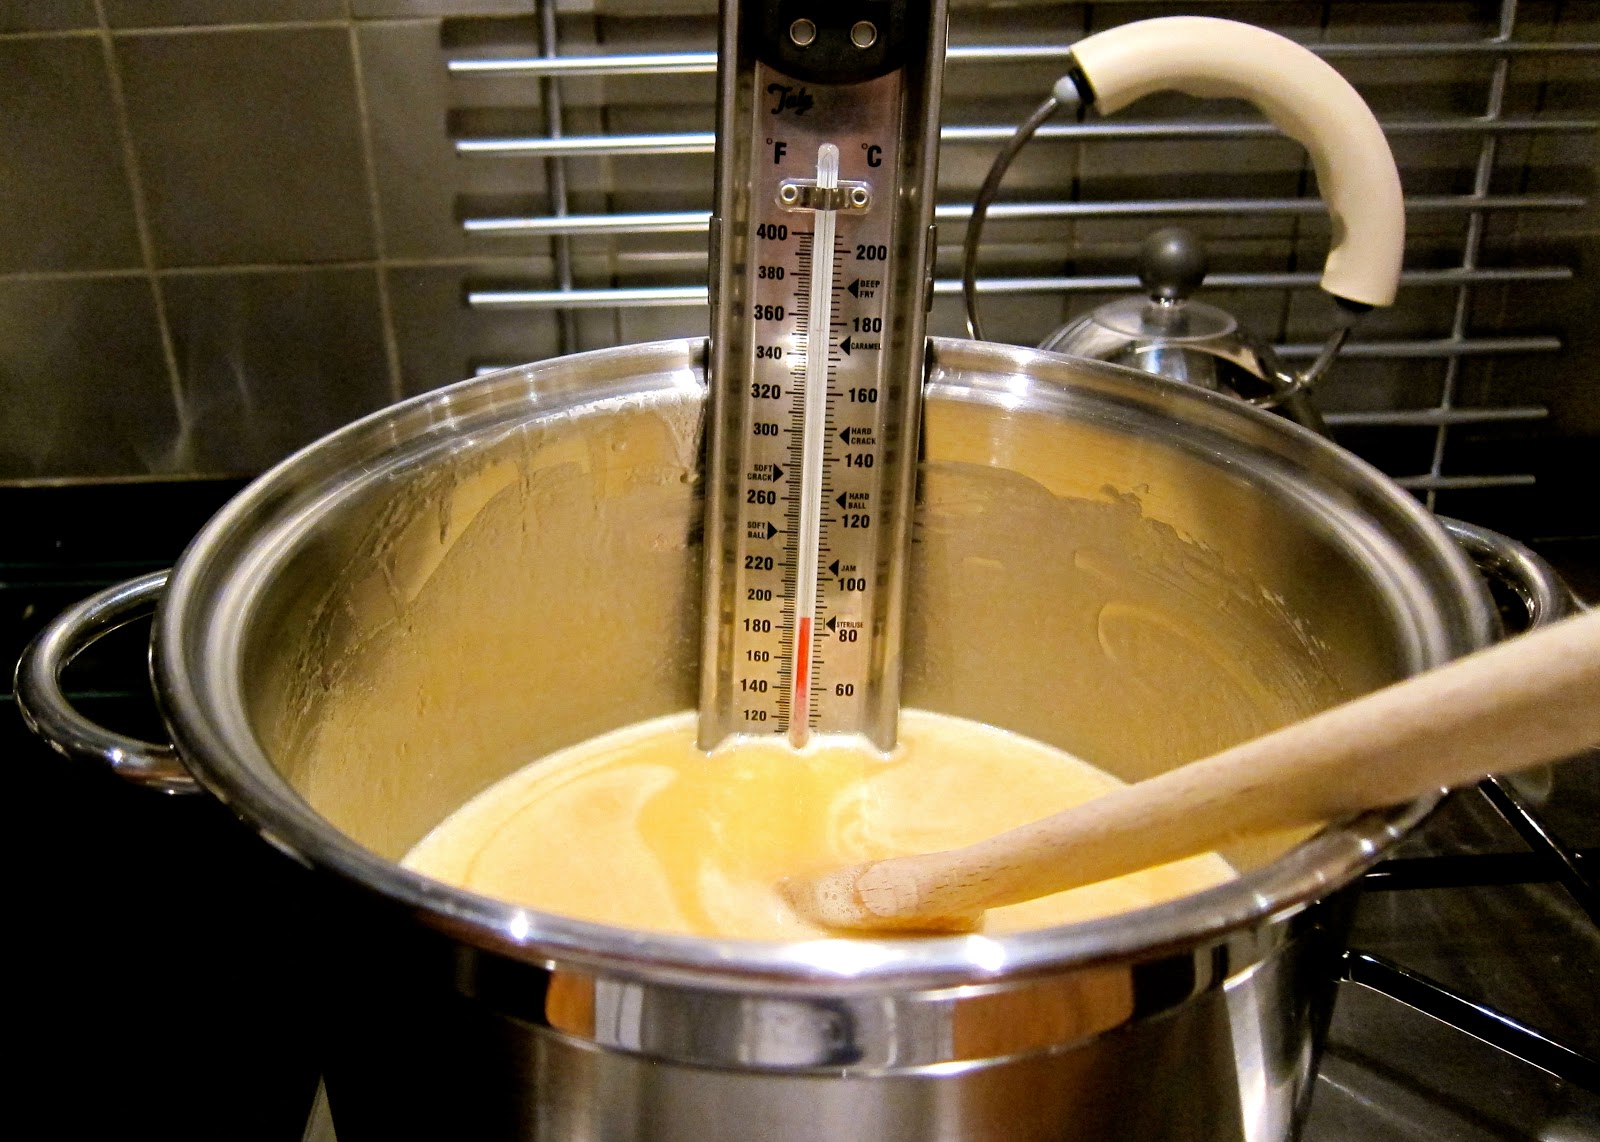
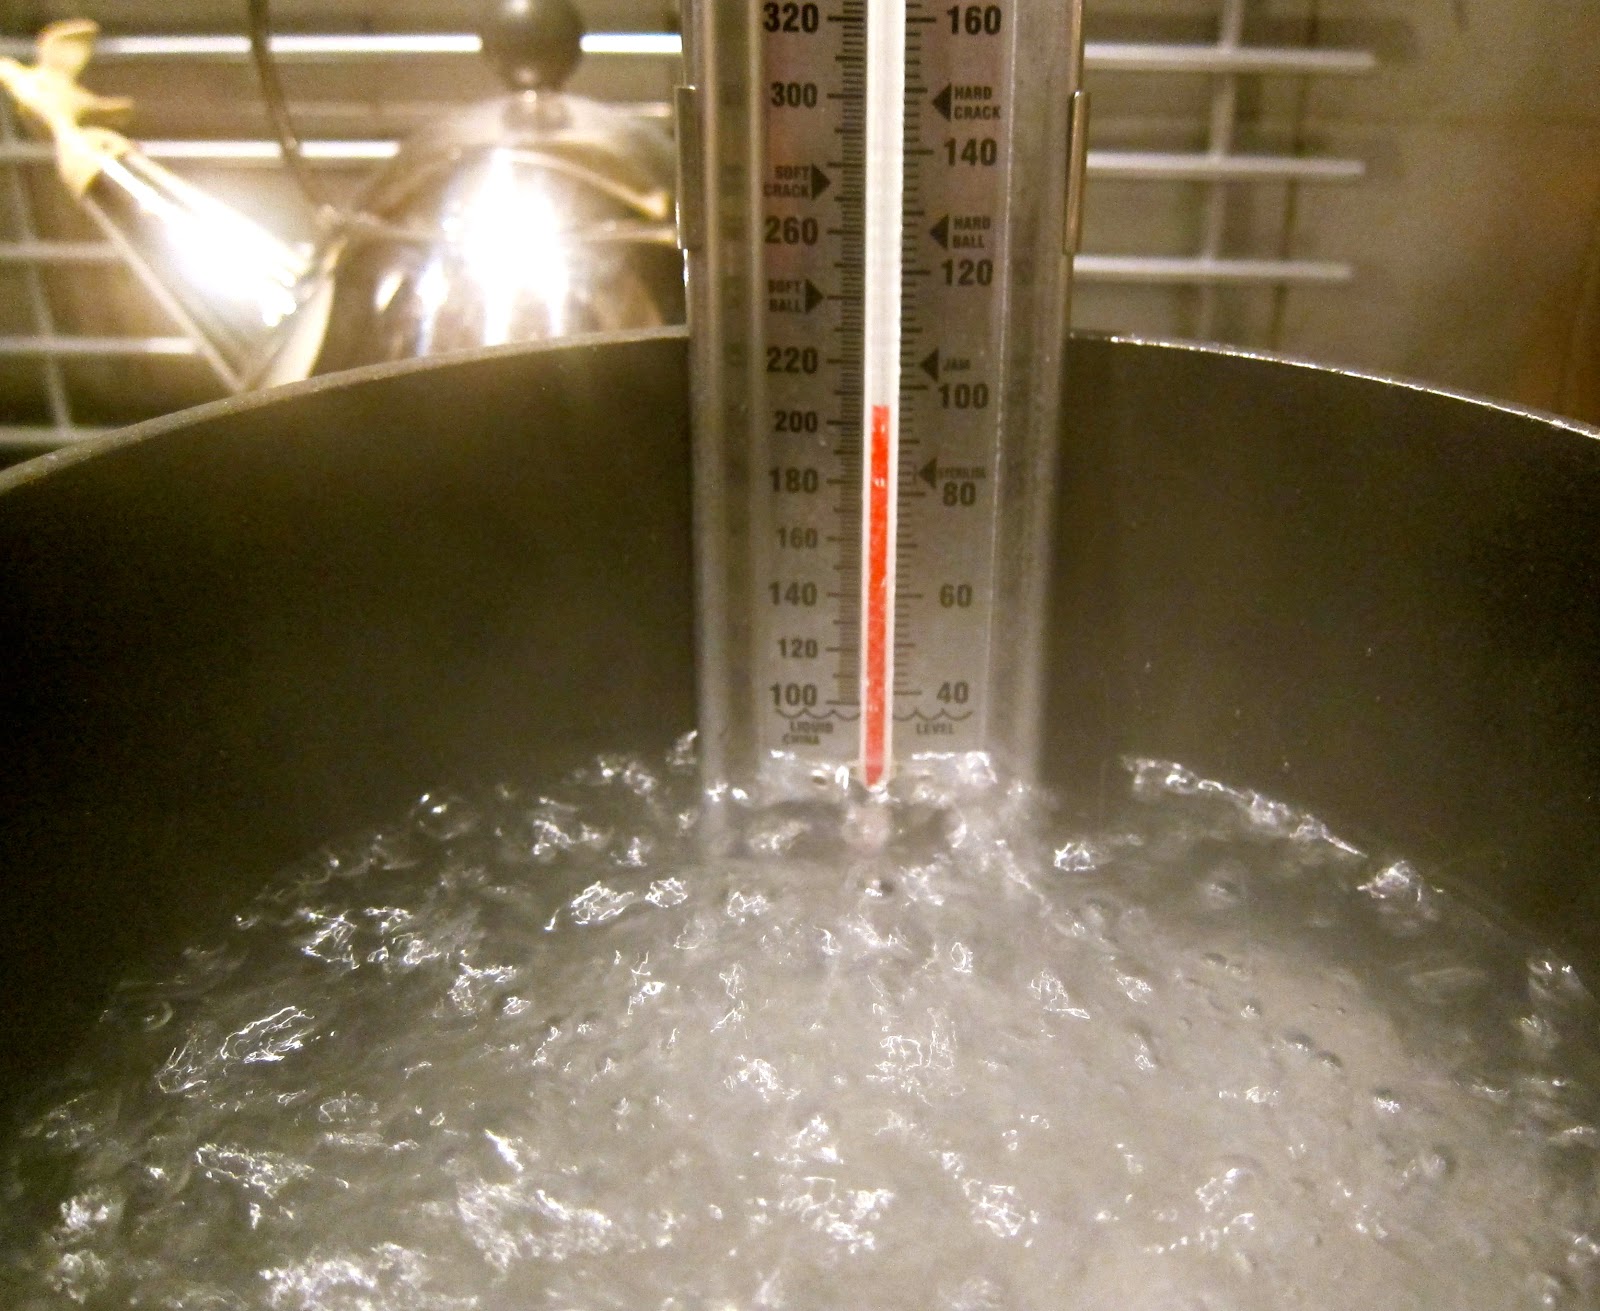
- Bring to boil and then gently simmer for 1 hour, skimming the surface periodically to remove scum.
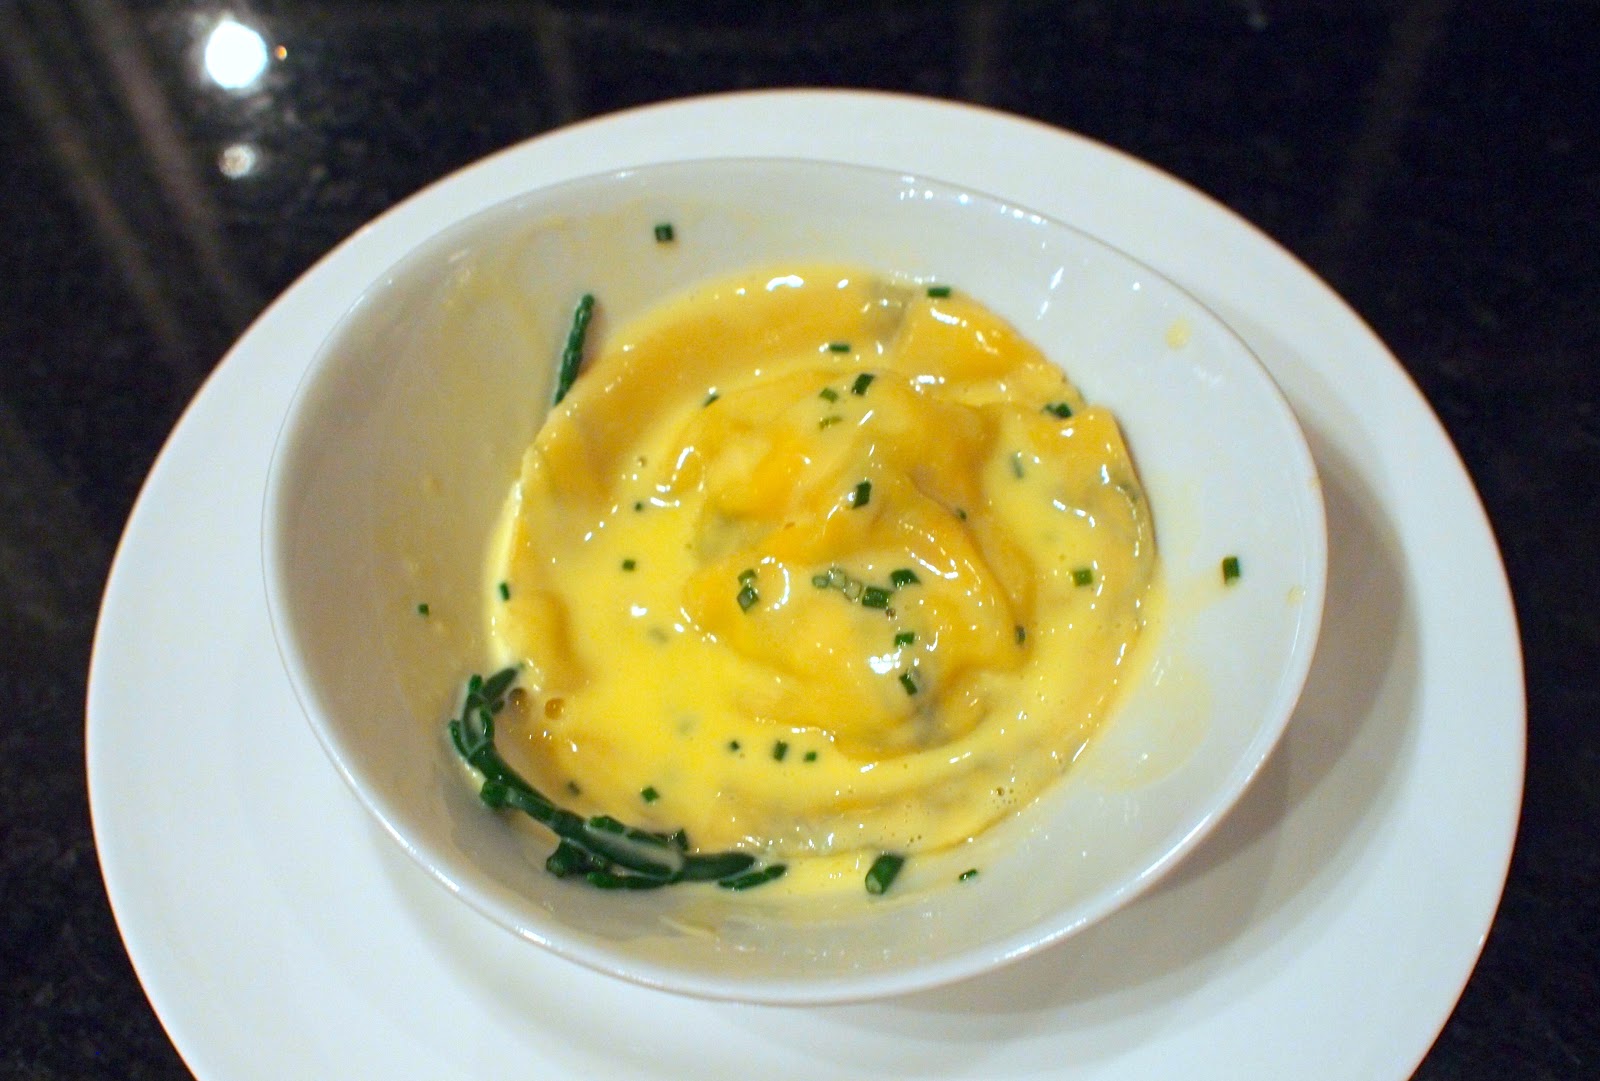
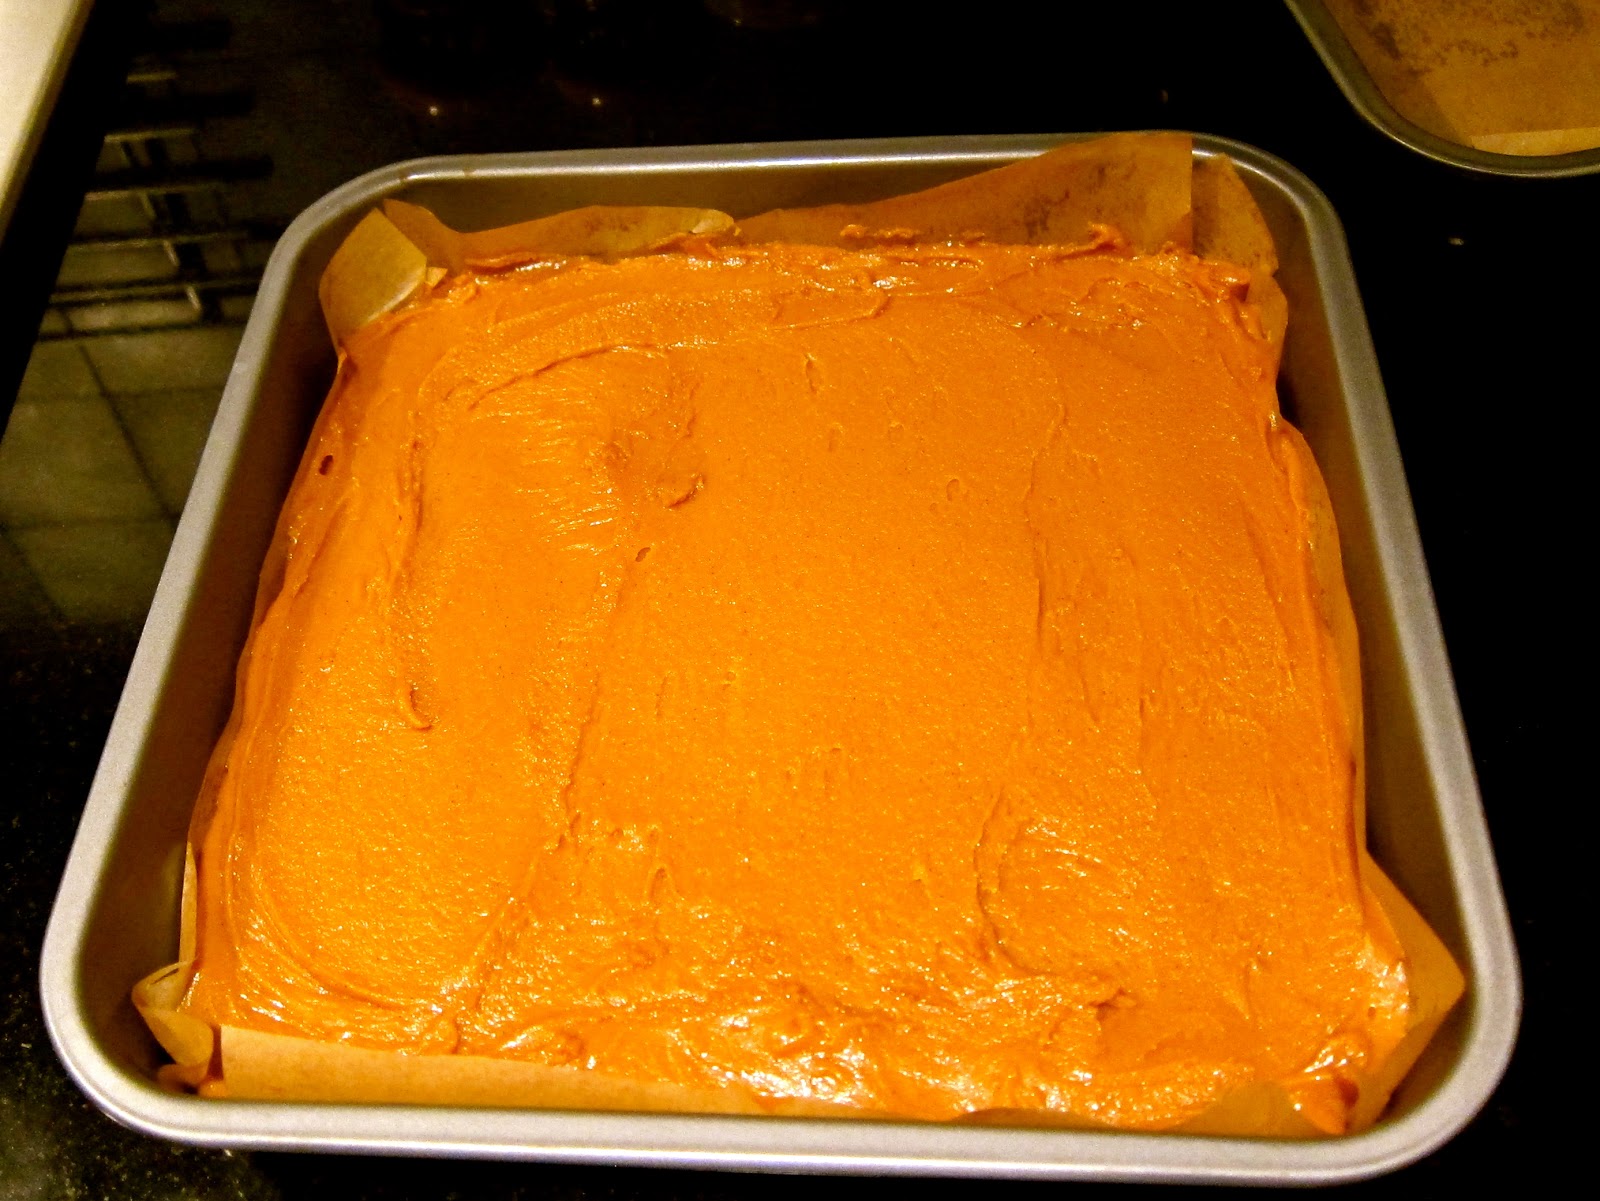
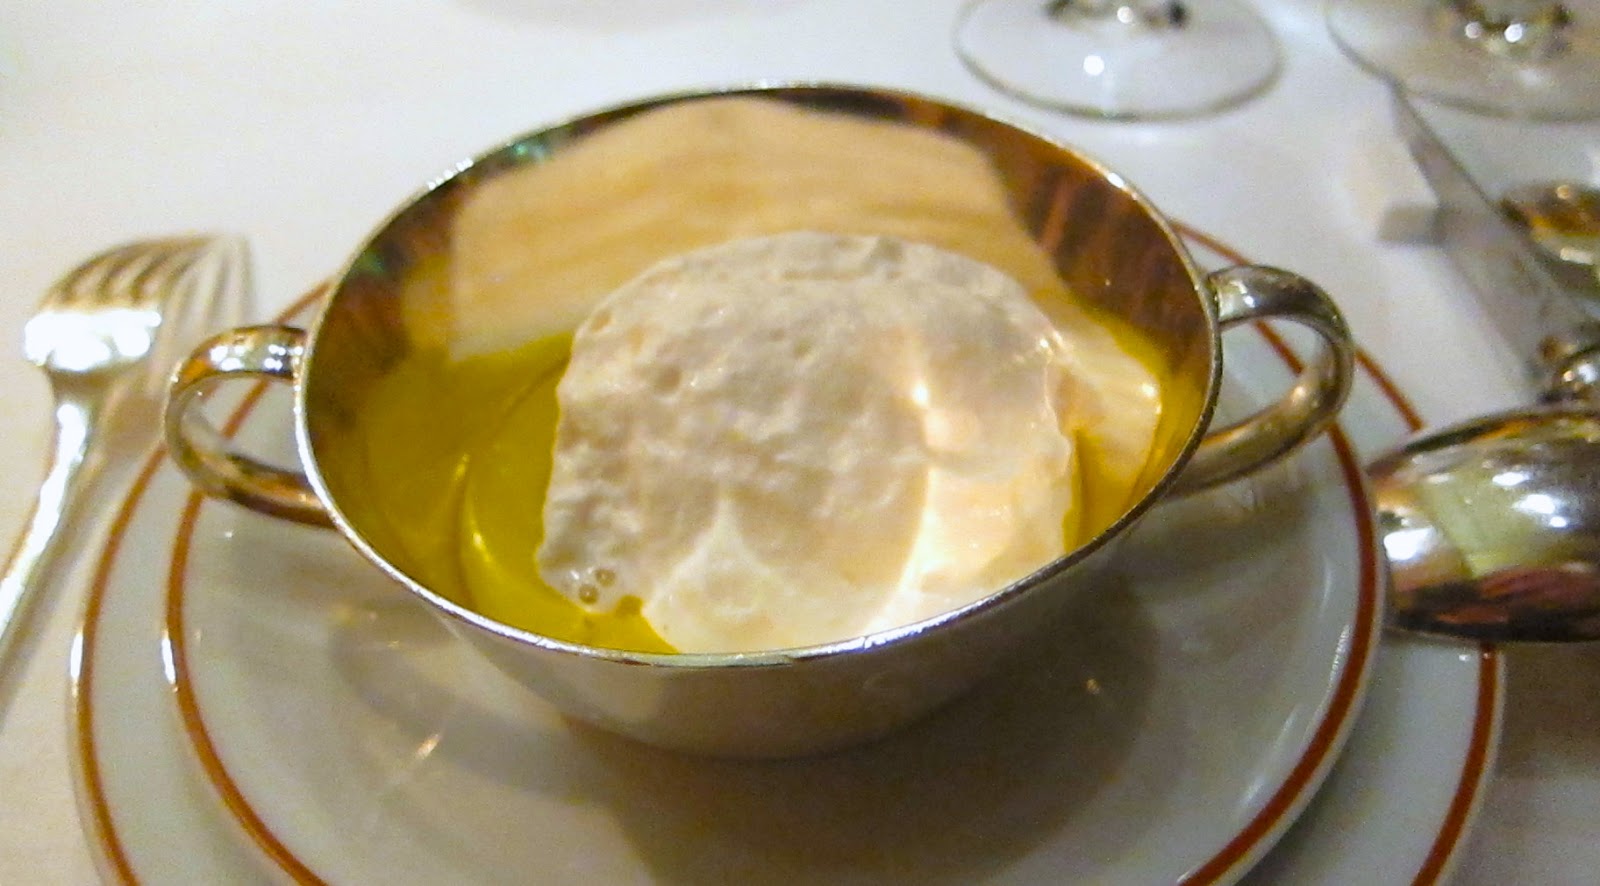
- Pass through a fine-meshed sieve and return to saucepan and gently reduce to half the volume. Gently whisk in double cream and butter until sauce thickens, and add seasoning to taste.
 |
| Roast your lobster carcasses, then flambé them |
 |
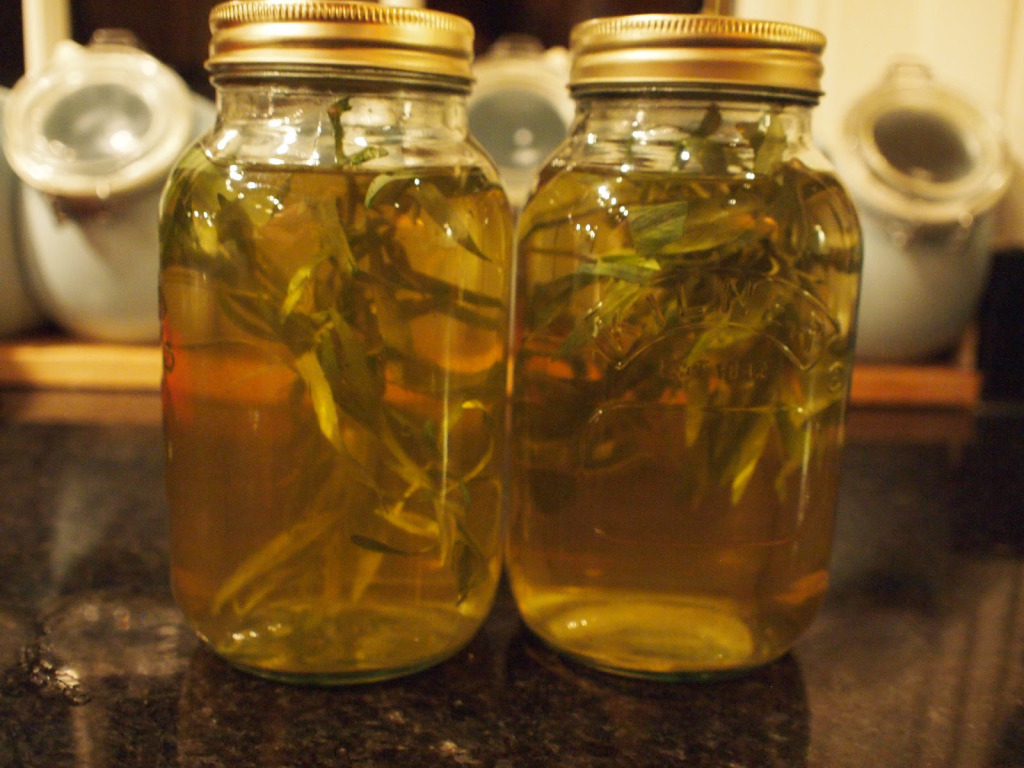
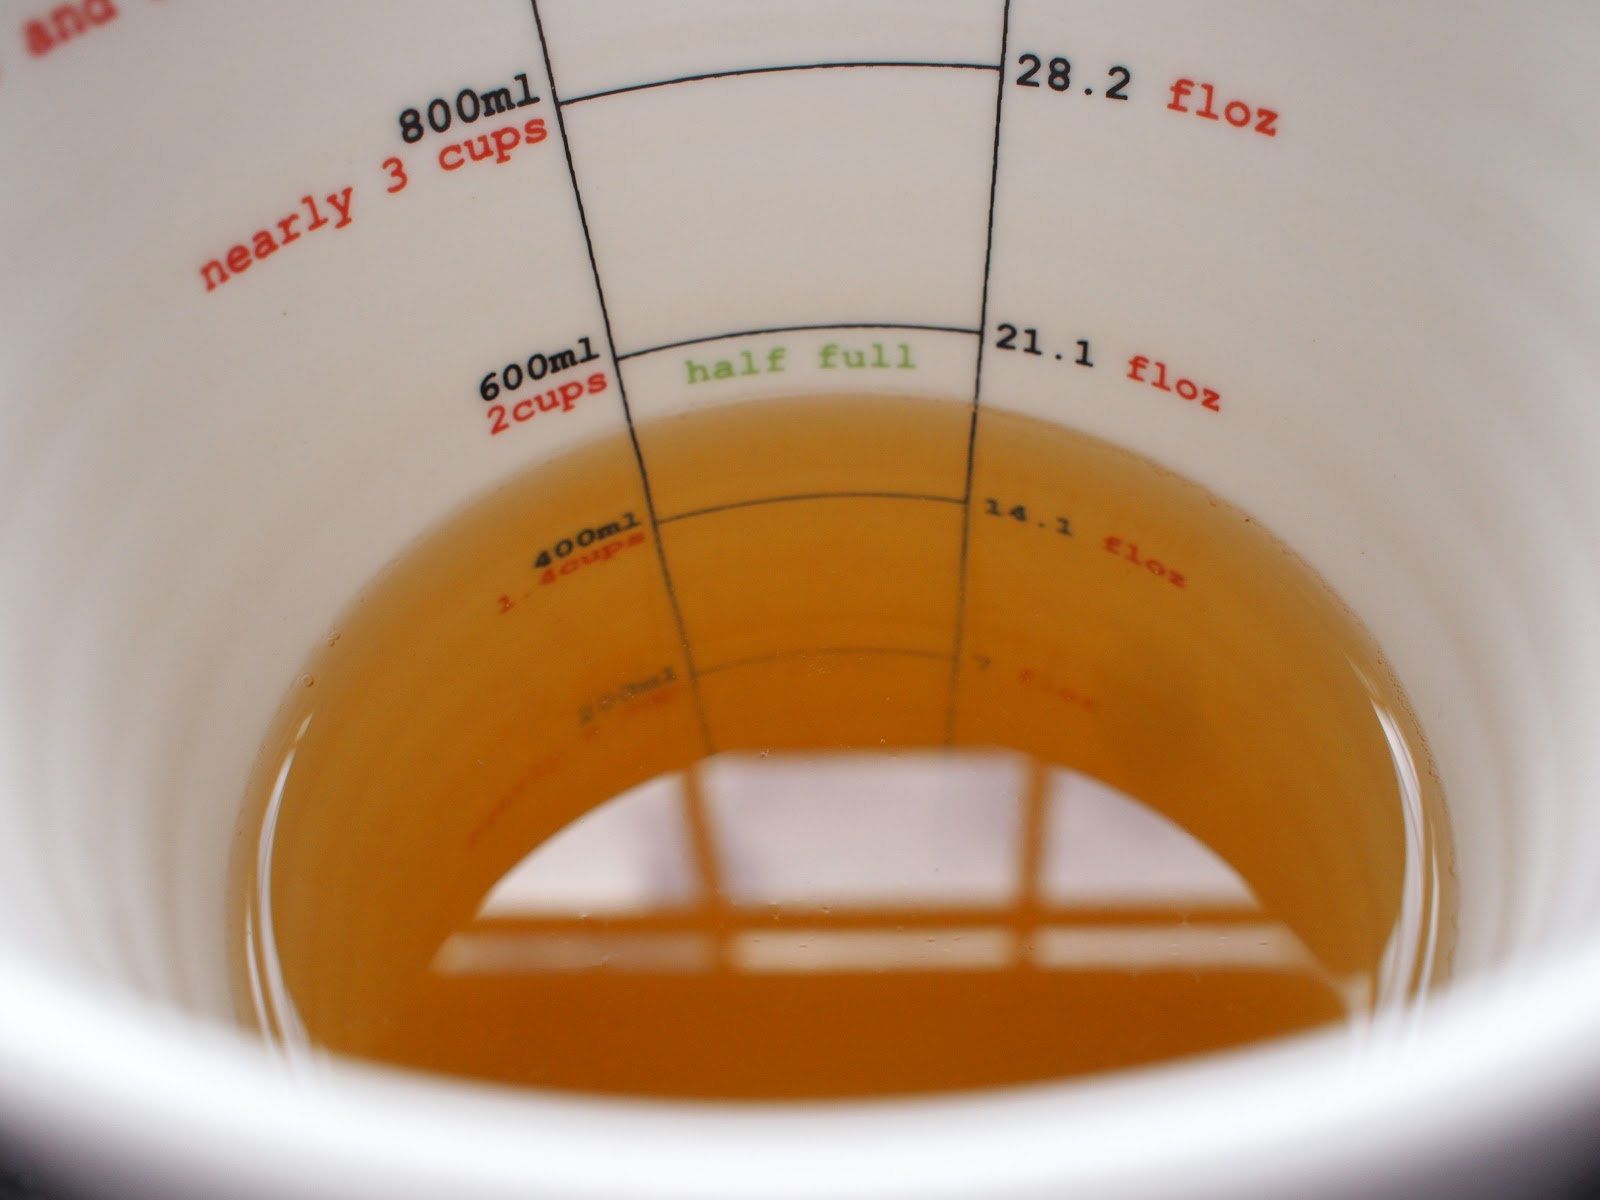
| Boil your ‘stock’ for 40 minutes or so before straining through muslin |
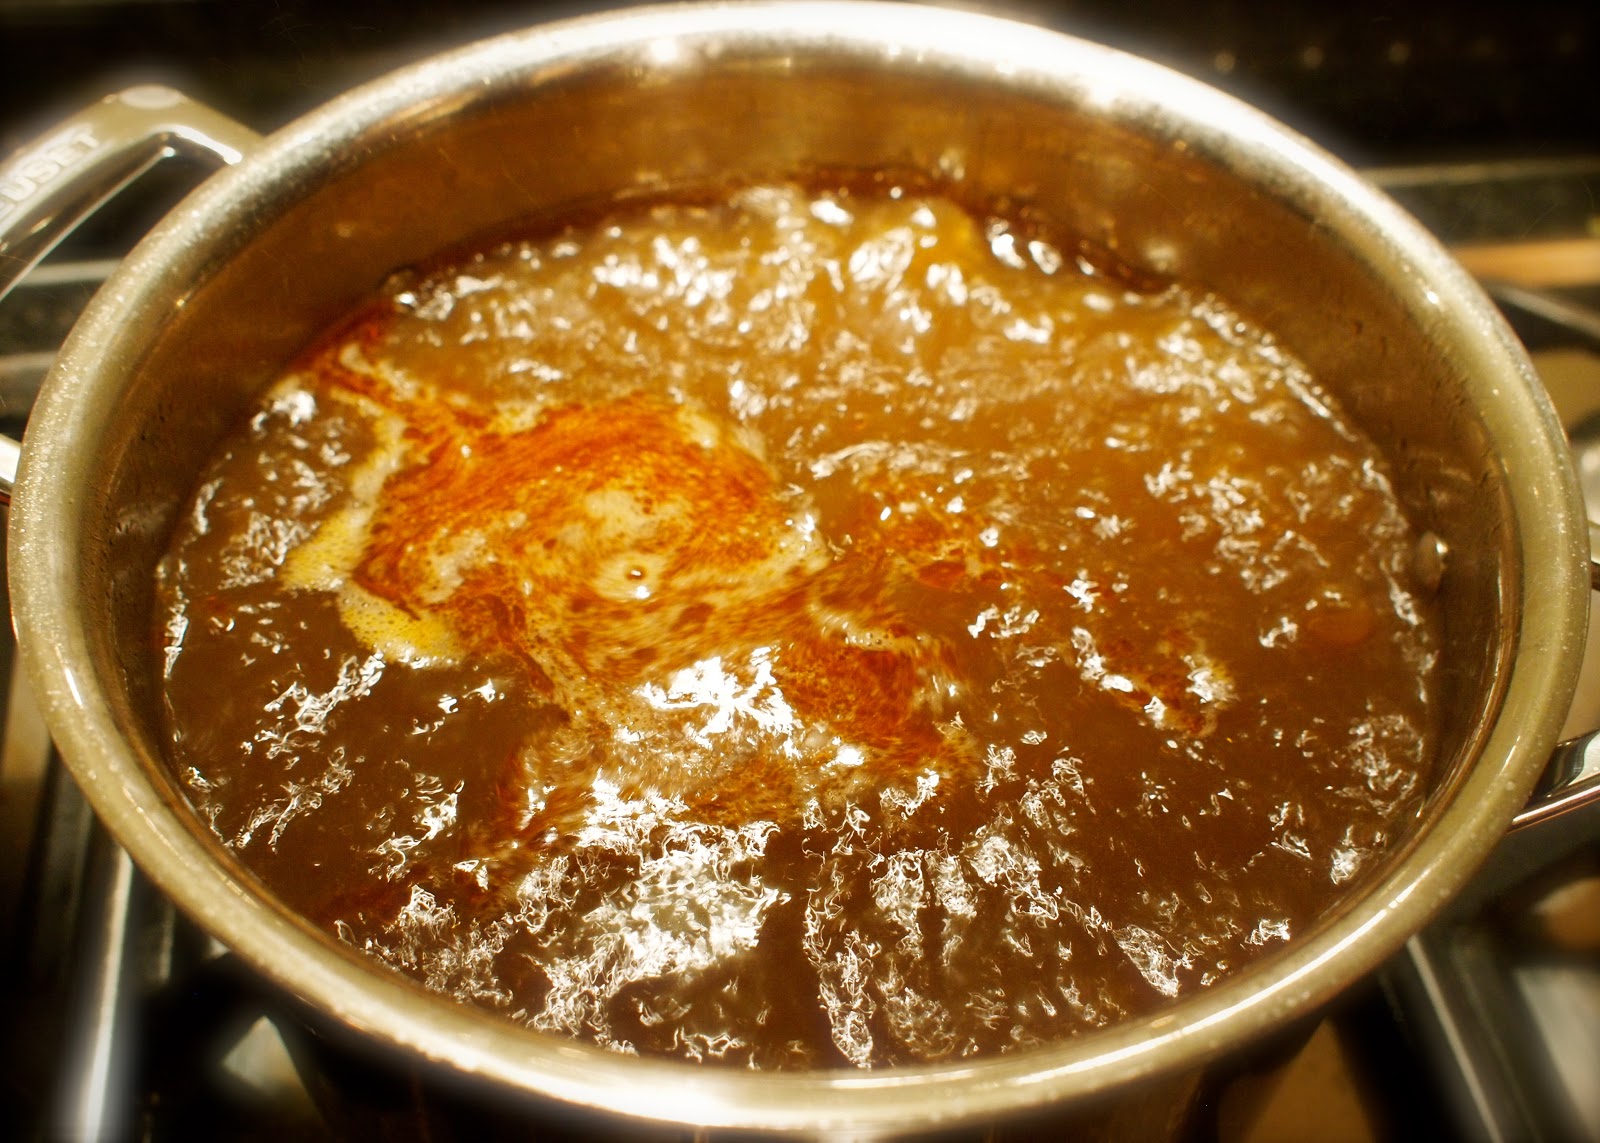 |
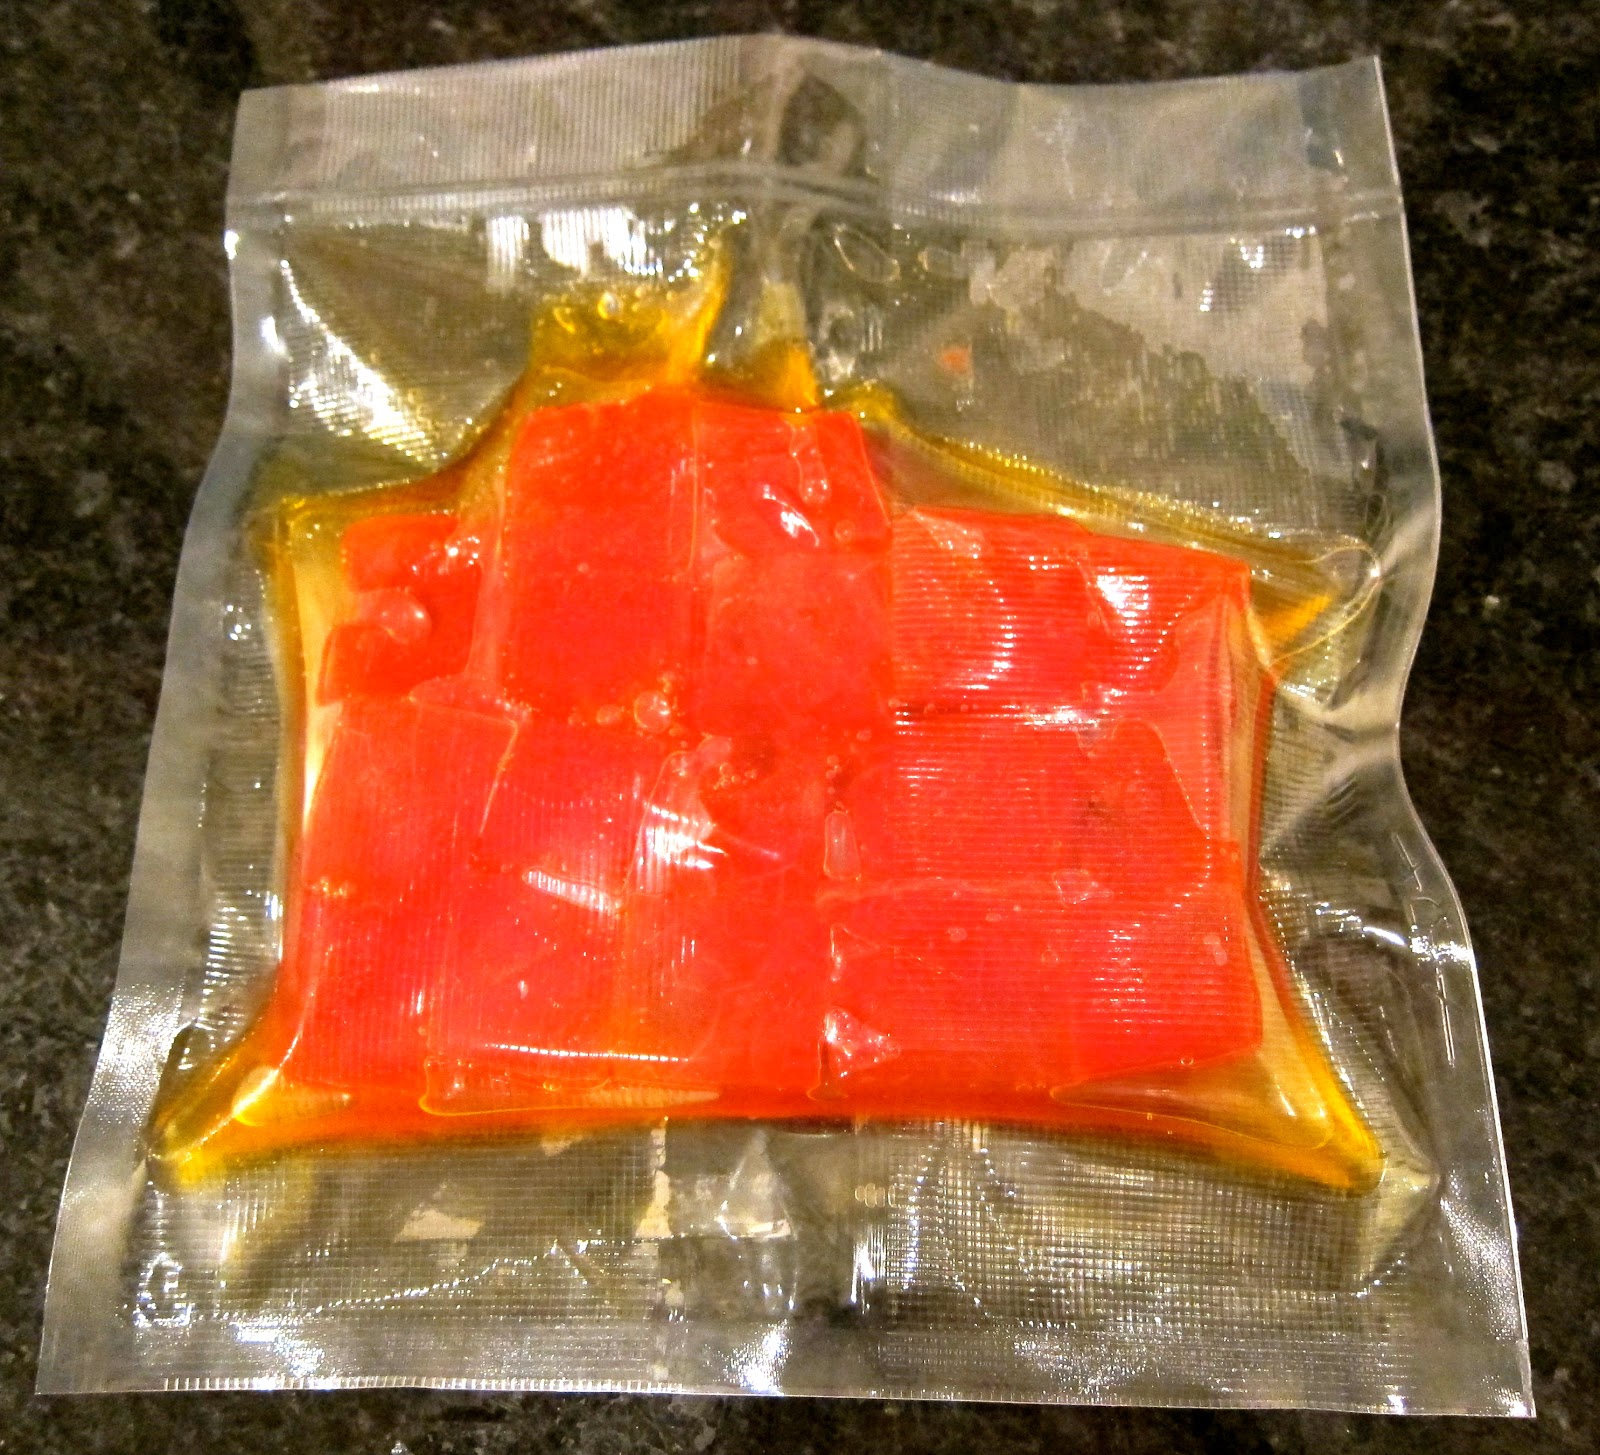
| Reduce your ‘stock’ down until it is thick and dark |
|
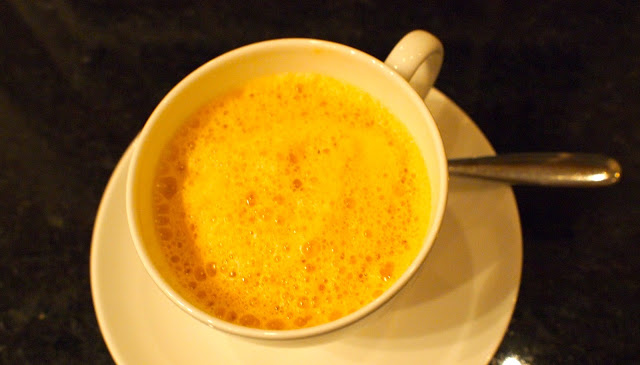
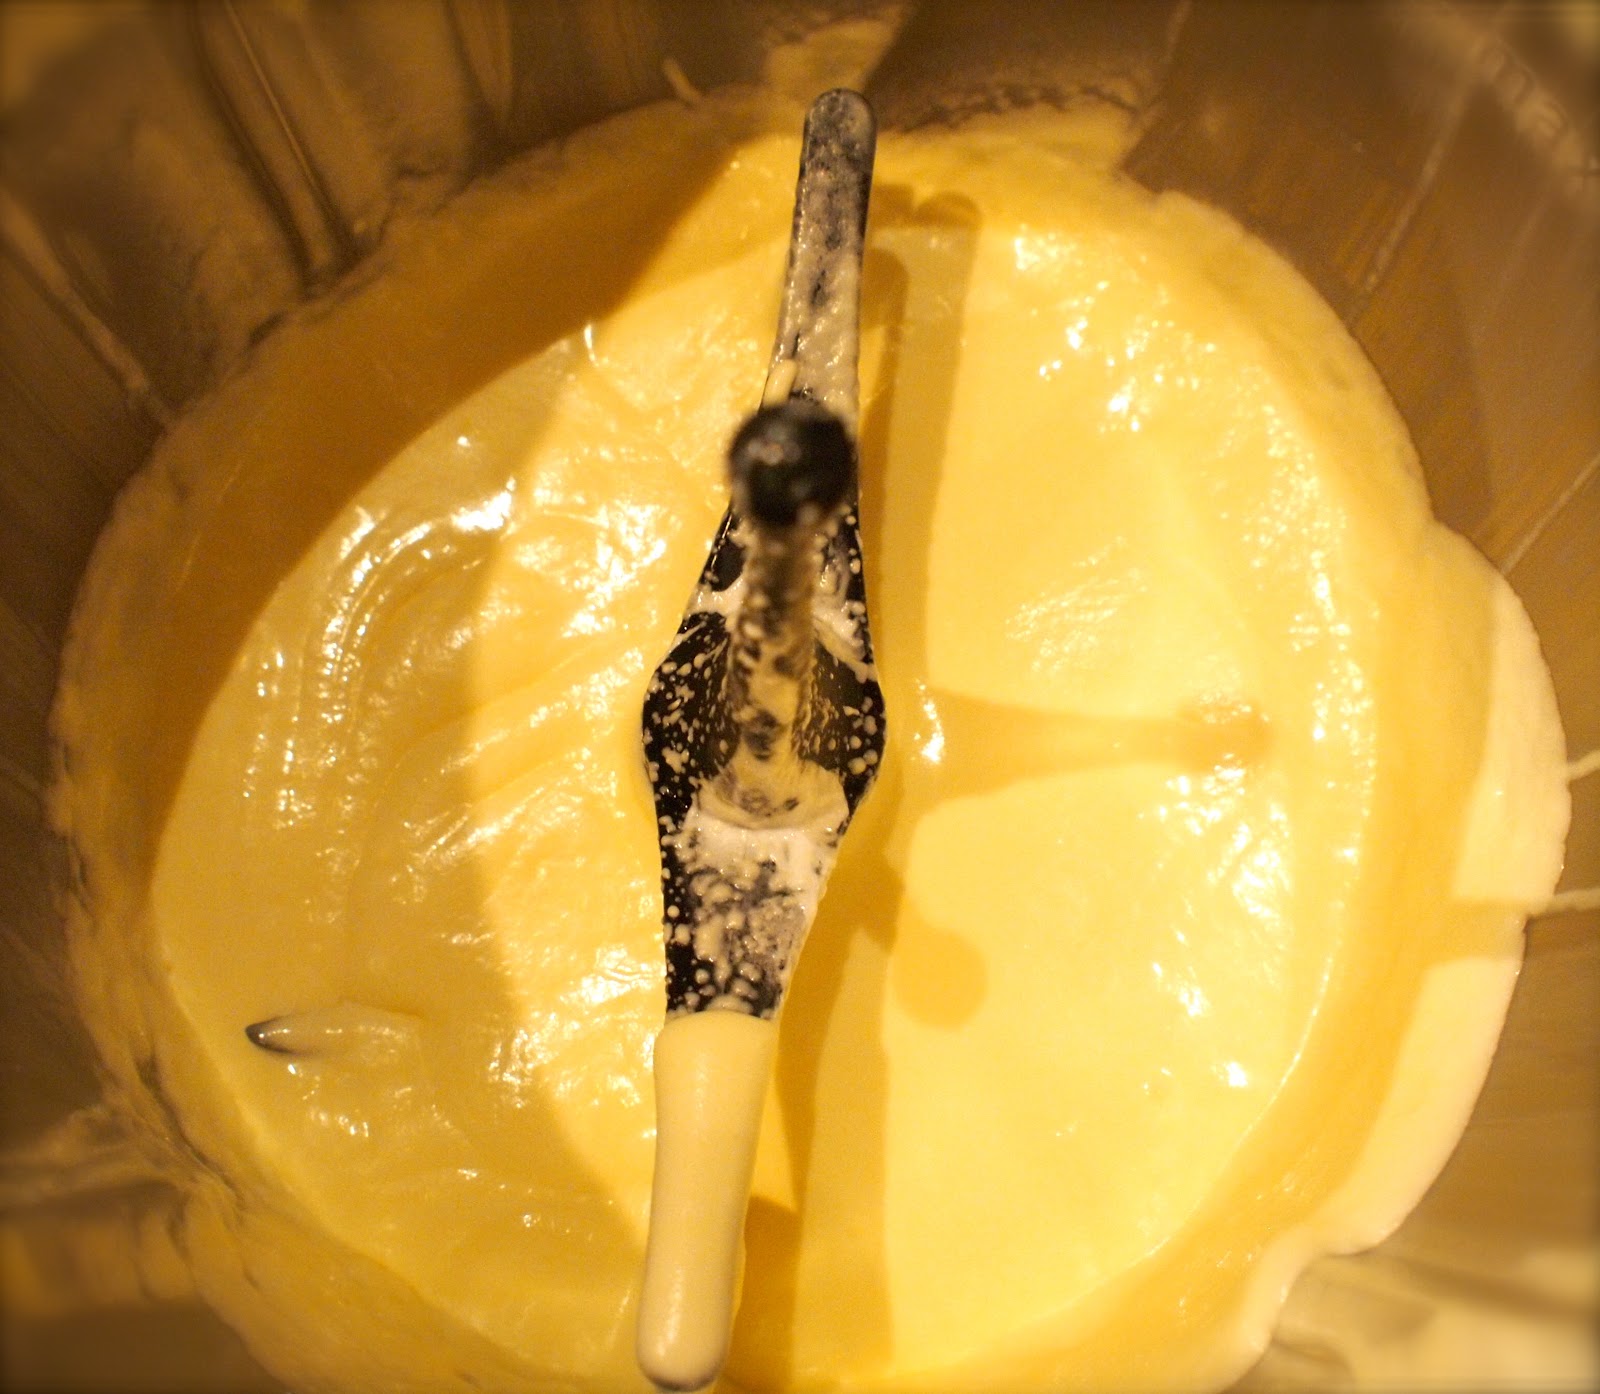
| When ready to serve, mix with cream until you reach the desired flavour intensity |


