• Skip to primary navigation
  • Skip to main content
  • Skip to primary sidebar

Nourished

  • Home
  • Recipes
  • Book Reviews
  • Restaurants
    • 3 Michelin Stars
    • 2 Michelin Stars
    • 1 Michelin Star
  • Journal
    • Art Journal
    • The Renaissance Diary
  • About
    • Contact Me
    • Instagram
    • Loves
    • Suppliers
    • Masterchef Links

Baking

July 13, 2014 Baking

Coconut Milk Creme Patisserie

231d6-p1010309
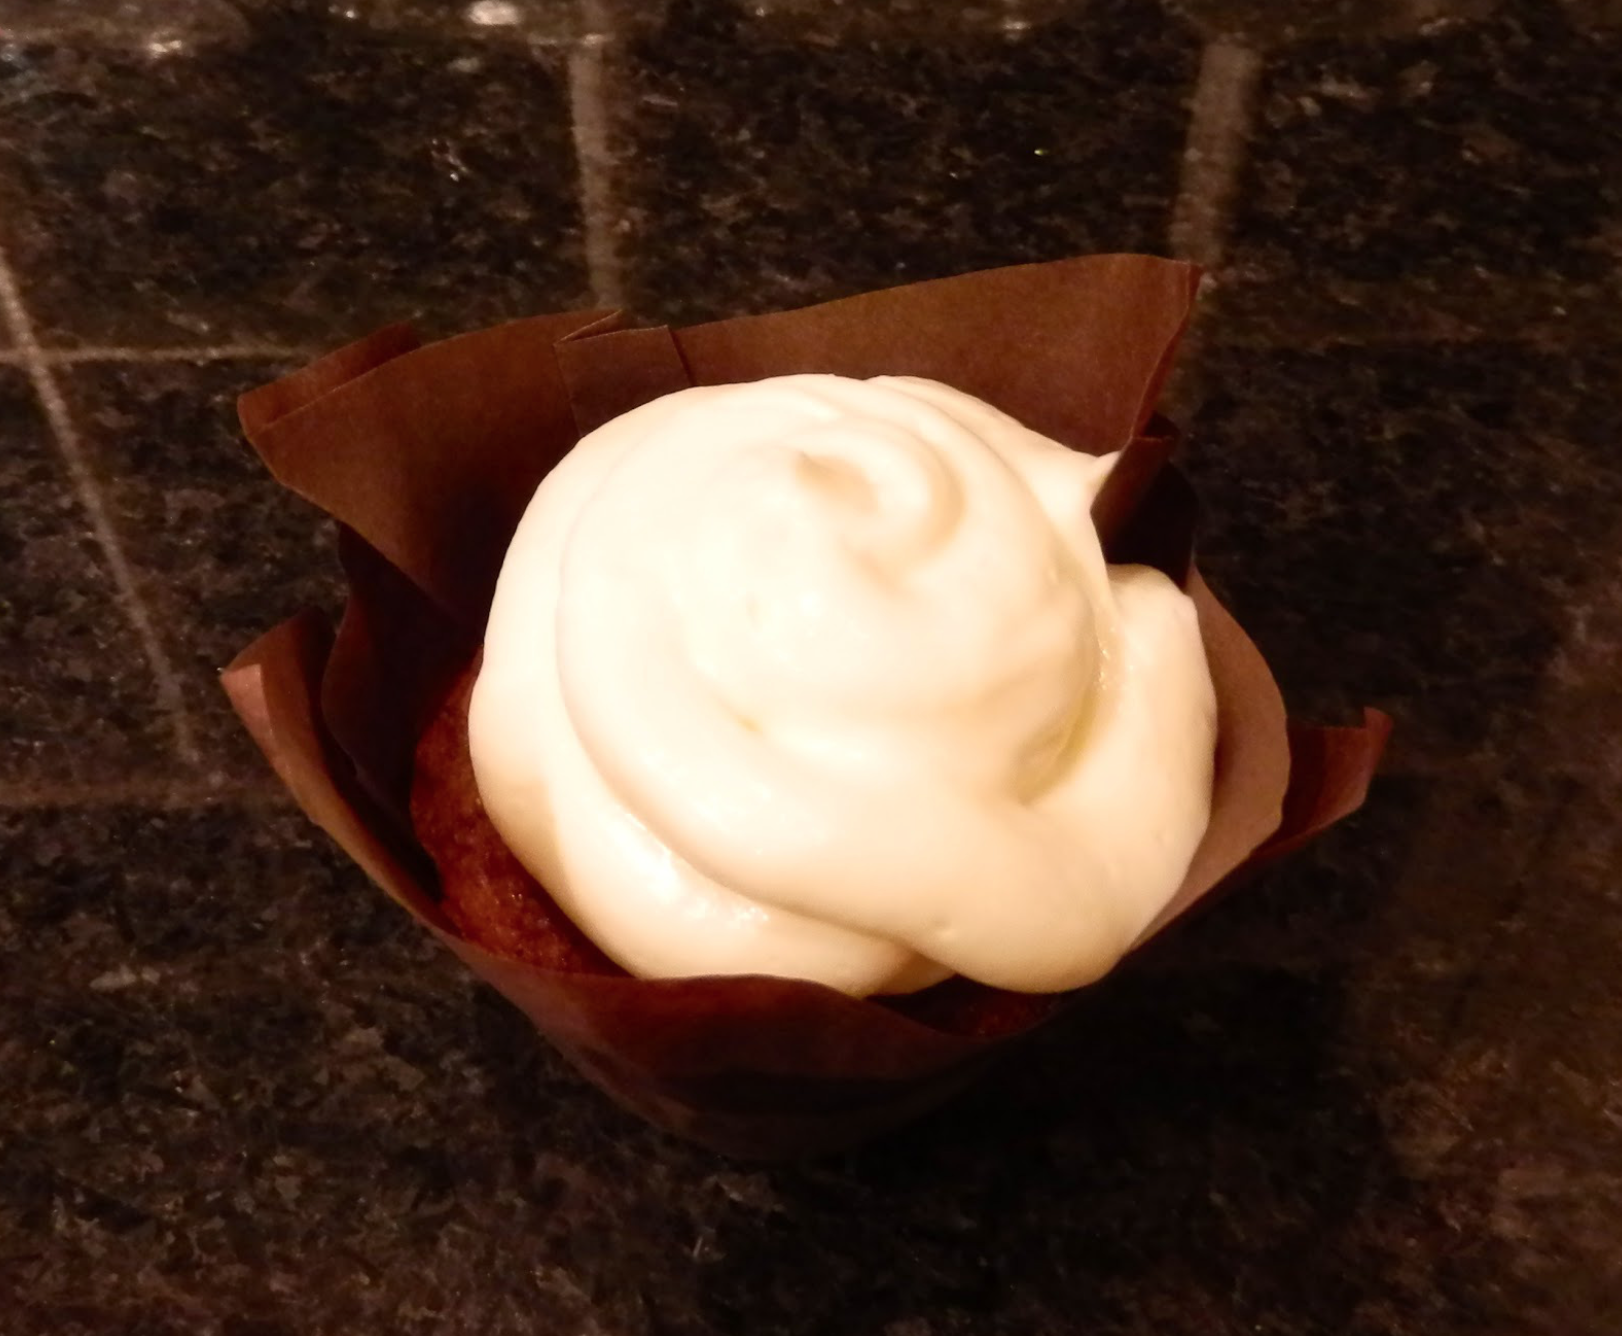
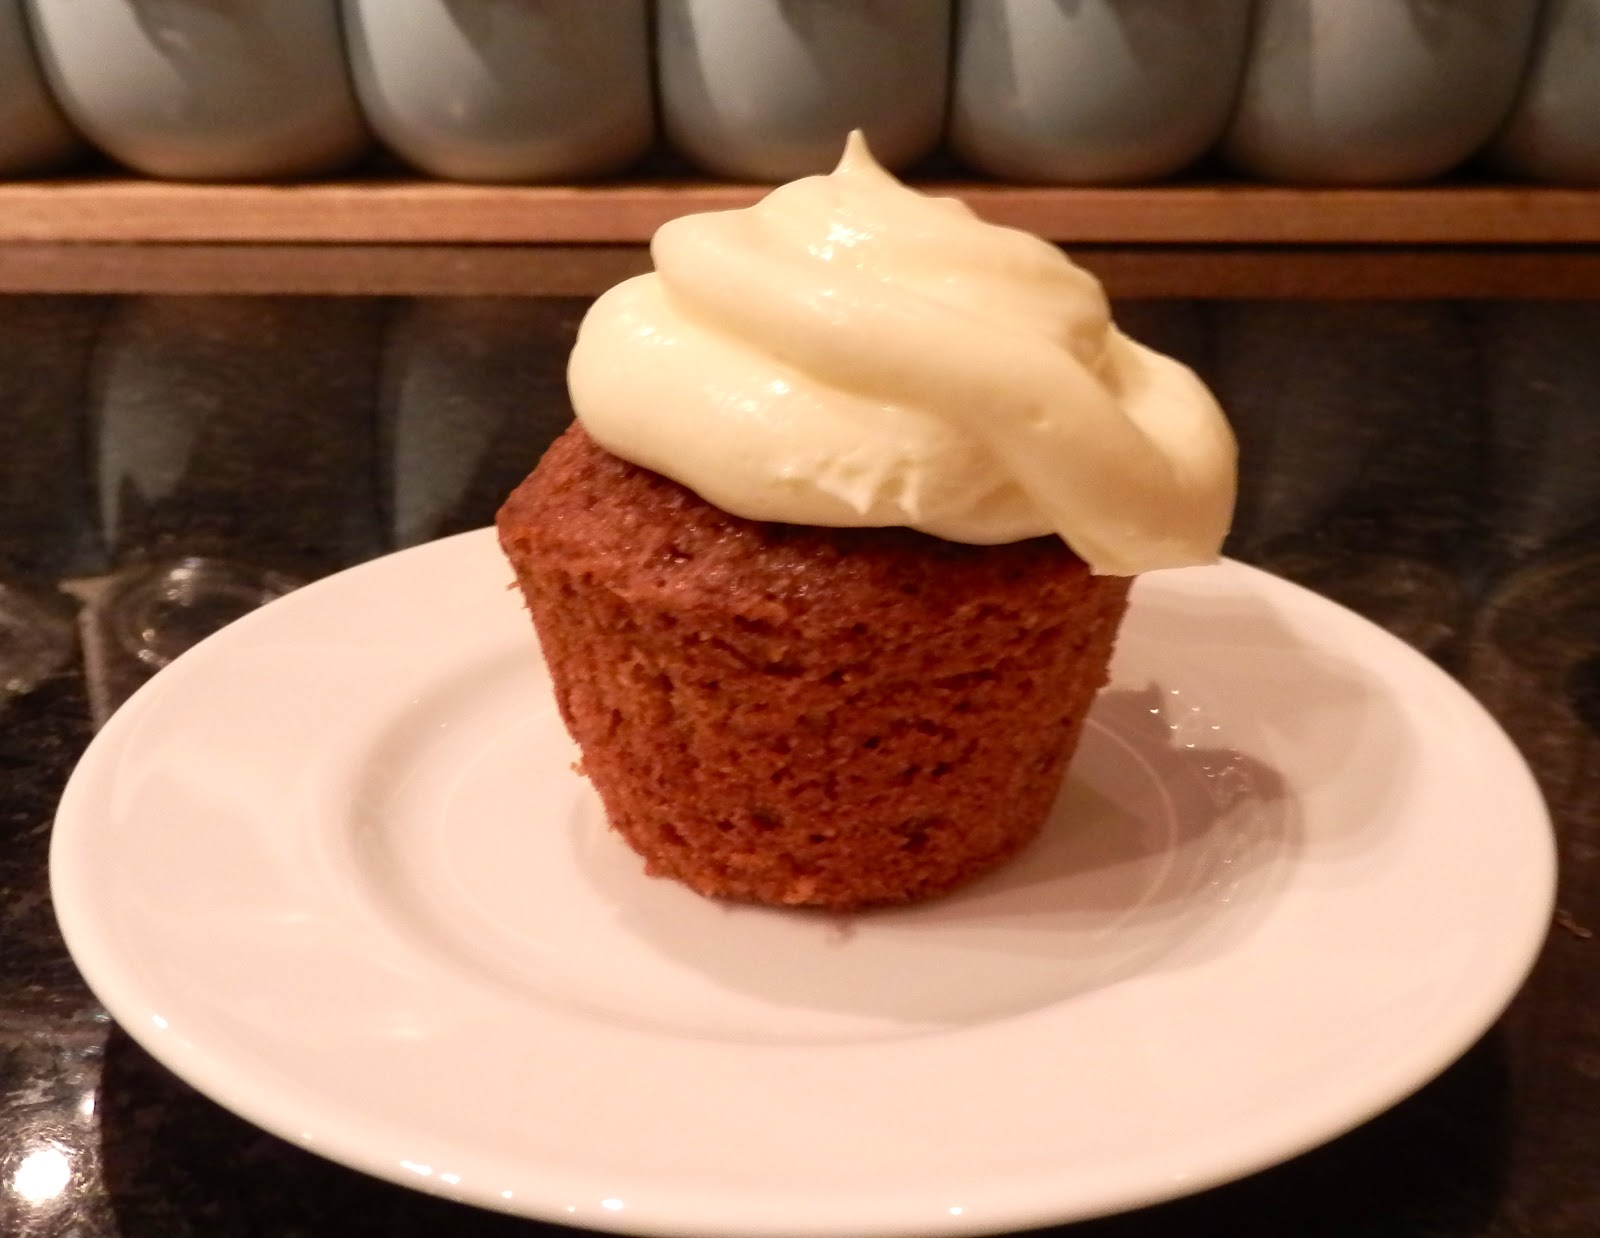
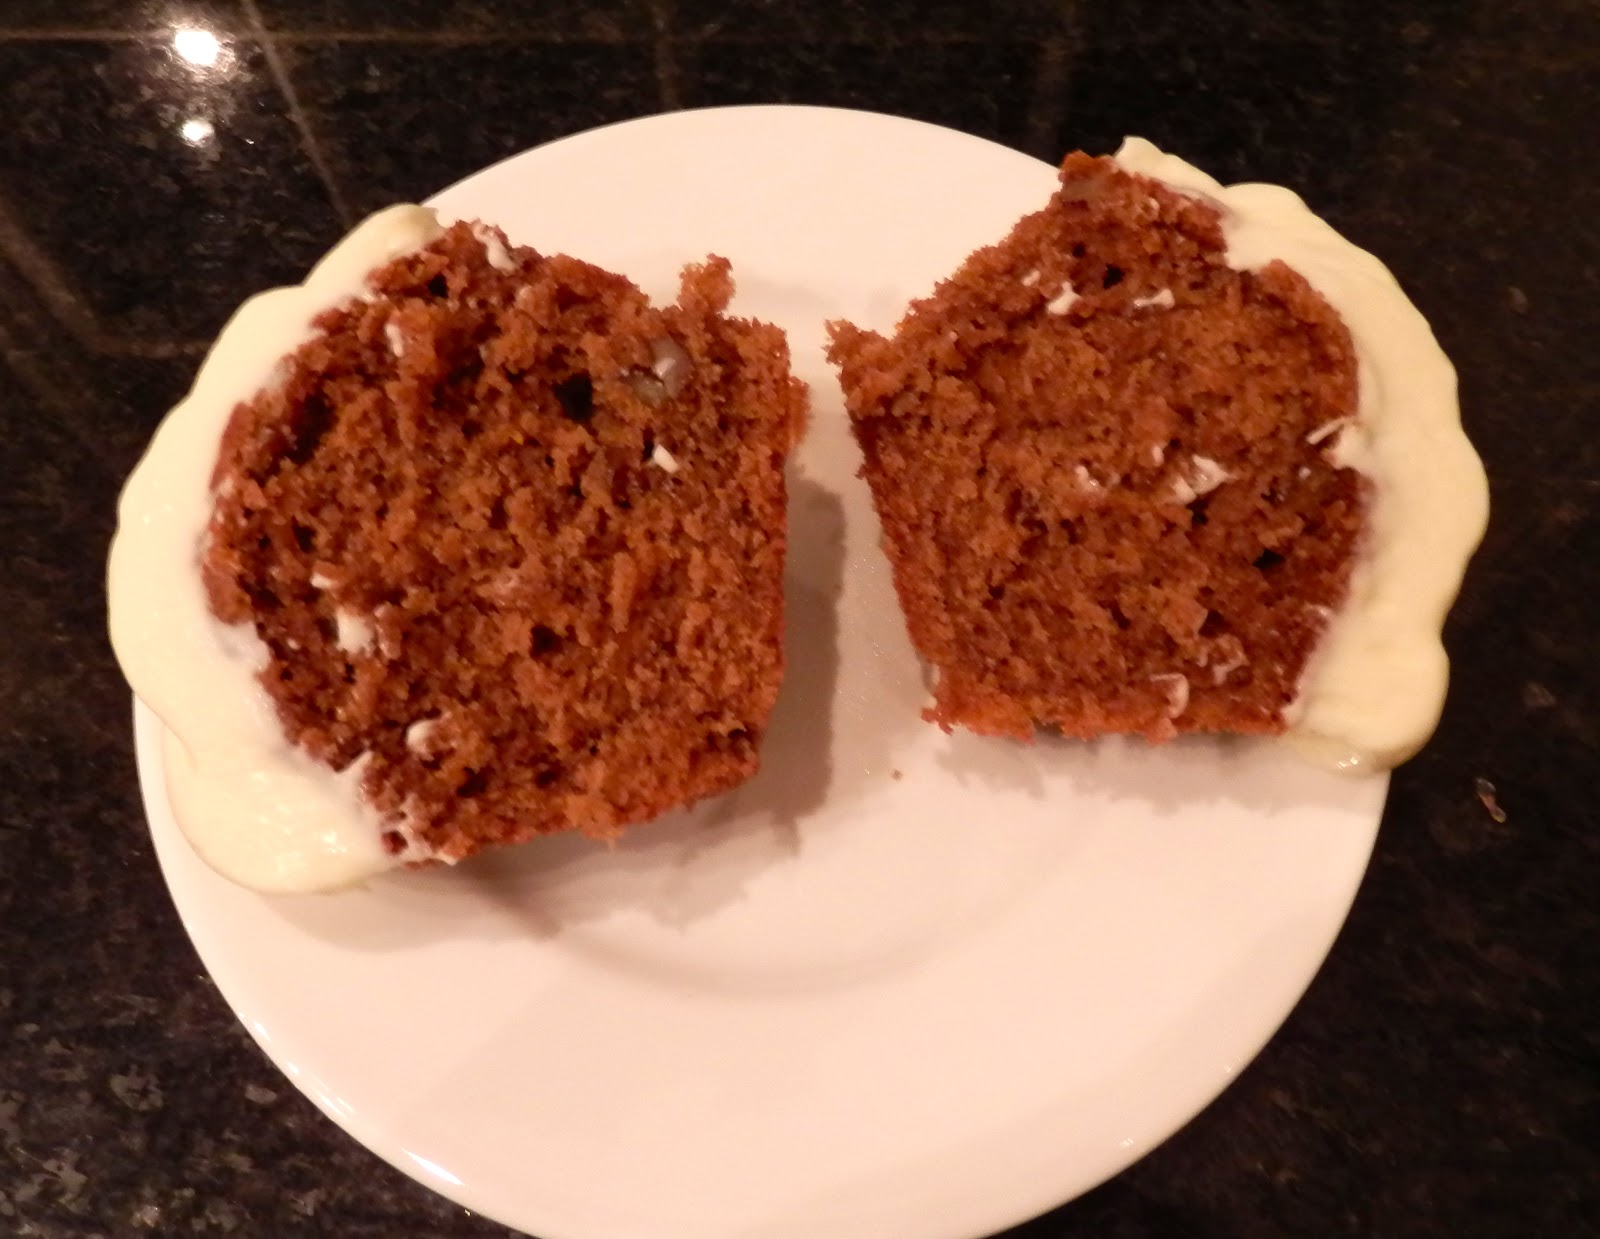
I use the standard Creme Patisserie recipe on the blog a lot, but in a recent recipe (which contained a coconut curd), I thought I might make a coconut milk variation – after all the fat content of coconut milk is quite high, and the consistency can be similar to milk.  I altered the recipe slightly, but that was because I included 30ml of Malibu, and an increased quantity of flour – I wanted to be able to pipe the creme pat into quite stiff peaks on the plate, for a specific dessert.
Ingredients:

300g coconut milk 60g unrefined caster sugar
30g unsalted good quality butter
30 ml Malibu 45g plain flour
3 free range egg yolks
the seeds from 1 vanilla pod
pinch of salt

Method:

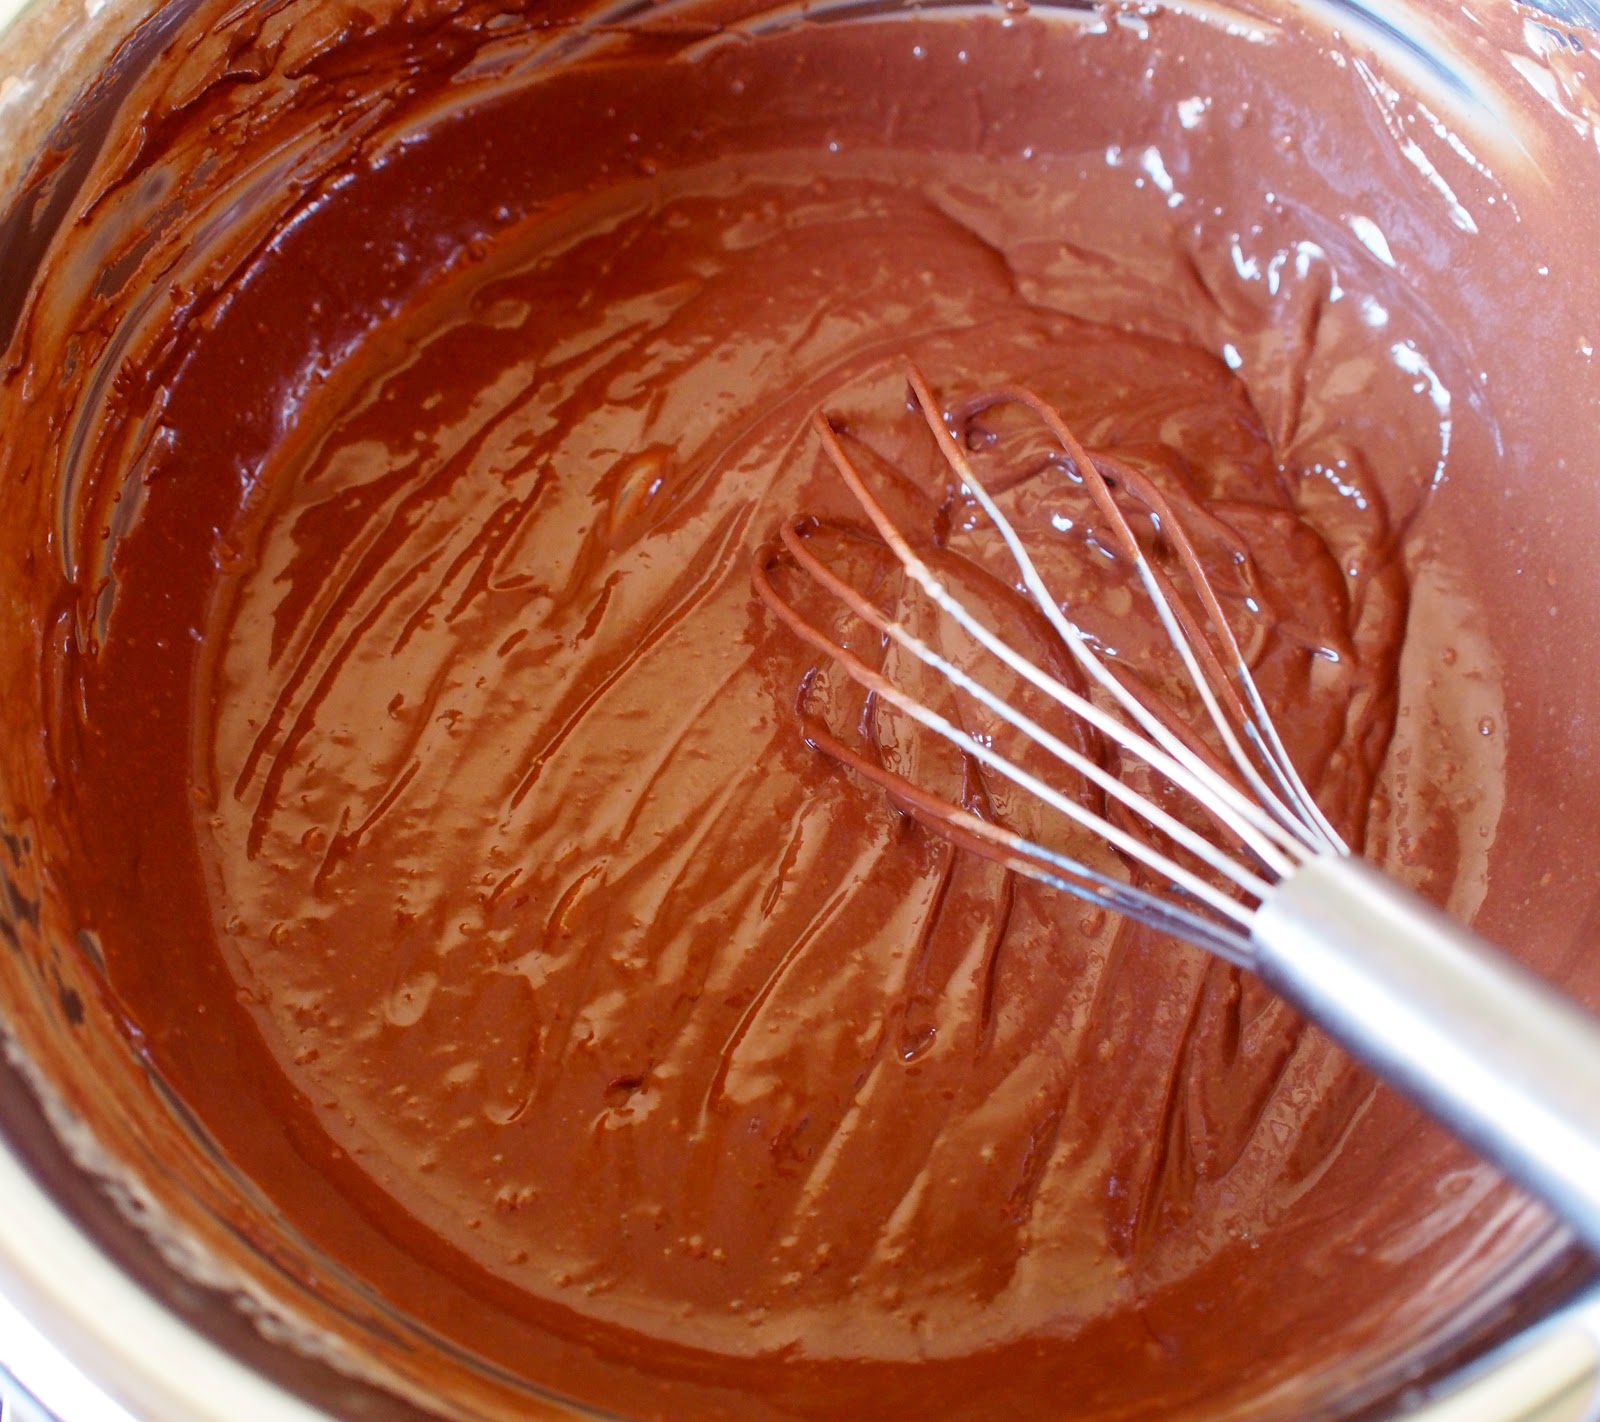
Put all the ingredients into the Thermomix bowl and cook for 7 minutes at 90C, speed 4.

Give it a quick whizz at the end to ensure it’s smooth, then pour into a bowl and cover with cling film until it’s cool.
 
Yes – that’s it!  Keep it in your fridge until you require it.

Oh. And if you’re stupid enough to stick in a block of quite cool butter, do put the lid on properly and start the machine quite slowly.

May 6, 2013 Heston Blumenthal

Heston Blumenthal’s Perfect Burger

Yay, it’s finally BBQ season… It may look like I only cook chocolate delice and frangipane tarts, but hey, my kids like a burger as much as the next person.  Of course that wouldn’t be a generic supermarket burger, and so finally the opportunity to try Heston’s perfect burger recipe.  I’d seen this recipe on his How to Cook Like Heston show, but we didn’t fire our BBQ at all last year, and so the itch grew and grew.

Why this recipe in particular? Well, to cut to the chase, Heston lines the minced meat in such a way that when you bite into the burger, the burger breaks down in your mouth… Confused?  Trust me – this is one technique that’s worth having in your BBQ arsenal.  I’ve subsequently added additional flavourings to the burger, but the basic principle remains the same. You can watch the technique here.

To go with the perfect burger, the best burger bun recipe I’ve found to date.  This enriched dough recipe comes courtesy of The Fabulous Baker Brothers, and really is an incredibly simple dough to make.  On the second occasion I used the same recipe to make hot dog bus too, just leave off the egg glaze and shape them into longer batons.  I quick dusting with flour will ensure that you end up with a soft bun.

The one thing I have learnt after a weekend barbecuing, don’t spend hours making all those sides.  I soon realised that all people were interested in were the burgers, hot dogs and ribs… Soul destroying – my amazing coleslaw with grated apple and a touch of orange zest will end up as tomorrow’s lunch.  Even jacket potatoes were jettisoned by most people as they headed straight for the protein.  And let’s face it – this protein overload won’t matter in the long run – because this weather won’t last…  So – get your BBQ on and get baking…

For the buns:
500g strong white flour
1 tbsp caster sugar
25g lard [I substituted butter]
10g salt
200ml tepid milk
5g dried yeast
100ml tepid water
1 egg, beaten
Sesame seeds, to sprinkle over

[Additions: I added an egg to the dough, and used golden caster sugar.  I also used poppy seeds rather than sesame seeds because one guest had an allergy] 

Method

  • Weigh the flour, sugar, lard and salt into a large bowl and add the milk. Mix the yeast with the tepid water and mix thoroughly into a dough. Turn it out onto a lightly floured surface and knead for 10 minutes until your dough is soft and elastic. Leave to rise for 1 hour in a covered bowl left in a warm place.
  • Divide the dough into 10 pieces and on a lightly floured surface roll into balls with your hands. Then using a rolling pin flatten into 10cm baps on a floured surface. Place on baking trays lined with baking paper and brush beaten egg over each bap. Cover loosely with cling film and leave them in a warm place for 30 minutes
  • Brush with a second coat of beaten egg and sprinkle a pinch of sesame seeds onto each bap. Cover loosely with cling film and leave for a final 30 minutes to rise.
  • Meanwhile preheat your oven to 200°C/fan 180°C/gas mark 6. Bake the baps until they are perfectly golden, about 10-15 minutes

For the burgers
1.8kg sirloin, cut into 3x3cm cubes
13g salt

For the sauce

90g tomato ketchup
145g mayonnaise
15g French’s mustard

To serve

10 sliced burger buns, toasted
10 slices gruyère cheese
2 baby gem lettuces, broken into leaves
2 vine-ripened tomatoes, sliced
½ sweet onion, peeled and finely sliced
2 dill pickles, sliced lengthways

Method

  • Place 600g of the cubed sirloin in a bowl and sprinkle with the salt. Mix together, cover with clingfilm then place in the fridge for 4 hours. The salt will penetrate the meat during this time and begin to draw out some of the moisture.
  • Using a meat grinder fitted with a 3mm plate, grind the unsalted sirloin then refrigerate this meat until very cold. Combine the cold ground meat with the cold, salted sirloin cubes and mix well.
  • Before you begin the final grinding, place two layers of clingfilm across a chopping board or baking sheet and position it under the mouth of the grinder. Using a coarser, 8mm grinding plate, pass the meat mixture through the grinder. This will retain some larger pieces of the sirloin.
  • As the meat comes out of the grinder, have a second person use their hands to lay out the strands of meat on the clingfilm. Try to keep the grain of the individual strands running lengthwise in the same direction without getting tangled together. To do this, start laying the meat down at the edge of the sheet furthest from the grinder and work towards the closest edge.
  • Wrap the meat up tightly in the clingfilm, twisting the ends tightly to form a log. Prick a few holes in the clingfilm with a pin to release any air pockets trapped inside, then continue to twist the ends to tighten until the log is about 12cm in diameter.
  • Wrap the log in another layer of clingfilm to keep it from coming apart, and refrigerate for at least 2 hours, or until needed.
  • When ready to cook, place the still-wrapped log on a cutting board and use a very sharp knife to cut slices that are approximately 2cm in thickness. (The clingfilm helps to keep the meat from falling apart.) Place the finished burgers on a baking tray and refrigerate until needed. If you have more burgers than you need, they can be individually wrapped in clingfilm at this point and frozen until needed.
  • To cook the burgers, rub each one with a little oil and place them on the barbecue or a really hot frying pan, and flip them every 15–20 seconds. Cook to your liking or for medium rare, take the burger to 45ºC in the centre. Immediately after the last flip, place a slice of cheese on top of each burger and allow to melt for the final 15 seconds.
  • To make the sauce, combine the ketchup, mayonnaise and mustard in a bowl and mix thoroughly.
  • To serve, place the bottom half of a bun on a plate and put a burger with melted cheese on top. Place a couple of slices of tomato and onions followed by a couple of leaves of lettuce and a couple of slices of pickles. Finish with a spoon full of sauce. Place the top half of the bun on top and serve.
Notes
  • The structure of the burger really does work as you bite into it, but you still have the distinct texture of mince. Not sure how to get around that… I think the method works well because it allows you to get a really good crispy crust on the outside, but it looks a little… unusual…  I think worth a go to see for yourself.
  • The bun will now be my default bun.  I have made these on just one prove – they’ll be okay at a push, but they’re much nicer if given the full treatment.
  • I did make the sauce Heston uses too – delicious, though mine was a little sloppy, as you’ll see from the photographs… Yummy though…
The buns, before the second prove
Light, fluffy and soft – great burger buns
You can see the structure of the burger

April 10, 2013 Recipe

Chocolate Delice

I realise that I don’t usually pay homage to a chef when making a recipe, but the legendary Monsieur Blanc is no ordinary chef!  Nearly as important to my culinary journey as the Roux Brothers, Raymond is completely self-taught, and his Manoir aux Quat’Saisons has held two Michelin stars since 1985 – no mean feat.  As well as sharing my birthday, Raymond is a most amusing and very brave man – he served both his first and second wife a croquembouche on their wedding day…

This delice was featured on Kitchen Secrets, a most enlightening look at a number of dishes and techniques.  Every time I see an episode, I note another little detail.  You can see this particular recipe on You Tube, which certainly shows you how simple it can be.

Ingredients

For the base
100g/3½oz toasted hazelnuts
100g/3½oz caramelised sugar pieces
150g /5¼oz bran flakes, slightly crushed

For the delice
140ml/5fl oz full-fat milk
325ml/11½fl oz double cream
2 free-range eggs
340g/12oz good-quality dark chocolate, minimum 60 per cent cocoa solids, roughly chopped

For the caramel hazelnuts
125g/4½oz caster sugar
8 hazelnuts, shells removed, lightly toasted in a dry frying pan

For the coffee foam
200ml/7¼fl oz strong black espresso coffee
1 sheet gelatine, soaked in cold water for 10 minutes, drained

To serve
2-3 tbsp cocoa powder
1 tbsp freshly ground coffee beans

Preparation method

  • For the base, blend the hazelnuts and caramelised sugar pieces in a food processor until you have a smooth paste. Heat the paste in a small pan on a gentle heat until warmed through.
  • Place the bran flakes and warmed praline paste into a mixing bowl and scrunch them together, using your hands, until the bran flakes have broken down and been incorporated into the paste.
  • Line a baking tray with a sheet of greaseproof paper, then transfer the praline mixture onto it. Cover the praline mixture with a second sheet of greaseproof paper, then roll the mixture out until it measures at least 14cm x 20cm/5½in x 8in and is 0.5cm/¼in thick.
  • Remove the top sheet of greaseproof paper, then push a 14cm x 20cm x 3cm/5½in x 8in x 1¼in rectangular pastry frame down onto the praline mixture and trim off any excess. (NB: The excess praline mixture can be pressed into any gaps in the mould, if necessary.)
  • Cover the mould with greaseproof paper and chill the praline in the fridge for 30 minutes, or until set.
  • Meanwhile, for the delice, heat the milk and cream in a saucepan and heat gently over a medium heat until it just reaches boiling point.
  • Meanwhile, whisk the eggs in a bowl.
  • As the milk and cream mixture comes to the boil, pour it over the eggs, then whisk the mixture constantly until smooth and thick.
  • Stir in the chopped chocolate and whisk again until the chocolate has melted and the custard is smooth.
  • Remove the base from the fridge and pour in the chocolate delice to fill the mould. Gently tap the sides of the mould to release any trapped air bubbles, then smooth the surface using a palette knife. Chill in the fridge for 6-12 hours, or until completely set.
  • Meanwhile, for the caramel hazelnuts, heat the caster sugar in a pan over a low heat, stirring occasionally until golden-brown and caramelised. Remove from the heat and set aside to cool slightly. (NB: The caramel is cool enough when a cocktail stick dragged across its surface leaves an imprinted trail.)
  • Spear each hazelnut onto a cocktail stick, then dip the hazelnuts into the caramel until coated. Stick a little adhesive putty onto the underside of a shelf or cupboard above a worksurface and secure the cocktail stick into the putty, so that the caramel drips off the hazelnut and creates a tail. (NB: Place a baking tray or sheets of greaseproof paper underneath the hazelnuts to catch any caramel that drips.)
  • Set the caramel hazelnuts aside to cool and harden for at least 30 minutes.
  • For the coffee foam, just before serving, heat half of the coffee in a pan until just hot but not boiling.
  • Squeeze the gelatine sheet dry, then add it to the hot coffee and continue to warm until the gelatine has completely dissolved.
  • Pour the remaining cold coffee into a bowl, then add the hot coffee mixture to it. Whisk well until the mixture starts to foam.
  • To serve, heat the outside of the mould using a chefs’ blow torch to loosen the base of the delice. Carefully remove the pastry frame from the delice.
  • Heat the top of the delice very quickly using a chefs’ blow torch to make the surface glossy. Dust the delice with some of the cocoa powder and ground coffee beans.
  • Smear a teaspoonful of the coffee foam across the width of six to eight serving plates. Plunge the blade of a knife into boiling water to heat the metal, then slice the delice into six to eight pieces and place one onto each smear of foam, at an angle. Rest a caramel hazelnut against each slice. Dust each serving with the remaining cocoa powder.

Whisk the mixture constantly until smooth and thick

Stir in the chopped chocolate and whisk again until the chocolate has melted and the custard is smooth

It will look like this, leaving ribbons on itself…
Pour in the chocolate delice to fill the mould (I didn’t have a rectangular mould to hand)
Watch your caramel, it’s cool enough when a cocktail stick dragged across its surface leaves an imprinted trail
The finished article – a gigantic slice of chocolate delice – I’d recommend a slice about half the size

March 16, 2013 Baking

Frangipane Tarts

Pistachio frangipane, with figs

There’s something about the scent of frangipane which has haunted me for decades. We have relatives on the French side of the Swiss-France border, and on our very first visit, we had a plum and frangipane tart. The memory has stuck with me for twenty years – served at room temperature – the tart was luscious, creamy, delicately scented – just adorable.

Spotting some nectarines which needed using up, I thought it would make a delicious variation.  A quick trawl through some of my favourite chefs revealed a recipe on the BBC site by Angela Hartnett…

That first tart was consumed by the multitudes in my household within twenty-four hours.

Luckily, the quantity of frangipane in the recipe allowed me to make two tarts – so the second tart was a plum and frangipane one…  The plums hold up better than the nectarines, though surprisingly they do make the mixture more moist (I would have assumed the nectarines would offer up more water).  The scent load is also greater with the plums.

Having everything to hand, the second tart only took about 10 minutes to prepare, so well worth keeping some frangipane in your fridge (bring it back to room temperature, and give it a quick re-fluffing with a fork – et voila – instant tart…).

The next time I made a bakewell tart, and then another for my chum Sarah… And then we moved on to pistachio and fig tarts, with a further tart for another chum, Nicole…

Once you have the basic frangipane recipe in your back-pocket, the possibilities are endless :0)

Ingredients:
For the pastry:
375g/13¼oz plain flour, plus extra for dusting
15g/½oz sugar
225g/8oz unsalted butter, cut into cubes, plus extra for greasing
1 free-range egg
4 tbsp ice-cold water
For the frangipane:
200g/7¼oz unsalted butter
200g/7¼oz caster sugar
2 free-range eggs
200g/7¼oz ground almonds
For the tart filling:
5-6 ripe plums, each cut into eighths, stones removed
To serve:
icing sugar, for dusting
whipped cream or crème fraîche

Method:
  • For the pastry, sieve the flour and sugar into a large mixing bowl. Tip the cubed butter into the bowl. Rub the butter and the flour between your thumb and fingertips until the mixture resembles fine breadcrumbs.
  • In a jug or small bowl, beat the egg together with four tablespoons of ice-cold water. Pour into the flour mixture.
  • Slowly bring the ingredients together with your hands to form a dough, being careful not to overwork it.
  • Knead the dough lightly on a clean, floured work surface, then wrap it in cling film and refrigerate until firm, at least 30 minutes.
  • For the frangipane, beat the butter and sugar together in a bowl until light and fluffy. Crack the eggs into the bowl one at a time, beating well after each addition. Add the ground almonds and mix well until combined. Set aside.
  • Preheat the oven to 180C/350F/Gas 4. Dust the work surface with flour and roll the chilled dough out thinly. Use it to line one large 25cm/10in tart ring or 6-8 individual tartlet rings 8cm/3¼in in diameter. Trim away any excess.
  • Spoon the frangipane into the tart case so that it comes about halfway up the sides. Smooth over the surface with a spatula and cover the frangipane evenly with the plums.
  • Bake for 30-40 minutes (15-25 minutes for the tartlets), or until the pastry is crisp and golden-brown and the fruit is tender.
  • Remove the tart(s) from the oven. Dust with icing sugar and serve warm with whipped cream or crème fraîche.
Notes:
  • I used a pre-rolled pastry sheet made by Marie – it’s the best I’ve used, comes in a circle, and is rolled super-fine!  Because it’s so fine, I always brush it with beaten egg and allow to dry in the fridge, before putting any filling in
  • Don’t push your figs too far into the batter, it will rise up around them.  For maximum visual effect, just lightly lodge them in

Lay the fruit in a pattern of your choosing – you can see from the plum chart that I chose a different layout that time

Fig and pistachio frangipane

Nectarine and frangipane

Plum and frangipane

Bakewell Tart: spread jam  spread a layer of frangipane, and top with almonds halfway through cooking #simples

Carrot Cupcake Cream Cheese Frosting

December 10, 2012 Recipe

Carrot Cup-Cakes with Cream Cheese Fosting…

I’ve been wanting carrot cake for ages – not entirely sure why – but I came across this recipe by the lovely Dan Leppard, and thought they were exactly what the doctor ordered.   If you get your kids to do the grating, you can have them up and ready in no time at all :0)

Ingredients
275g/9¾oz caster sugar
200ml/7fl oz sunflower oil
4 medium free-range eggs
about 300g/10½oz grated carrot, a little more or less is fine
up to 150g/5½oz nuts or dried fruit (optional) [I put in 100g of pecans, finely chopped]
225g/8oz spelt or wholemeal flour
2 tsp baking powder
1 tsp ground cinnamon
1 tsp mixed spice
1 tbsp cocoa powder

For the cheese frosting
125g/4½oz unsalted butter, softened
125g/4½oz full-fat cream cheese
275g/9¾oz icing sugar
edible decorations (such as sugar-paste carrots or mini-chocolateEaster eggs), to finish

Preparation method:

  • Preheat the oven to 180C/350F/Gas 4 and line the pockets of a muffin tray with muffin cases.
  • Beat the sugar, oil and eggs in mixing bowl until smooth, then stir in the grated carrot and, if you like, up to 150g/5½oz chopped nuts, dried fruit, or a mixture of both.
  • In a separate bowl combine the flour, baking powder, spices and cocoa so that they’re evenly mixed, then tip this into the carrot mixture and stir well.
  • Fill the muffin papers to about two-thirds full, then bake for about 25 minutes, or until a skewer poked in comes out almost clean.
  • For the frosting, make sure the butter is soft, then, using a whisk or electric mixer, beat it with the cream cheese in a bowl until smooth and light.
  • Stir in the icing sugar with a spoon until it begins to come together, then whisk again briefly until light and smooth. Pipe or spoon blobs of the frosting on each cold cupcake. Decorate with sugar-paste carrots or, say for Easter, with mini chocolate Easter eggs.
I popped my mixture into fairly large muffin cases, and they took the full 25 minutes.  I also made my frosting with some of my thermomix meringue icing, and some cream cheese.  They are utterly perfect. I know Dan has another recipe for a complete cake with different spicing, but this will be the one I use in future.

 There are further carroty recipes in Dan’s book >

Dan’s Cup-Cakes, a little more dainty than my offering :0)

  • « Go to Previous Page
  • Go to page 1
  • Go to page 2

Primary Sidebar

Categories

  • ▼Recipe
    • Baking
    • Breakfast
    • Cheese
    • Dessert
    • Eggs
    • Fish
    • Heston Blumenthal
    • Italian
    • Jamie Oliver
    • Marcus Wareing
    • Mediterranean
    • Pasta
    • Patisserie
    • Risotto
    • Smoothie
    • Sous Vide
    • Squash
    • Thermomix
    • Vegan
    • Vegetarian
    • Yotam Ottolenghi

Categories

  • ▼Book Review
    • ⭐️⭐️⭐️⭐️
    • ⭐️⭐️⭐️⭐️⭐️
    • Baking
    • Meat
    • Patisserie
    • Restaurant Cookbook
    • Vegetarian
    • Yotam Ottolenghi

Categories

  • ▼Restaurant
    • 1 Michelin Star
    • 2 Michelin Stars
    • 3 Michelin Stars
    • British
    • Fish
    • French
    • Italian
    • Japanese
    • Peruvian

Categories

  • 101 Cookbooks (1)
  • 3 Michelin Stars (1)
  • Advert (1)
  • Alan Murchison (2)
  • Alba Truffle (1)
  • Almond (1)
  • Angela Hartnett (1)
  • Angler (2)
  • Art Journal (2)
  • Artichokes (1)
  • Axis (1)
  • Azelia’s Kitchen (1)
  • Baking (9)
  • Baldwin (1)
  • Bara Brith (1)
  • Basics (1)
  • Beef (1)
  • Beetroot (2)
  • Ben Spalding (2)
  • Blackberry Soufflé (1)
  • Blackening Spice (1)
  • Blood Oranges (4)
  • ►Book Review (75)
    • Baking (10)
    • Meat (1)
    • Patisserie (6)
    • Restaurant Cookbook (3)
    • Vegetarian (3)
    • Yotam Ottolenghi (2)
    • ⭐️⭐️⭐️⭐️ (16)
    • ⭐️⭐️⭐️⭐️⭐️ (8)
  • Bread (3)
  • Breakfast (1)
  • Breakfast Tart (1)
  • brioche (1)
  • Brockhall Farm (1)
  • Bruschetta (1)
  • Bryn Williams (1)
  • Burrata (1)
  • Butter (1)
  • Buttercream (1)
  • Camembert (1)
  • Canapes (1)
  • caraway (2)
  • Casserole (2)
  • Chelsea Buns (1)
  • Chestnuts (1)
  • Chicken (3)
  • Chickpea (1)
  • Chocolate (4)
  • Chocolate Fondant (1)
  • Christmas (1)
  • Ciabatta (1)
  • Cinnamon (1)
  • Citrus (1)
  • Citrus Drizzle Cake (1)
  • Clams (1)
  • Coconut (2)
  • Coconut Milk (1)
  • Confectionary (1)
  • Creme Patisserie (1)
  • Dan Lepard (1)
  • Dessert (1)
  • detox (1)
  • Doughnuts (1)
  • Dried Fruit (1)
  • Drop Scones (1)
  • Ducasse (1)
  • Duck Egg (1)
  • Eggs (3)
  • El Bulli (1)
  • en Cocotte (1)
  • Epi (1)
  • Eric Treuille (1)
  • fennel (2)
  • Fettuccini (1)
  • Fish (1)
  • FrontPage (28)
  • Fruit Tea (1)
  • Glutamate (1)
  • Goat’s Cheese (1)
  • Gỏi Cuốn (1)
  • Granita (1)
  • Herbs (1)
  • Heritage Tomato (1)
  • Hibiscus Flower (1)
  • Hope and Greenwood (1)
  • Ice-Cream (3)
  • Iced Berry Souffle (1)
  • Icing (1)
  • Italian (1)
  • James Martin (1)
  • Jelly (1)
  • Journal (9)
  • Karen Scott (1)
  • King Oyster Mushroom (3)
  • Kummel (1)
  • L’Ortolan (1)
  • Lamb (1)
  • Lavender (1)
  • Laverstoke Park (1)
  • Lemon (3)
  • Lemon Drizzle Cake (1)
  • Lemon Grass (1)
  • Lemon Meringue Tart (1)
  • Lemon Poppy Seed Muffins (1)
  • Lentils (1)
  • Limewood (1)
  • Liquorice (1)
  • Liquorice Ice-Cream (1)
  • Lobster (3)
  • Lucas Hollweg (1)
  • Luke Holder (1)
  • Macarons (1)
  • Mango (1)
  • Marcus Wareing (1)
  • Mark Lloyd (1)
  • Market (1)
  • Mary Berry (1)
  • Meringue (1)
  • Michael Moore (1)
  • Michel Roux (3)
  • Mint (1)
  • Mister Truffle (2)
  • Modernist Cuisine at Home (1)
  • Moroccan (1)
  • Muffins (3)
  • Murano (1)
  • Mushroom (1)
  • Ollie Dabbous (1)
  • Ollie Fararr (1)
  • Ox cheek (1)
  • Palourde Clams (1)
  • Pancetta (1)
  • Panna Cotta (1)
  • Parmesan (1)
  • Passion Fruit (3)
  • Pasta (1)
  • Patisserie (1)
  • Paul Heathcote (1)
  • Pea (1)
  • Peter Reinhart (1)
  • Petit Fours (1)
  • Philip Howard (1)
  • Pierre Koffman (1)
  • Pierre Koffmann (1)
  • Pimms (1)
  • Pistachio (1)
  • Pistachio Soufflé (2)
  • Pistacho (1)
  • Pork (1)
  • Prawn (1)
  • Quiche (1)
  • Rachel Allen’s 30 Day Muffins (1)
  • Raspberry (2)
  • Ravioli (1)
  • Raymond Blanc (1)
  • ►Recipe (192)
    • Baking (17)
    • Breakfast (2)
    • Cheese (1)
    • Dessert (7)
    • Eggs (3)
    • Fish (2)
    • Heston Blumenthal (5)
    • Italian (3)
    • Jamie Oliver (1)
    • Marcus Wareing (2)
    • Mediterranean (3)
    • Pasta (3)
    • Patisserie (7)
    • Risotto (1)
    • Smoothie (1)
    • Sous Vide (1)
    • Squash (1)
    • Thermomix (19)
    • Vegan (1)
    • Vegetarian (20)
    • Yotam Ottolenghi (2)
  • ►Restaurant (124)
    • 1 Michelin Star (17)
    • 2 Michelin Stars (9)
    • 3 Michelin Stars (3)
    • British (19)
    • Fish (4)
    • French (4)
    • Italian (3)
    • Japanese (1)
    • Peruvian (1)
  • Richard Bertinet (1)
  • Risotto (1)
  • Roganic (1)
  • Rolls (1)
  • Roux (3)
  • salad (2)
  • Salmon (2)
  • Sardinian Cookery (1)
  • Scandiliscious (1)
  • Sea Trout (1)
  • Sherbet Dab (1)
  • Signe Johansen (1)
  • Silvana de Soissons (1)
  • Simon Rogan (1)
  • Snail Caviar (1)
  • Soda Bread (1)
  • Sorbet (1)
  • Soufflé (11)
  • Soup (1)
  • Sous Vide (2)
  • Spice (1)
  • Stew (1)
  • Stuffing (1)
  • Sugar Baby (1)
  • Sugarwork (1)
  • Sumosan (1)
  • Supper (1)
  • Sweetcorn (1)
  • Sweetcorn Fritters (1)
  • Tamarillo’s (1)
  • Texturas Fizzy (1)
  • Thai (2)
  • The Bertinet Kitchen (1)
  • The Square (1)
  • Thermomix (10)
  • Toffe Fudge Muffins (1)
  • Tom Kitchin (1)
  • Tomato Bread (1)
  • Tony Fleming (4)
  • Tribute Dish (2)
  • Truffle (1)
  • Truffles (6)
  • Umami (1)
  • Uncategorized (1)
  • Vanilla (2)
  • Vegan (1)
  • Vegetables (1)
  • Vegetarian (3)
  • Verveine (1)
  • Vietname Summer Roll (1)
  • Watermelon (1)
  • William Curley (1)
  • yeasted dough (1)

I’m passionate about food, its provenance and its sustainability. As a technical cook, I like to see what’s happening in the kitchens of Michelin starred restaurants, but you’re just as likely to find me at home making sourdough. You can find some of my recipes in In The Mix 2, an award-winning Thermomix cookbook.

I’m also truly blessed – I can open my fridge at any time and know it’s crammed with all manner of loveliness – but that’s not the case for everyone. There are people all around me in the UK who rely on food banks to feed their kids, and themselves, and every box of cereal or teabag makes a difference. You can donate food to your local food bank, or time, or money, and if you want more information the best starting place is http://www.trusselltrust.org.

You can also find me here:

Foodies100 Index of UK Food BlogsFoodies100
The Renaissance Epicurean... London restaurants
Top Food BlogsUK Food Bloggers Association

The Eleven Madison Park Granola

Copyright © 2025 · Cookd Pro Theme On Genesis Framework · WordPress · Log in

Nourished
  • Home
  • Recipes
  • Book Reviews
  • Restaurants
  • Journal
  • About