I know, what’s with the cardamom already? But trust me, this isn’t just about obsession, this is about delicious perfection. Cardamom is absolutely perfect with rhubarb, and blood oranges – it had to make it into this dish. One thing we’re not terribly good at in mainland Europe, is layering spices. It must be an art form we’ve lost along the way, as our ancestors were absolutely obsessed with spices and herbs, from sweet cicely to orange thyme {I was going to call the blog that at one point, but it’s too long to put into a search engine :0)}.
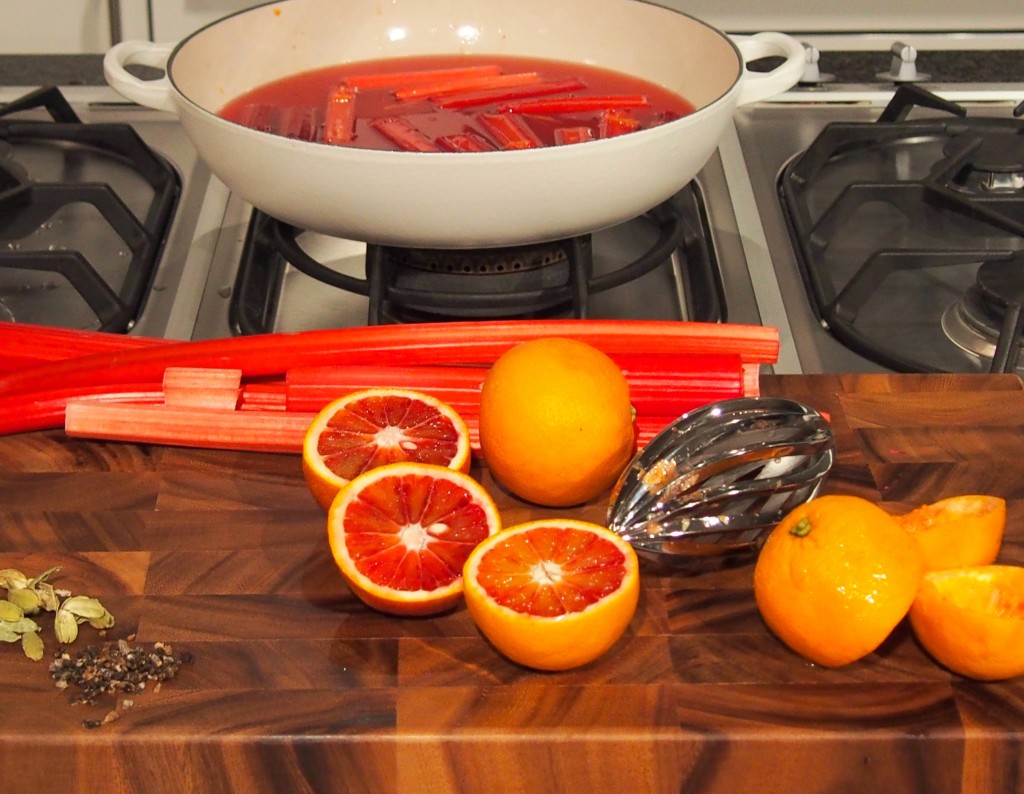
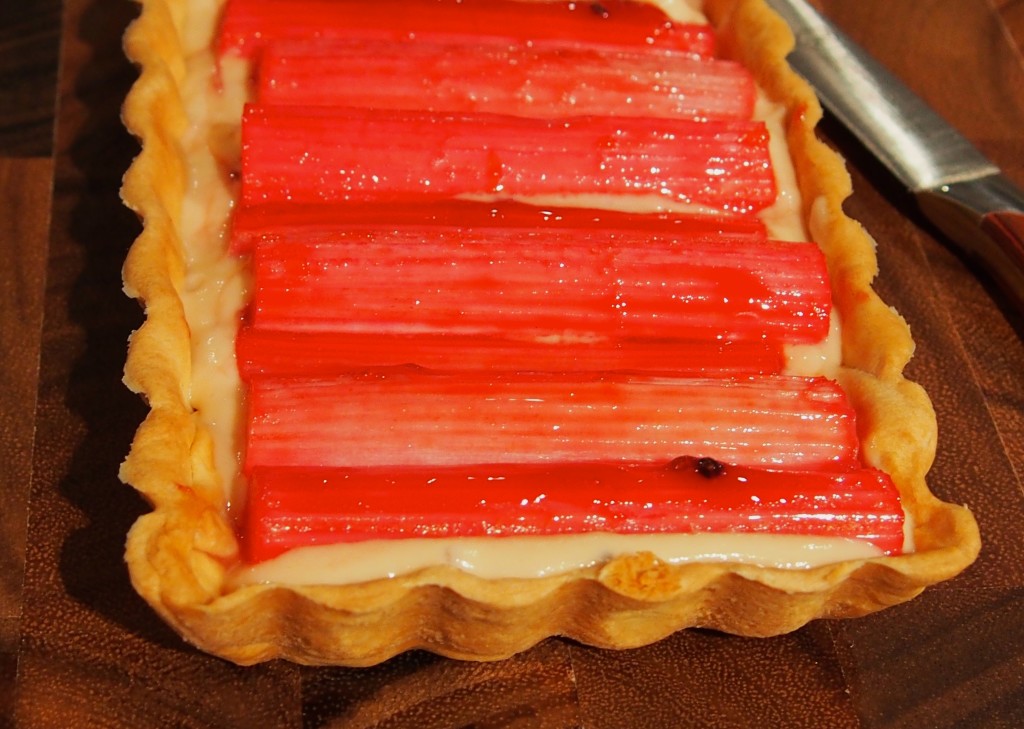
In this rhubarb tart, the main vegetable is poached in a liquor of blood oranges, Grand Marnier, cranberry juice, and cardamom pods – it’s exquisite! Oh. And yes. Rhubarb is a vegetable. Some of the resulting rhubarb is then blitzed into creme patisserie, making the most delicious custard, and poured into a pastry shell… Easy peasy huh?
Well, it would have been if I hadn’t been glued to this years’ Bocuse d’Or competition. I had to poach my rhubarb three times, to get to a consistency I liked. At least it provided the additional purée for the crème pâtt’, so it’s all good! Do watch yours like a hawk, even 30 seconds here or there makes a difference.
Ingredients for the Pastry:
300g plain flour
150g unsalted butter
½ tsp salt
120g icing sugar
3 large egg yolks
Seeds from ½ vanilla pod
1 egg for the egg wash
Ingredients for the Poaching Liquor:
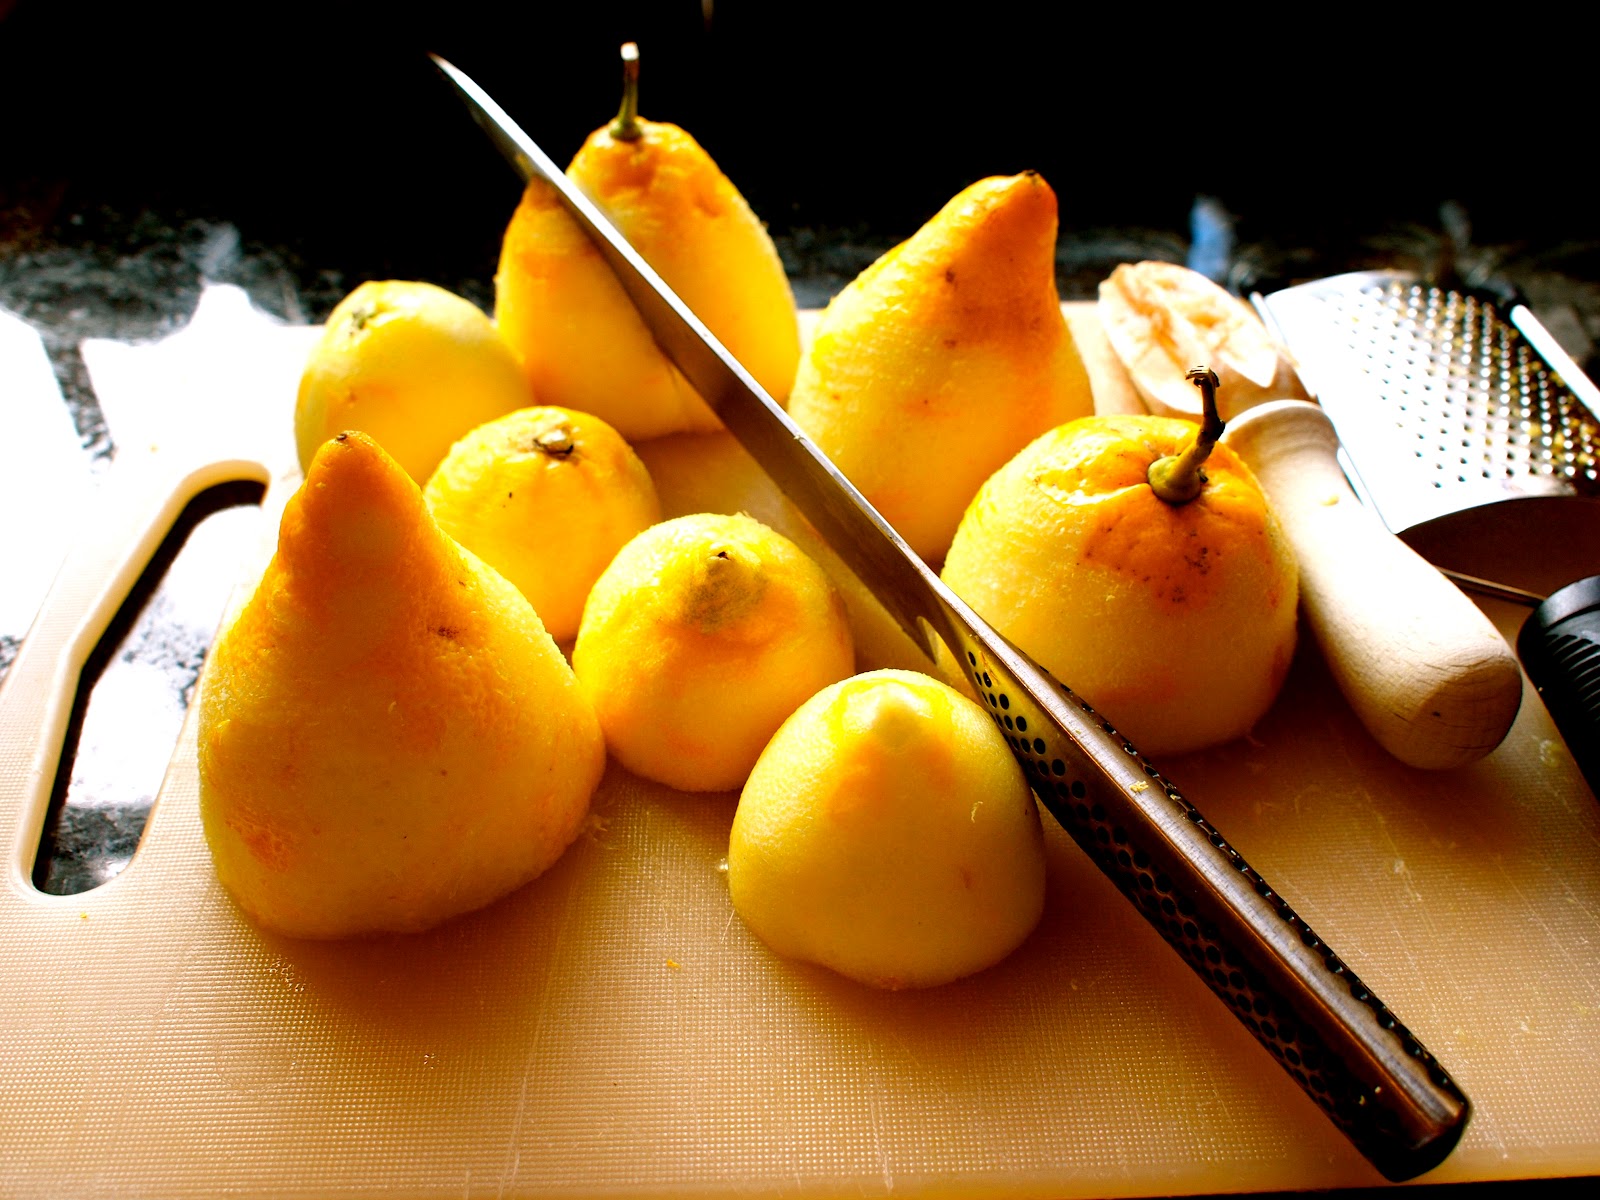
juice of 3 to 4 blood oranges
100ml cranberry juice
seeds of 6 green cardamom pods
2 Tbsp Grand Marnier (optional)
3 stalks of rhubarb
Ingredients for the Crème Pâtissèrie:
300ml full fat milk
80g unrefined caster sugar
30g unsalted good quality butter
40g plain flour
4 free range egg yolks
200g poached rhubarb
Now, before we even begin with the method, no, of course I didn’t make my own pastry on this occasion! You may love to do so, but I find this stuff so perfectly good, that I very rarely use anything else! The recipe above is Heston Blumenthal’s, and if you feel the need to torture yourself, it will do very nicely, thank you! I have made it before, and it’s jolly decent pastry…
Method:
- Add the lemon zest to the egg yolk mixture and then add to the bowl in the mixer and continue to mix on low speed until fully combined and a very soft dough has formed {approximately 3-5 minutes}.
- Mould the dough into a flat rectangle and wrap it in clingfilm before placing in the fridge for at least 1 hour. {Last time I made it, I did it overnight, was pretty firm when I rolled it out}
Roll the pastry between two sheets of baking paper to a thickness of 2mm, using two stacked 2 pence coins as guides, then place in the freezer for 30 minutes. - Pre-heat the oven to 190ºC/gas mark 5. Line a tart tin with the pastry making sure to press it into the edges and leaving the pastry hanging over the edge.
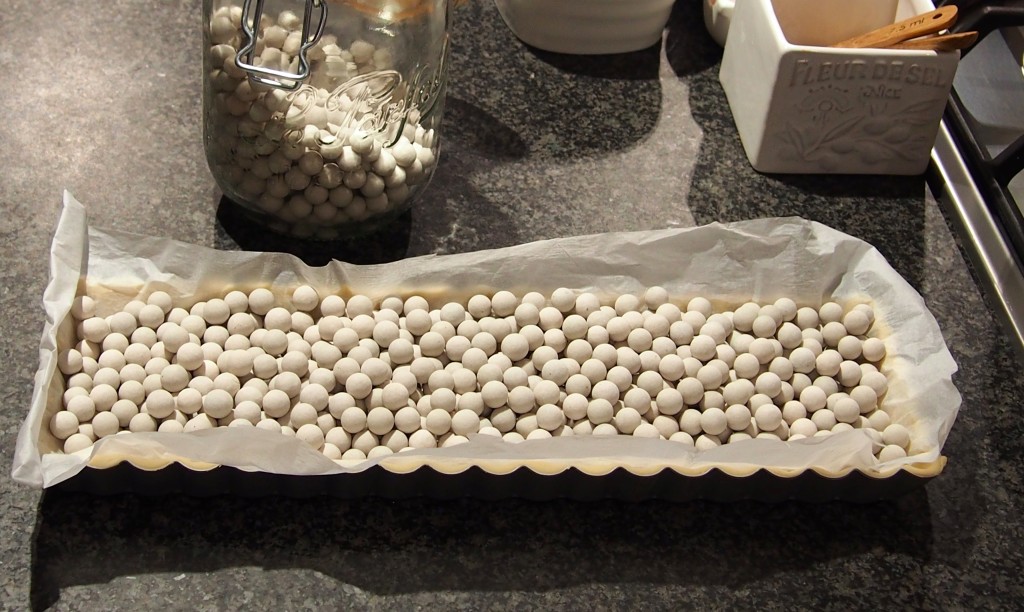
- Take a sheet of baking paper and scrunch it up several times to eliminate any sharp edges. Prick the dough with a fork all over the surface. Place the baking paper on top and add enough coins {or baking beans} to fill the casing ¼ of the way up. Place in the preheated oven to bake for approximately 20 minutes or until fully cooked. {Be careful with the coins – once nearly put a watch battery in the oven which someone had dumped in the coin pot – check them!}
- In the meantime, mix some of the leftover dough with an egg using a hand blender.
After 20 minutes, remove the baking paper and coins and, using a pastry brush, brush the entire surface of the tart with the dough and egg mixture. This ‘liquid pastry’ will ensure that any holes will be sealed. Return the tart to the oven for an additional 10 minutes. - Remove the tart from the oven and allow to cool completely.
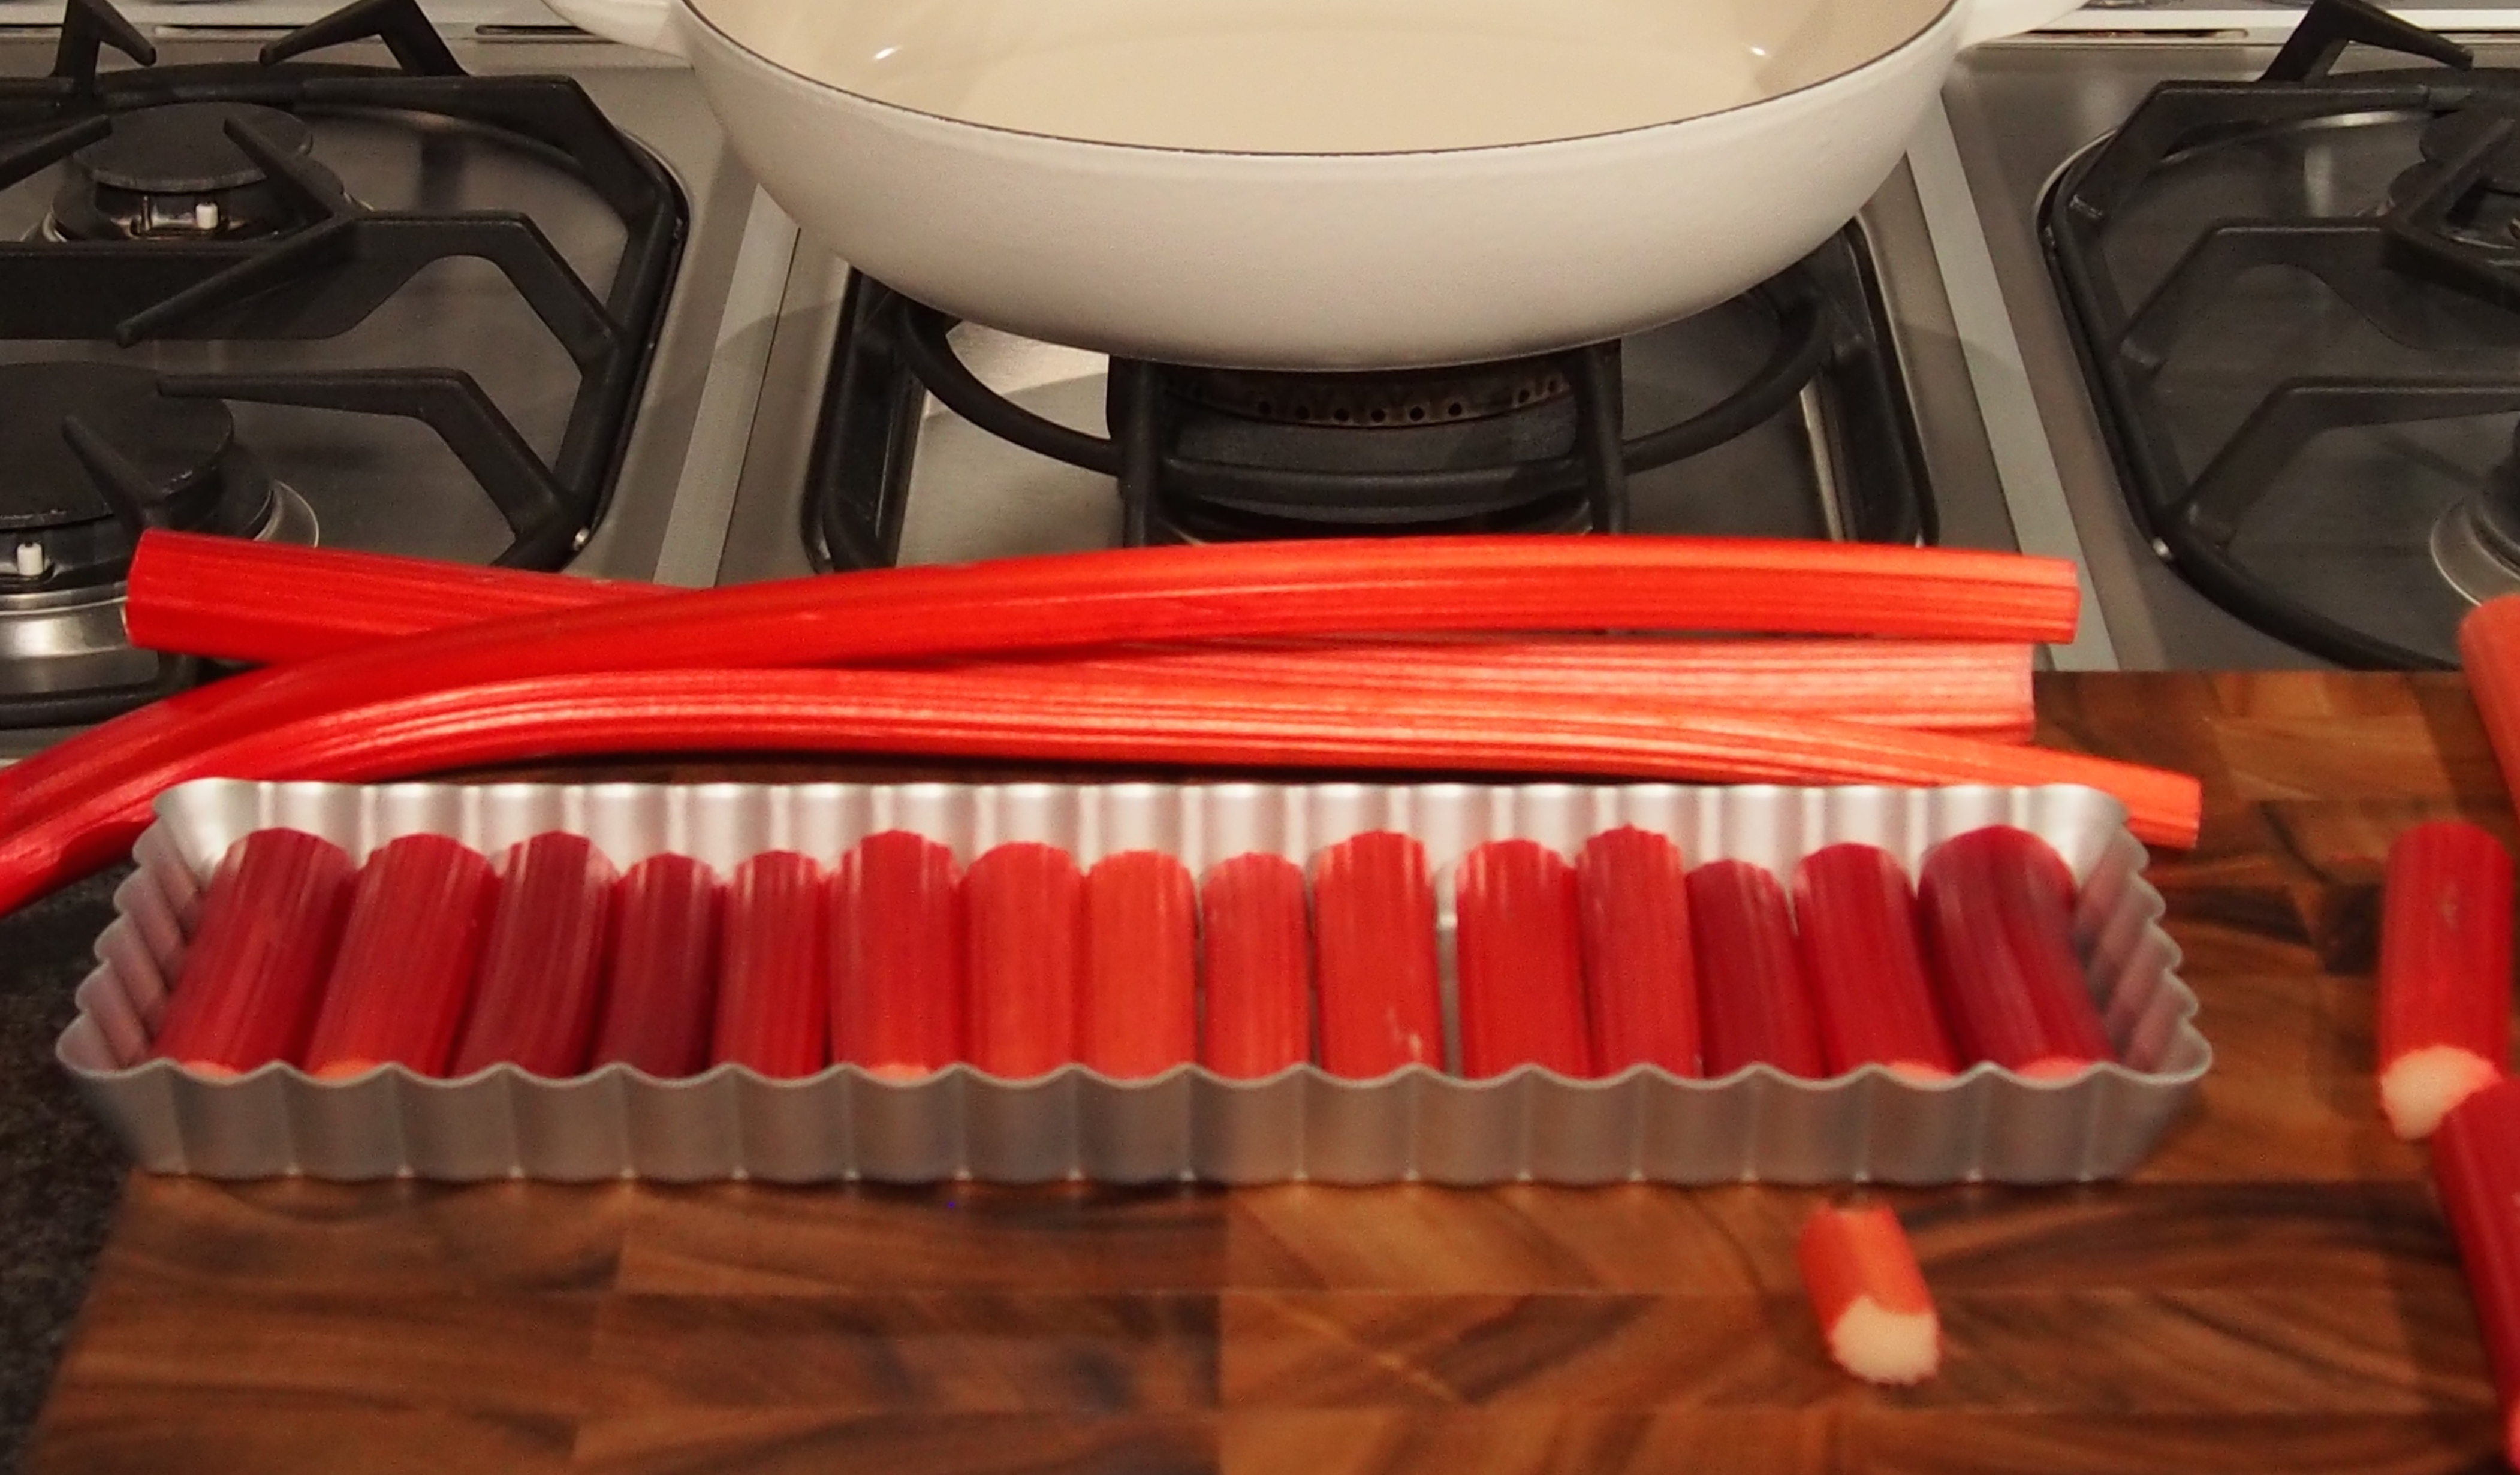
- Meanwhile, chop your rhubarb to an appropriate length – this will, of course, depend entirely on the tart case you’re using! Make sure all the lengths will actually fit inside your case, and try to pick stalks of a comparable size. It’s inevitable that the rhubarb itself will lessen in colour towards the top of the stalk, but if you’re careful, you can match several stalks together to achieve a pleading gradient of pink. I found three stalks fit my tart tin perfectly…
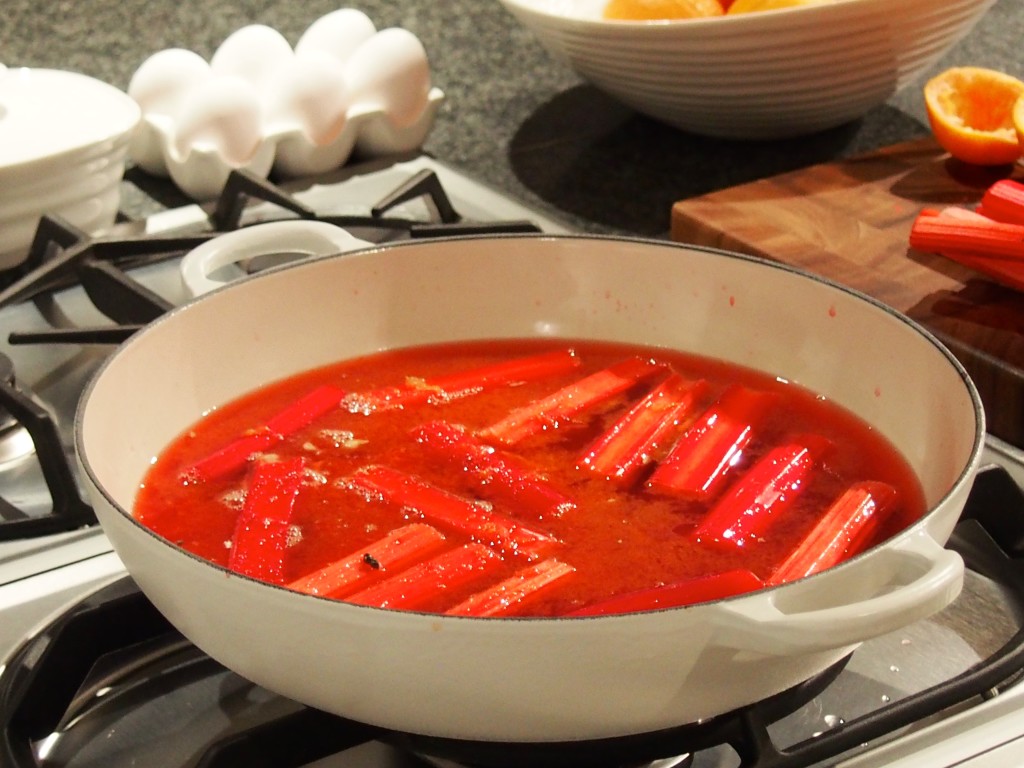
- Combine all of the ingredients of the liquor together, and bring to a boil. Now. Having done this three times, and not being particularly attentive (!), I found that it was best if I brought the liquor to a boil and then turned it off! Put the rhubarb in, and set a timer for 5 minutes. After 5 minutes, turn the rhubarb over. It won’t be tender at this stage, unless you’re using very tiny stalks. After the second five minutes, bring the liquor back to a boil, and immediately turn it off again! Turn the stalks after a further five minutes, then squidge them, as you might do a steak. If they feel nearly there, remove them immediately – they will continue to soften. This method will at least ensure your rhubarb does not disintegrate in the pan (as my first batch did). If they’re still terribly firm, turn them over and wait a further five minutes. When just about tender, set aside the rhubarb, and reduce the liquor down to a thick and syrupy glaze.
- To make the crème pâttisèrie, put all the ingredients into the Thermomix bowl and cook for 10 minutes at 90C, speed 4. Give it a quick whizz at the end to ensure it’s smooth {especially if you still have cardamom seeds in it}, then pour into a bowl and cover with cling film until it’s cool. Yes – that’s it! Keep it in your fridge until you require it.
- Finally – the assembly – take your cooled tart shell, fill it with the pastry cream, top with the poached rhubarb, and glaze with a little of the reduced poaching liquor. C’est parfait, n’est ce pas?
Notes:
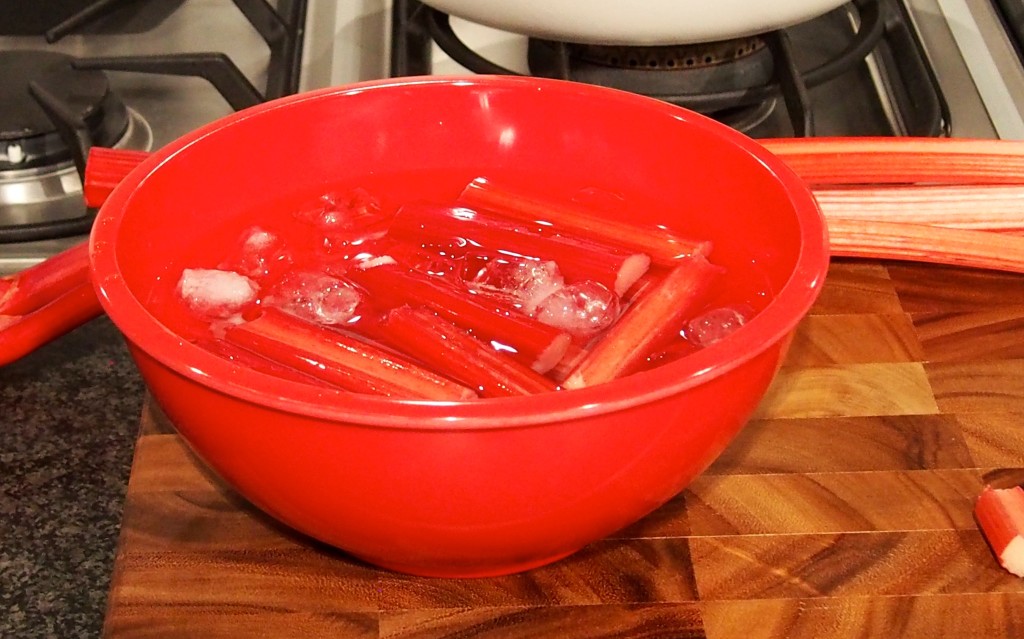
- I remembered, last year, that Tom Kitchen shocked asparagus before cooking – by putting it into ice-water – the reverse of an ice-bath… It sets the chlorophyll, and though rhubarb doesn’t have chlorophyll per se, I though it might help the colour… It certainly seems to work…
- Poaching the rhubarb in successive batches in the poaching liquor definitely intensifies the colour and cardamon flavour
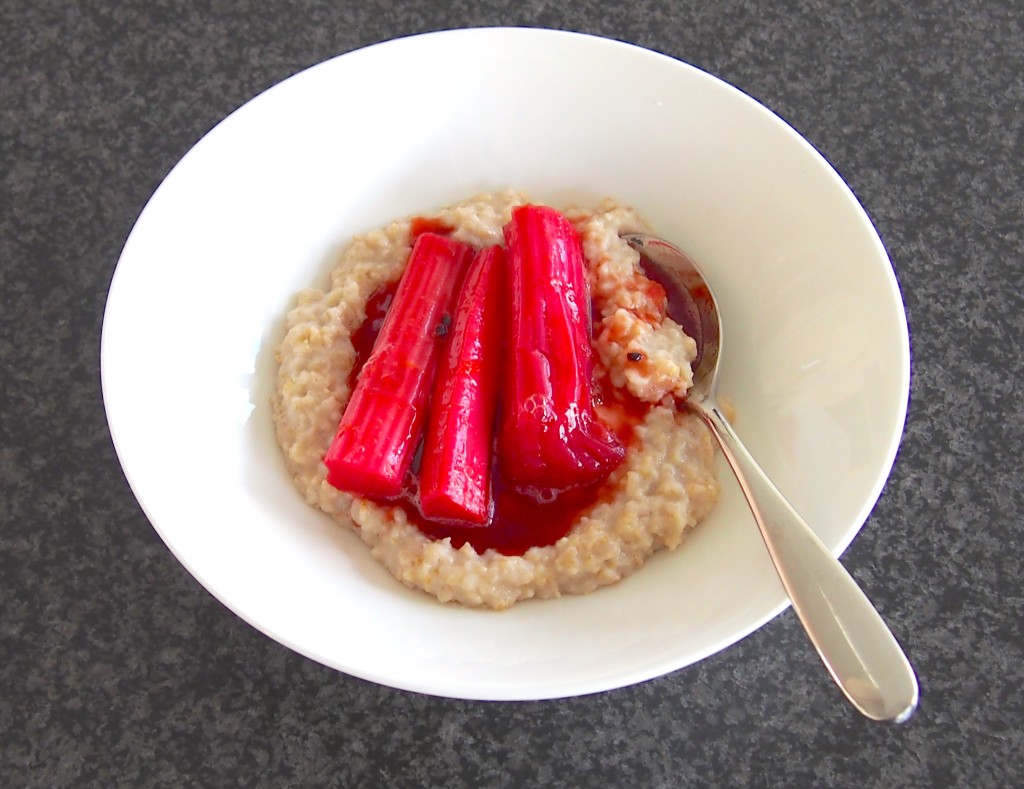
- You can use any leftover rhubarb on porridge, ice-cream etc – it’s delicious